
A month off, Day 6, 7, and 8: Mods
In the last post I started the laborious process of rebuilding the Voron now that I sorted out some of the quality issues with the black ABS. This felt like a big setback at the time, since rebuilding the printer with new parts would take lots and lots of time. Still, it had to be done.


Of course, since the printer was going to be apart anyways, I decided it was time to do some modding. None of the mods I had in mind would affect the technical operation of the machine, instead focusing on quality of life improvements.
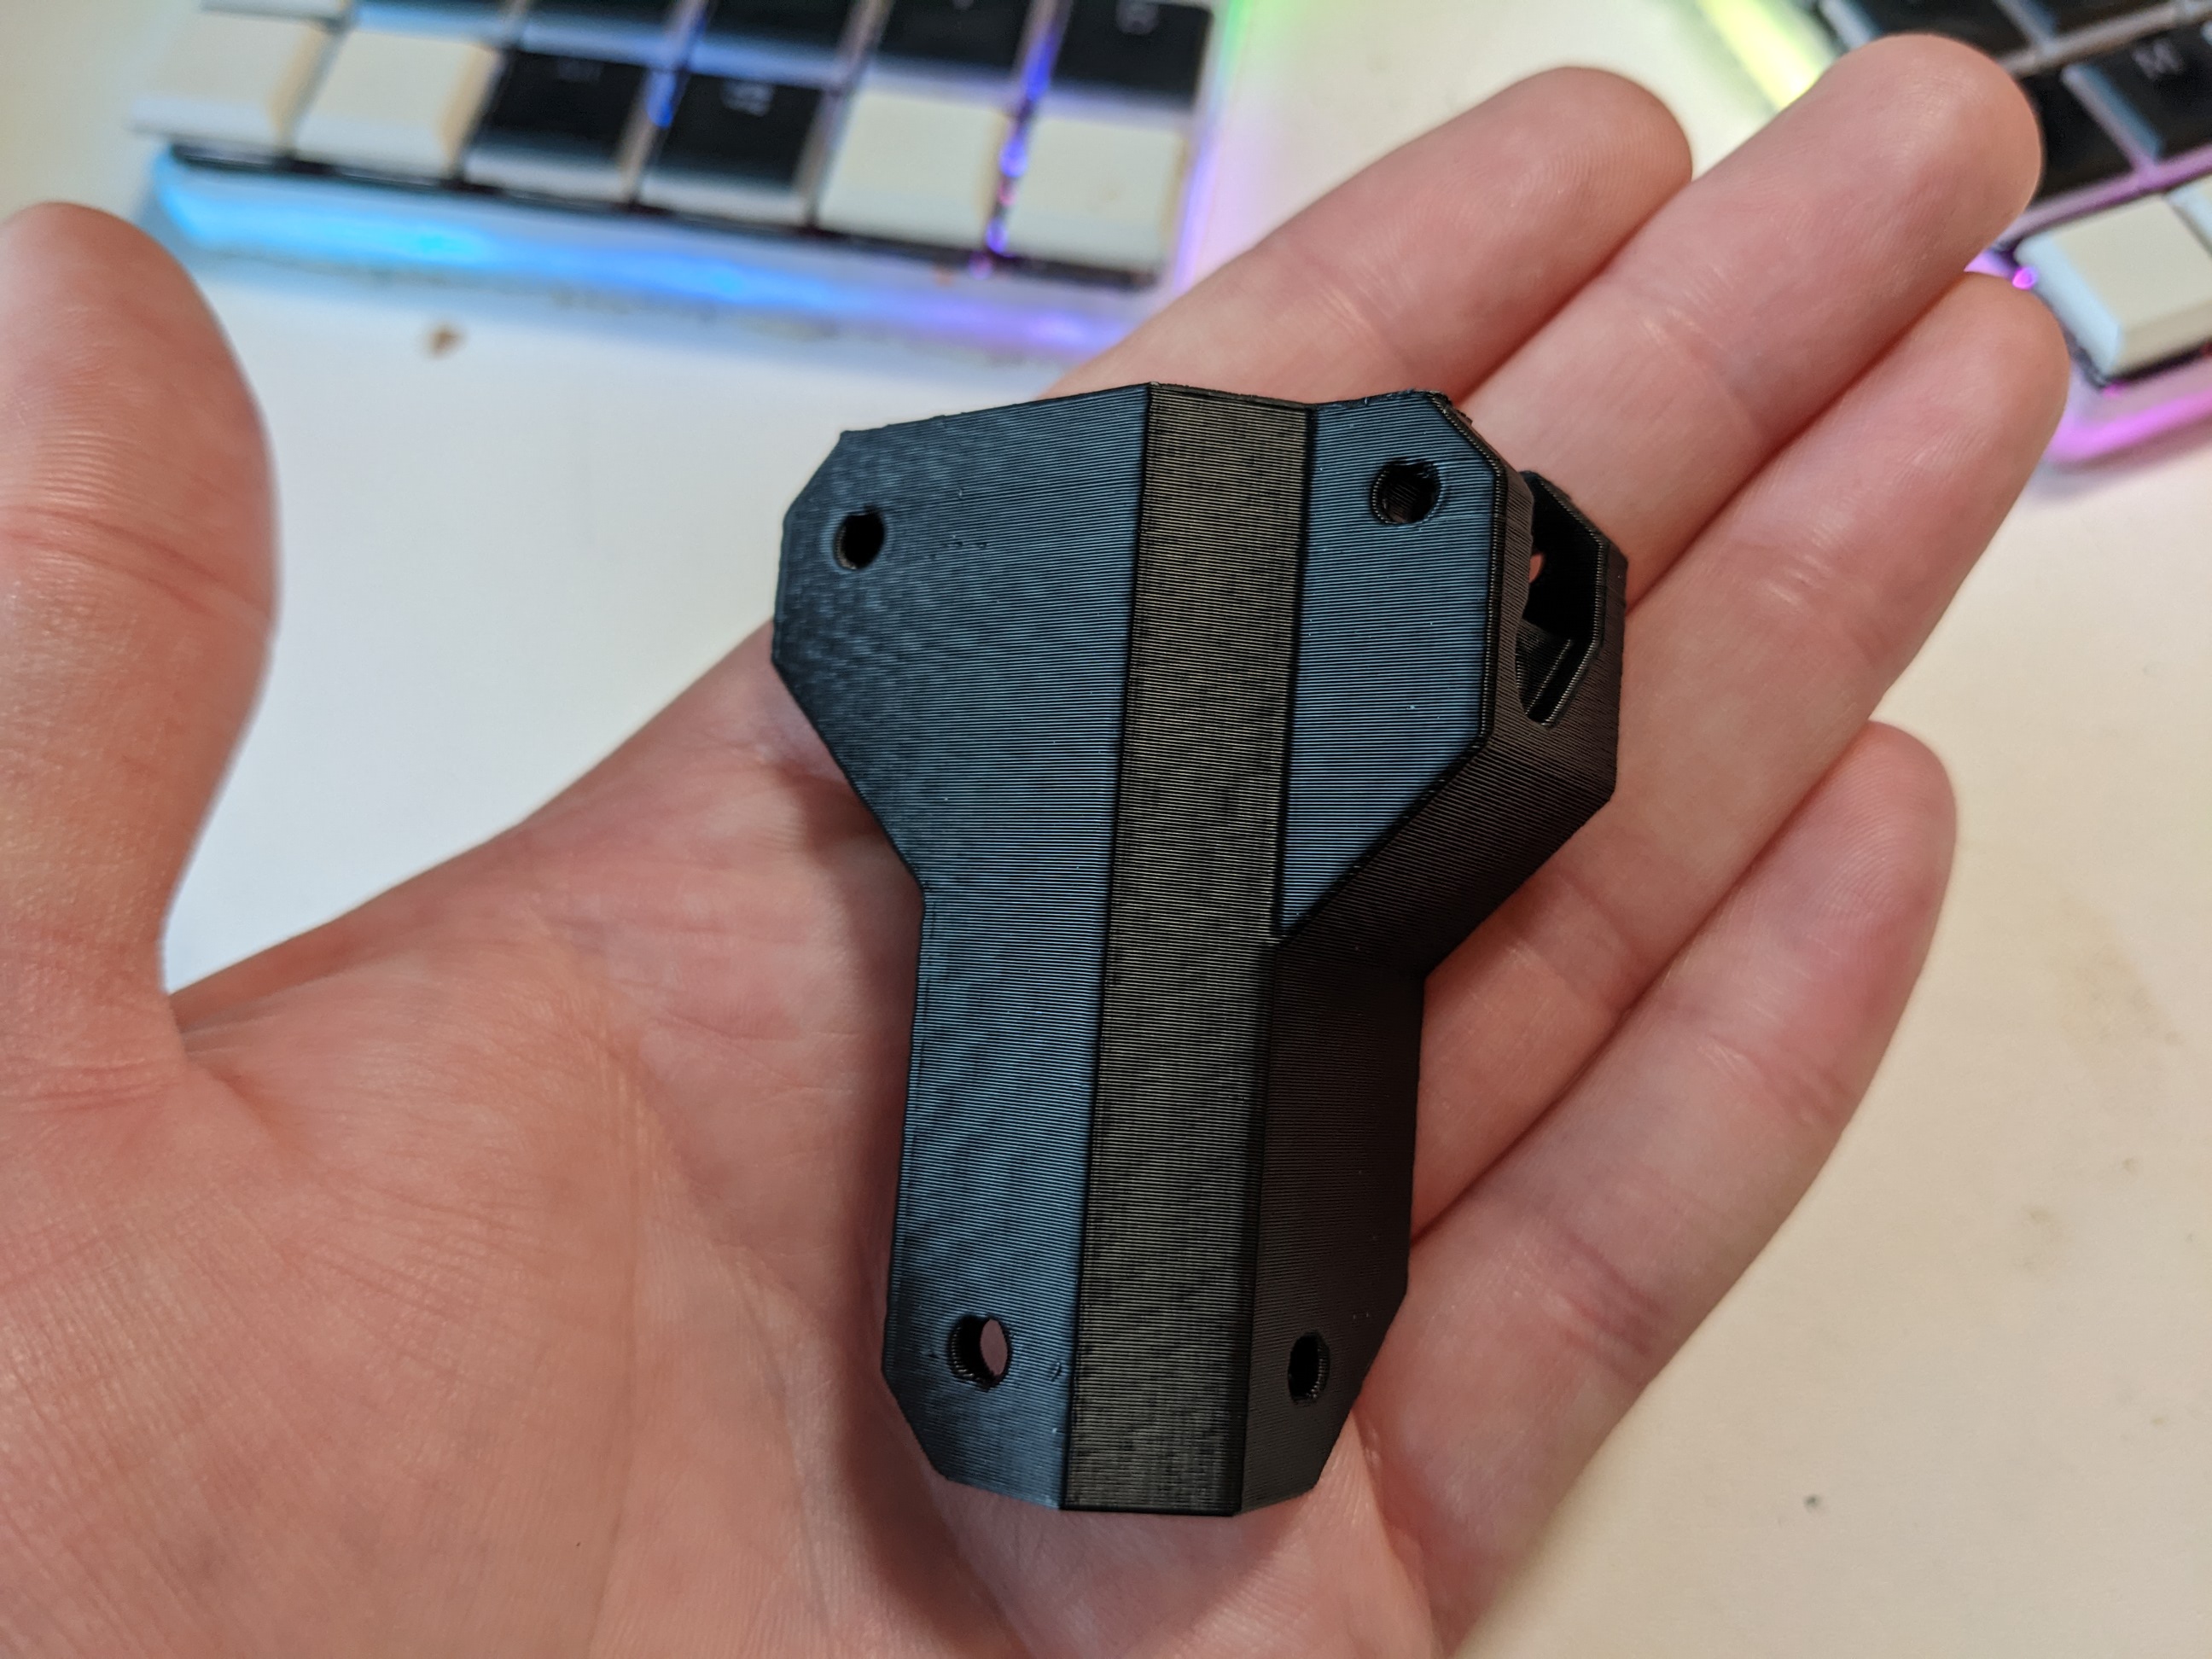
The first of which was a pair compact, mini handles. The small size and cubic frame of the Voron 0.1 makes it a good candidate for a demonstration printer. being fully enclosed, however, leaves little safe place to put one's hands to pick it up and move the thing. These handles are small, yet bolt directly to the printer frame.
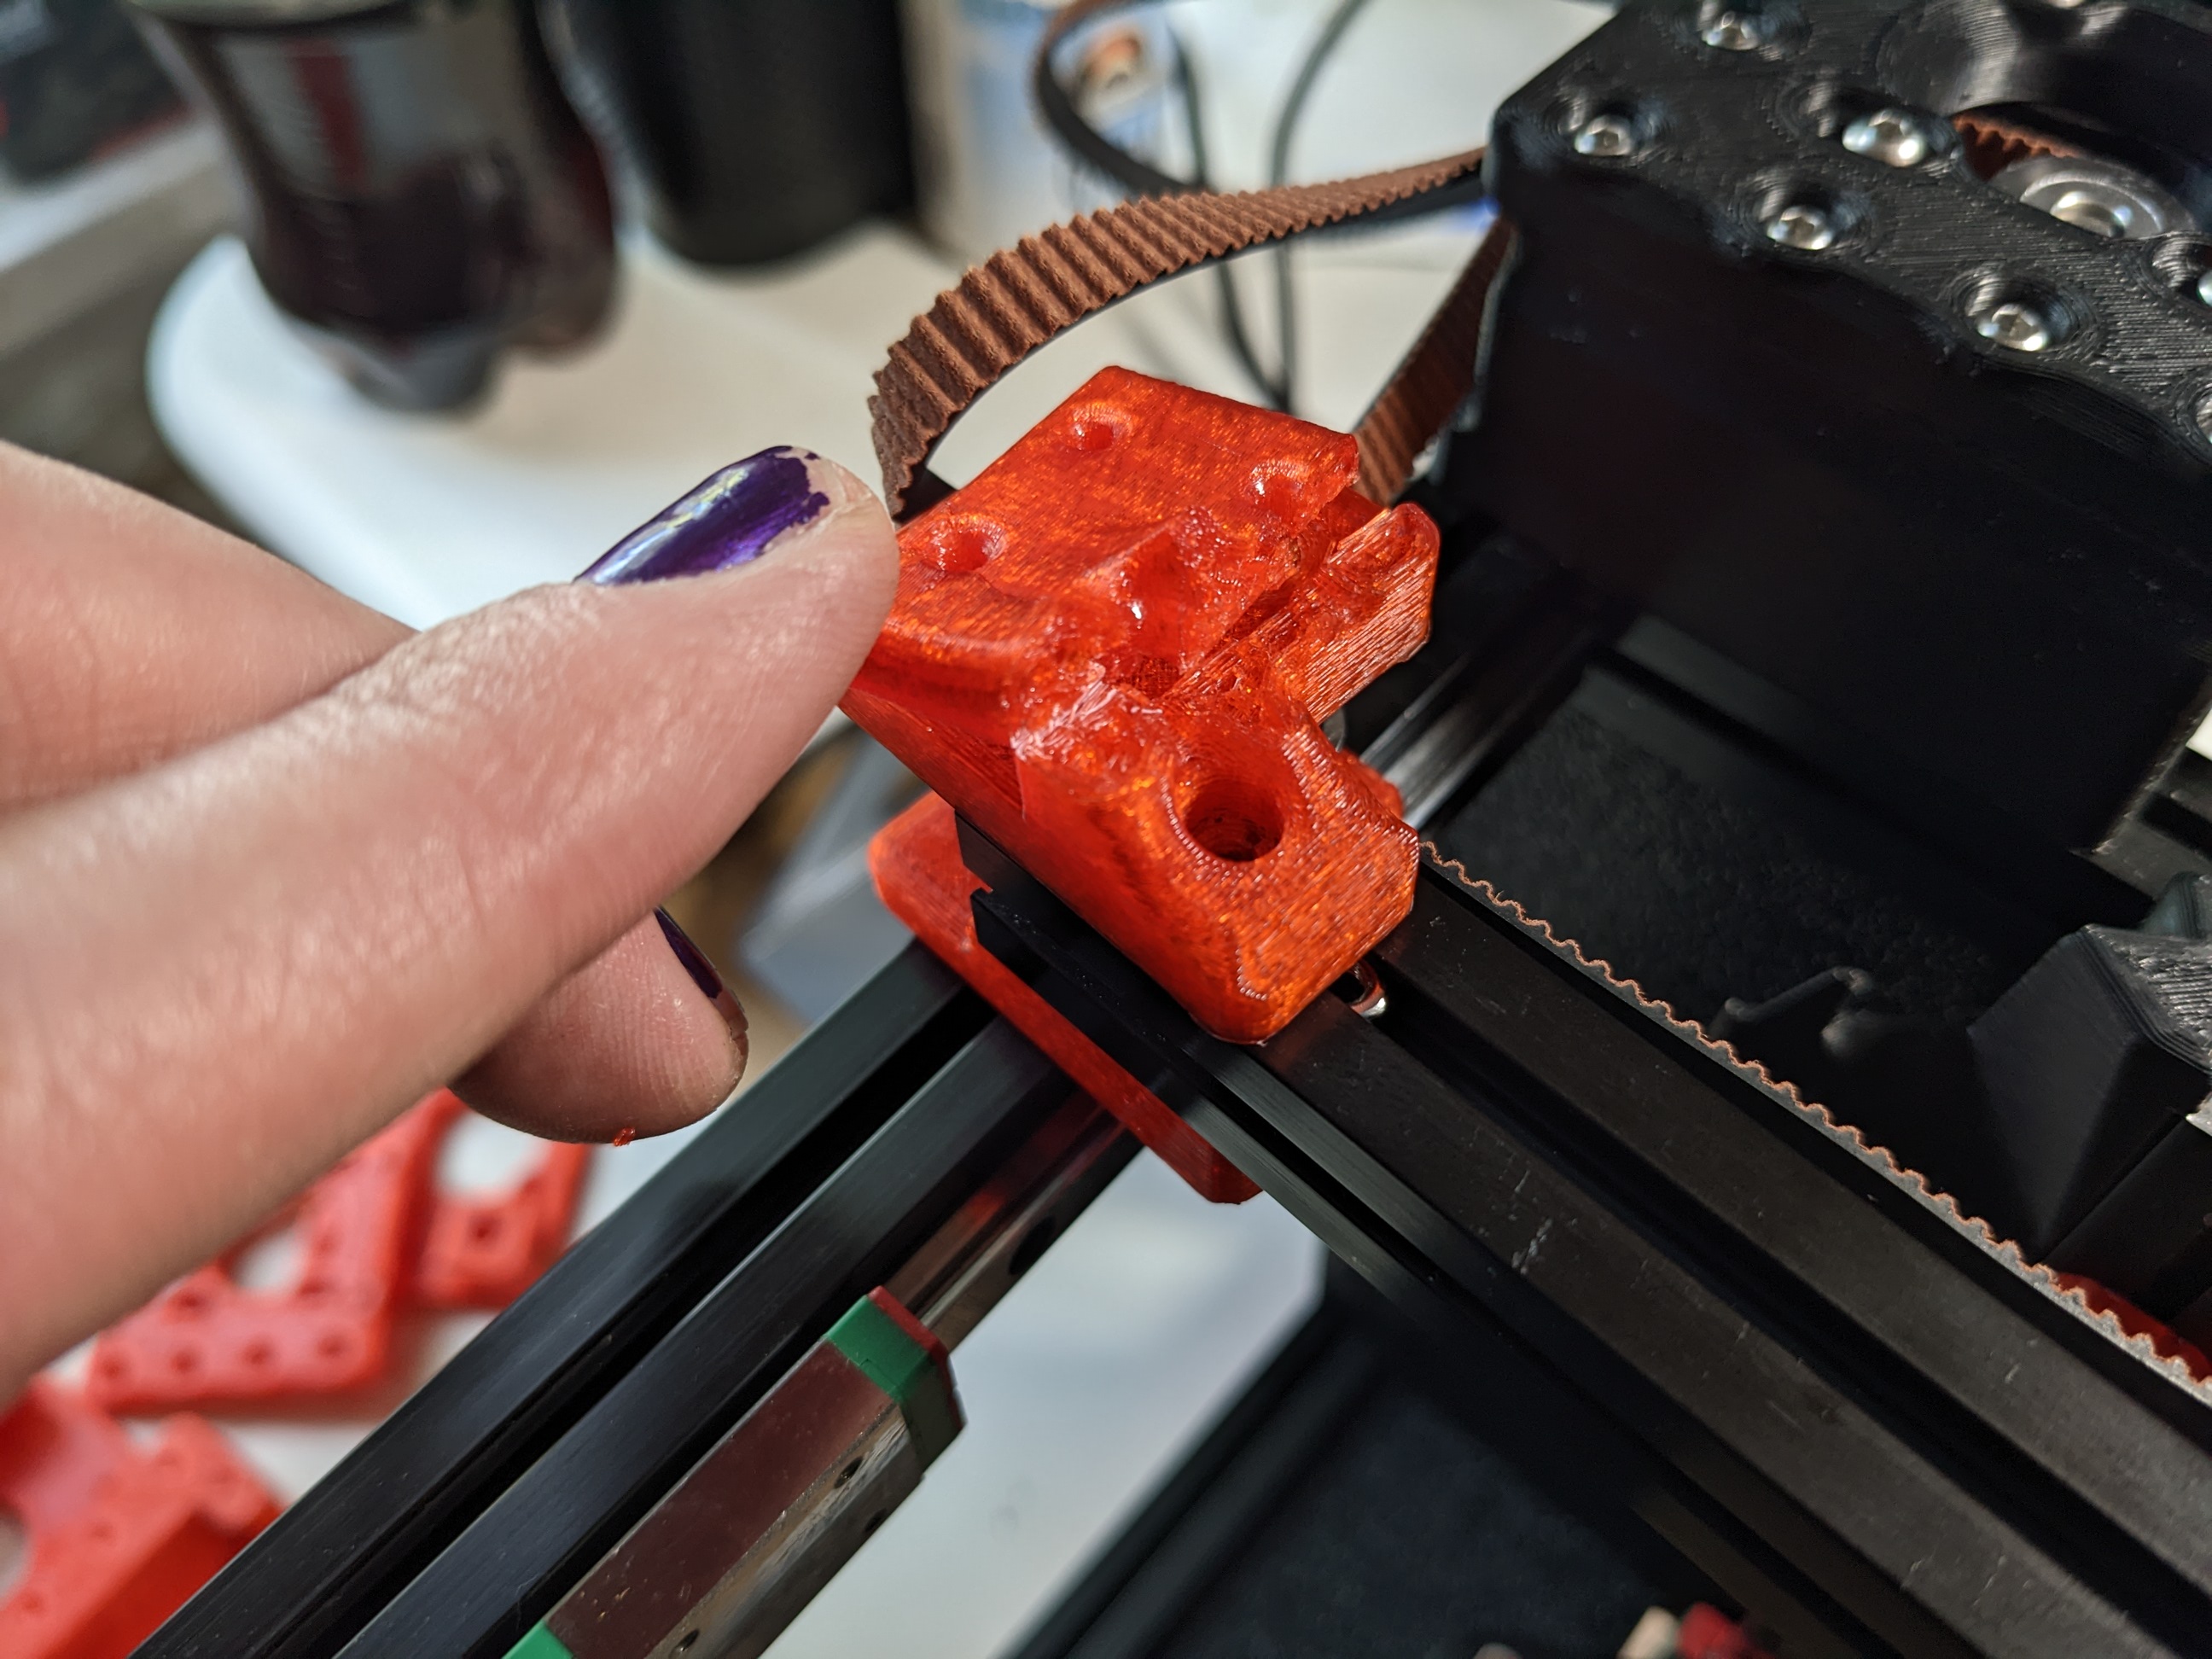
Another small modification was the installation of a Pi Camera mount. Since I added one of these to my Ender 3, I've relied upon checking up on the progress and status of a print through the nearest web browser. This mount is not only small, it minimizes spots for cabling to get snagged while standing neatly out of the way of working components.
One more small mod was to install mountpoints for LED strips. While you could find designs which place this on the tophat, I wanted to mount this in a more out of the way location. You'll see why below.


As I disassembled the printer further, I found more and mount places where the 3D printed pieces had all failed. Even parts which appeared fine on the surface had cracks throughout when finally disassembled.
The really damning moment of my poor filament choices came when I went to remove the gantry, and without thinking about it, I snapped one of the parts in half completely. It was frustrating, but I had put on a Dr Who audio drama and that helped to drive me forward as I reassembled the entire printer with new parts.
A lot of this process reminded me of how I learned Linux. I started with Gentoo, a source based distribution which required compiling nearly every application including the operating system itself. You learned a lot of internals that way. The multiple times I disassembled and reassembled this printer was giving me a similar education.

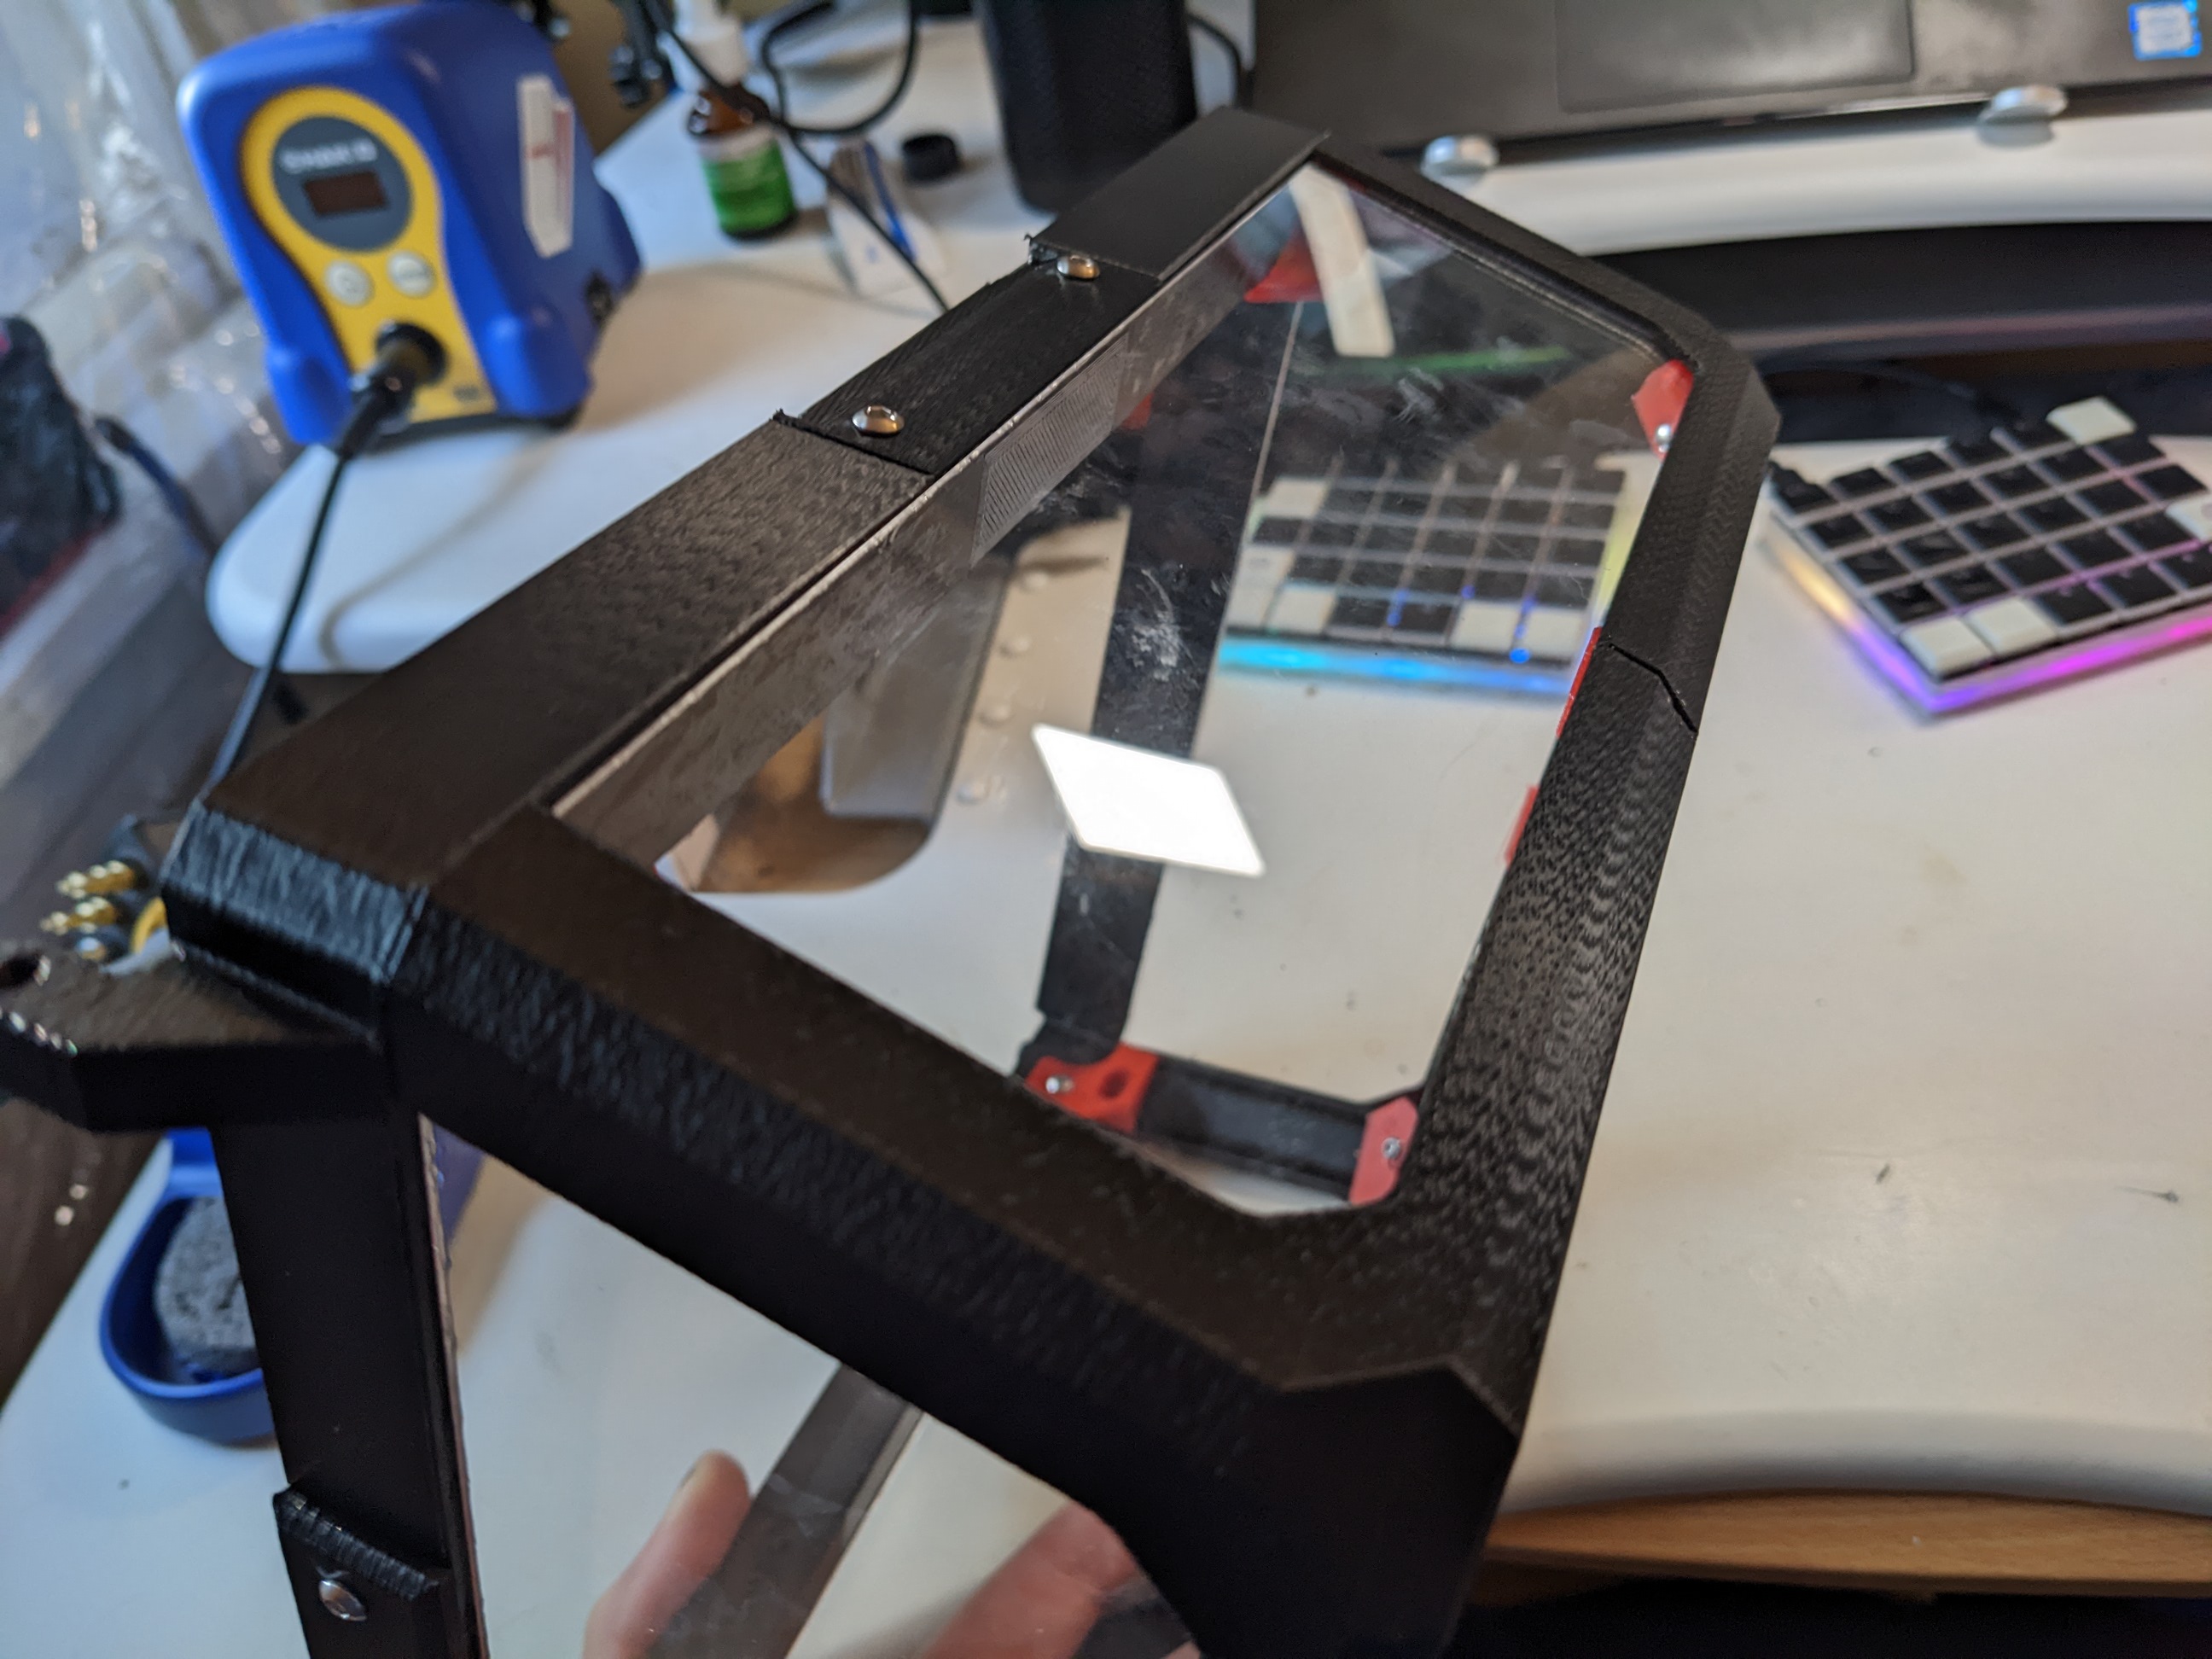

The reason I didn't want to install LEDs in the tophat of the Voron 0.1 is because I had another modification in mind: a hinge mount.
One of my build principles is that what I make needs to be maintainable. The default design of the tophat includes bolting it to the printer frame. If one needs to access the extruder head or adjust tension of the belts, you'd need to awkwardly reach into the printer through the door, or remove the tophat. Some Voron 0.1 builders also note that the tophat doesn't entirely provide enough room for the cable and tubing from the hotend. This modification solves both issues. Now, one only need lift up the tophat to gain much more access to the printer. I've also seen suggestions that removing the tophat helps when printing with lower temperature materials on the Voron 0.1 such as PLA.
The tophat is probably the largest, single mostly-printed thing I've made. While the CNC machine, laser machine, and TCHeRI are bigger, they rely on metal and prefab structural components. The tophat, however, is 3D printed pieces held together with some bolts, while holding some clear plastic paneling in place.
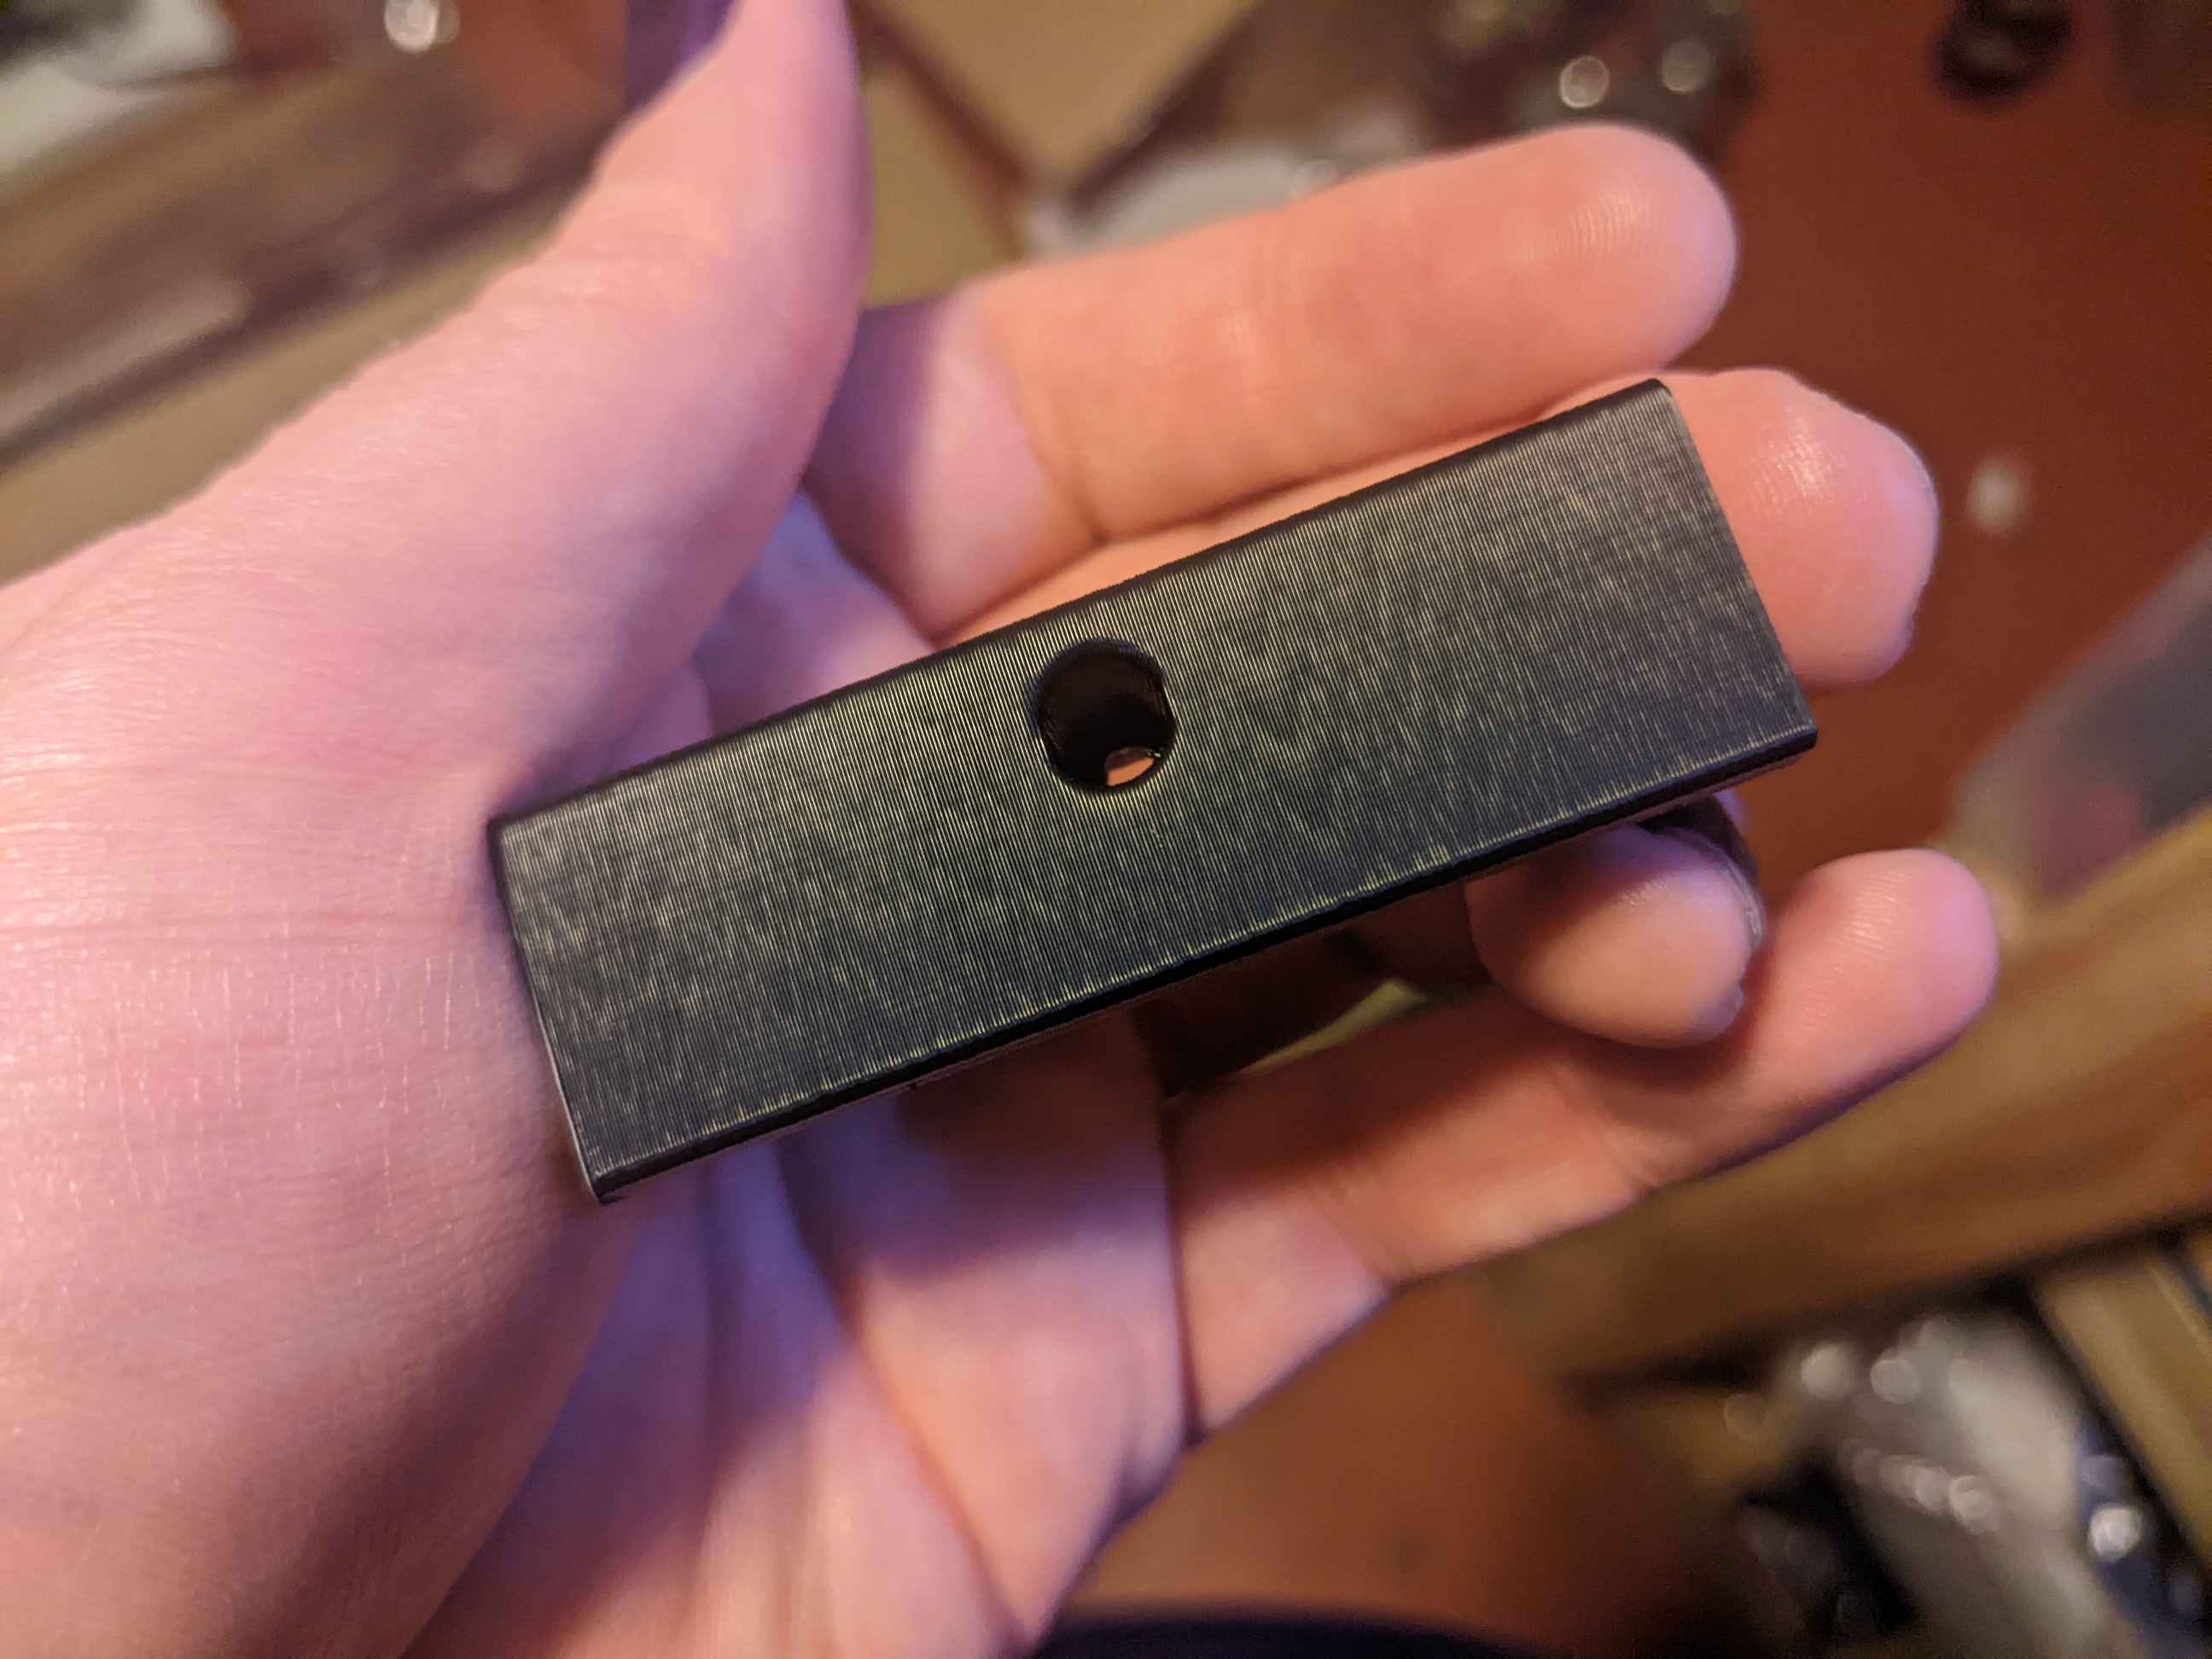
While it wasn't explicitly spelled out in the design, I decided to use threaded inserts to bolt the hinged tophat subframe together. Instead of pulling from my limited selection of M3 threaded inserts, I decided to try to extract those from the failed parts I had just removed from the printer.
The process turned out to be fairly simple.
- Heat the insert using a soldering iron applying the slightest pressure. Special threaded insert soldering iron tips are really helpful here!
- Once the insert starts to sink further in the part, grab a long bolt the same size and pitch as the insert. Quickly screw it in one or two turns, just enough for the threads to catch.
- Pull out the insert.
- Once cool, you can clean off the plastic using manual tools or solvents such as acetone, depending on material.
It's essential not to put the bolt in further than you need to pull out the insert. The bolt acts as a heat sink and will cool the insert and the surrounding plastic, making it harder if not impossible to pull out.
This recycling process netted me all but one of the inserts I needed for the new hinged subframe. It would have been all of them, but one escaped to my office floor, never to be seen again.
All this rebuilding was exhausting. To continue the build I would need to start working on the electronics. After some research, I found the wire I had on hand wasn't the recommended kind, and may have issues enduring the heat the printer potentially can generate. I ordered some wire with better temperature tolerance, but it won't arrive until tomorrow.
Perhaps it's time to work on something else for a little bit...


