
Painter's Pyramids for the Bench Donut
One of the things I enjoy the most is using tools to make more tools. Many will buy a 3D printer and use it only to make decorative items. While there is absolutely nothing wrong with that, I know I would be ultimately disappointed in a printer as a tool if I were so constrained. The key to unlocking the potential in a 3D printer is if you also can model in 3D.
I've modified a few existing designs before. My first was a simple bed leveling guide because I simply couldn't remember which way to turn the leveling knobs on my Ender 3 Pro. It was a modification of an existing design, but the project gave me much needed confidence. I followed this with a modification of a rack mount for a network switch. Both of these were little more than modifications on a existing project; move this, add a cutout here, shrink this, and so on.
Recently, however, I found myself wanting to extend another tool I printed earlier.
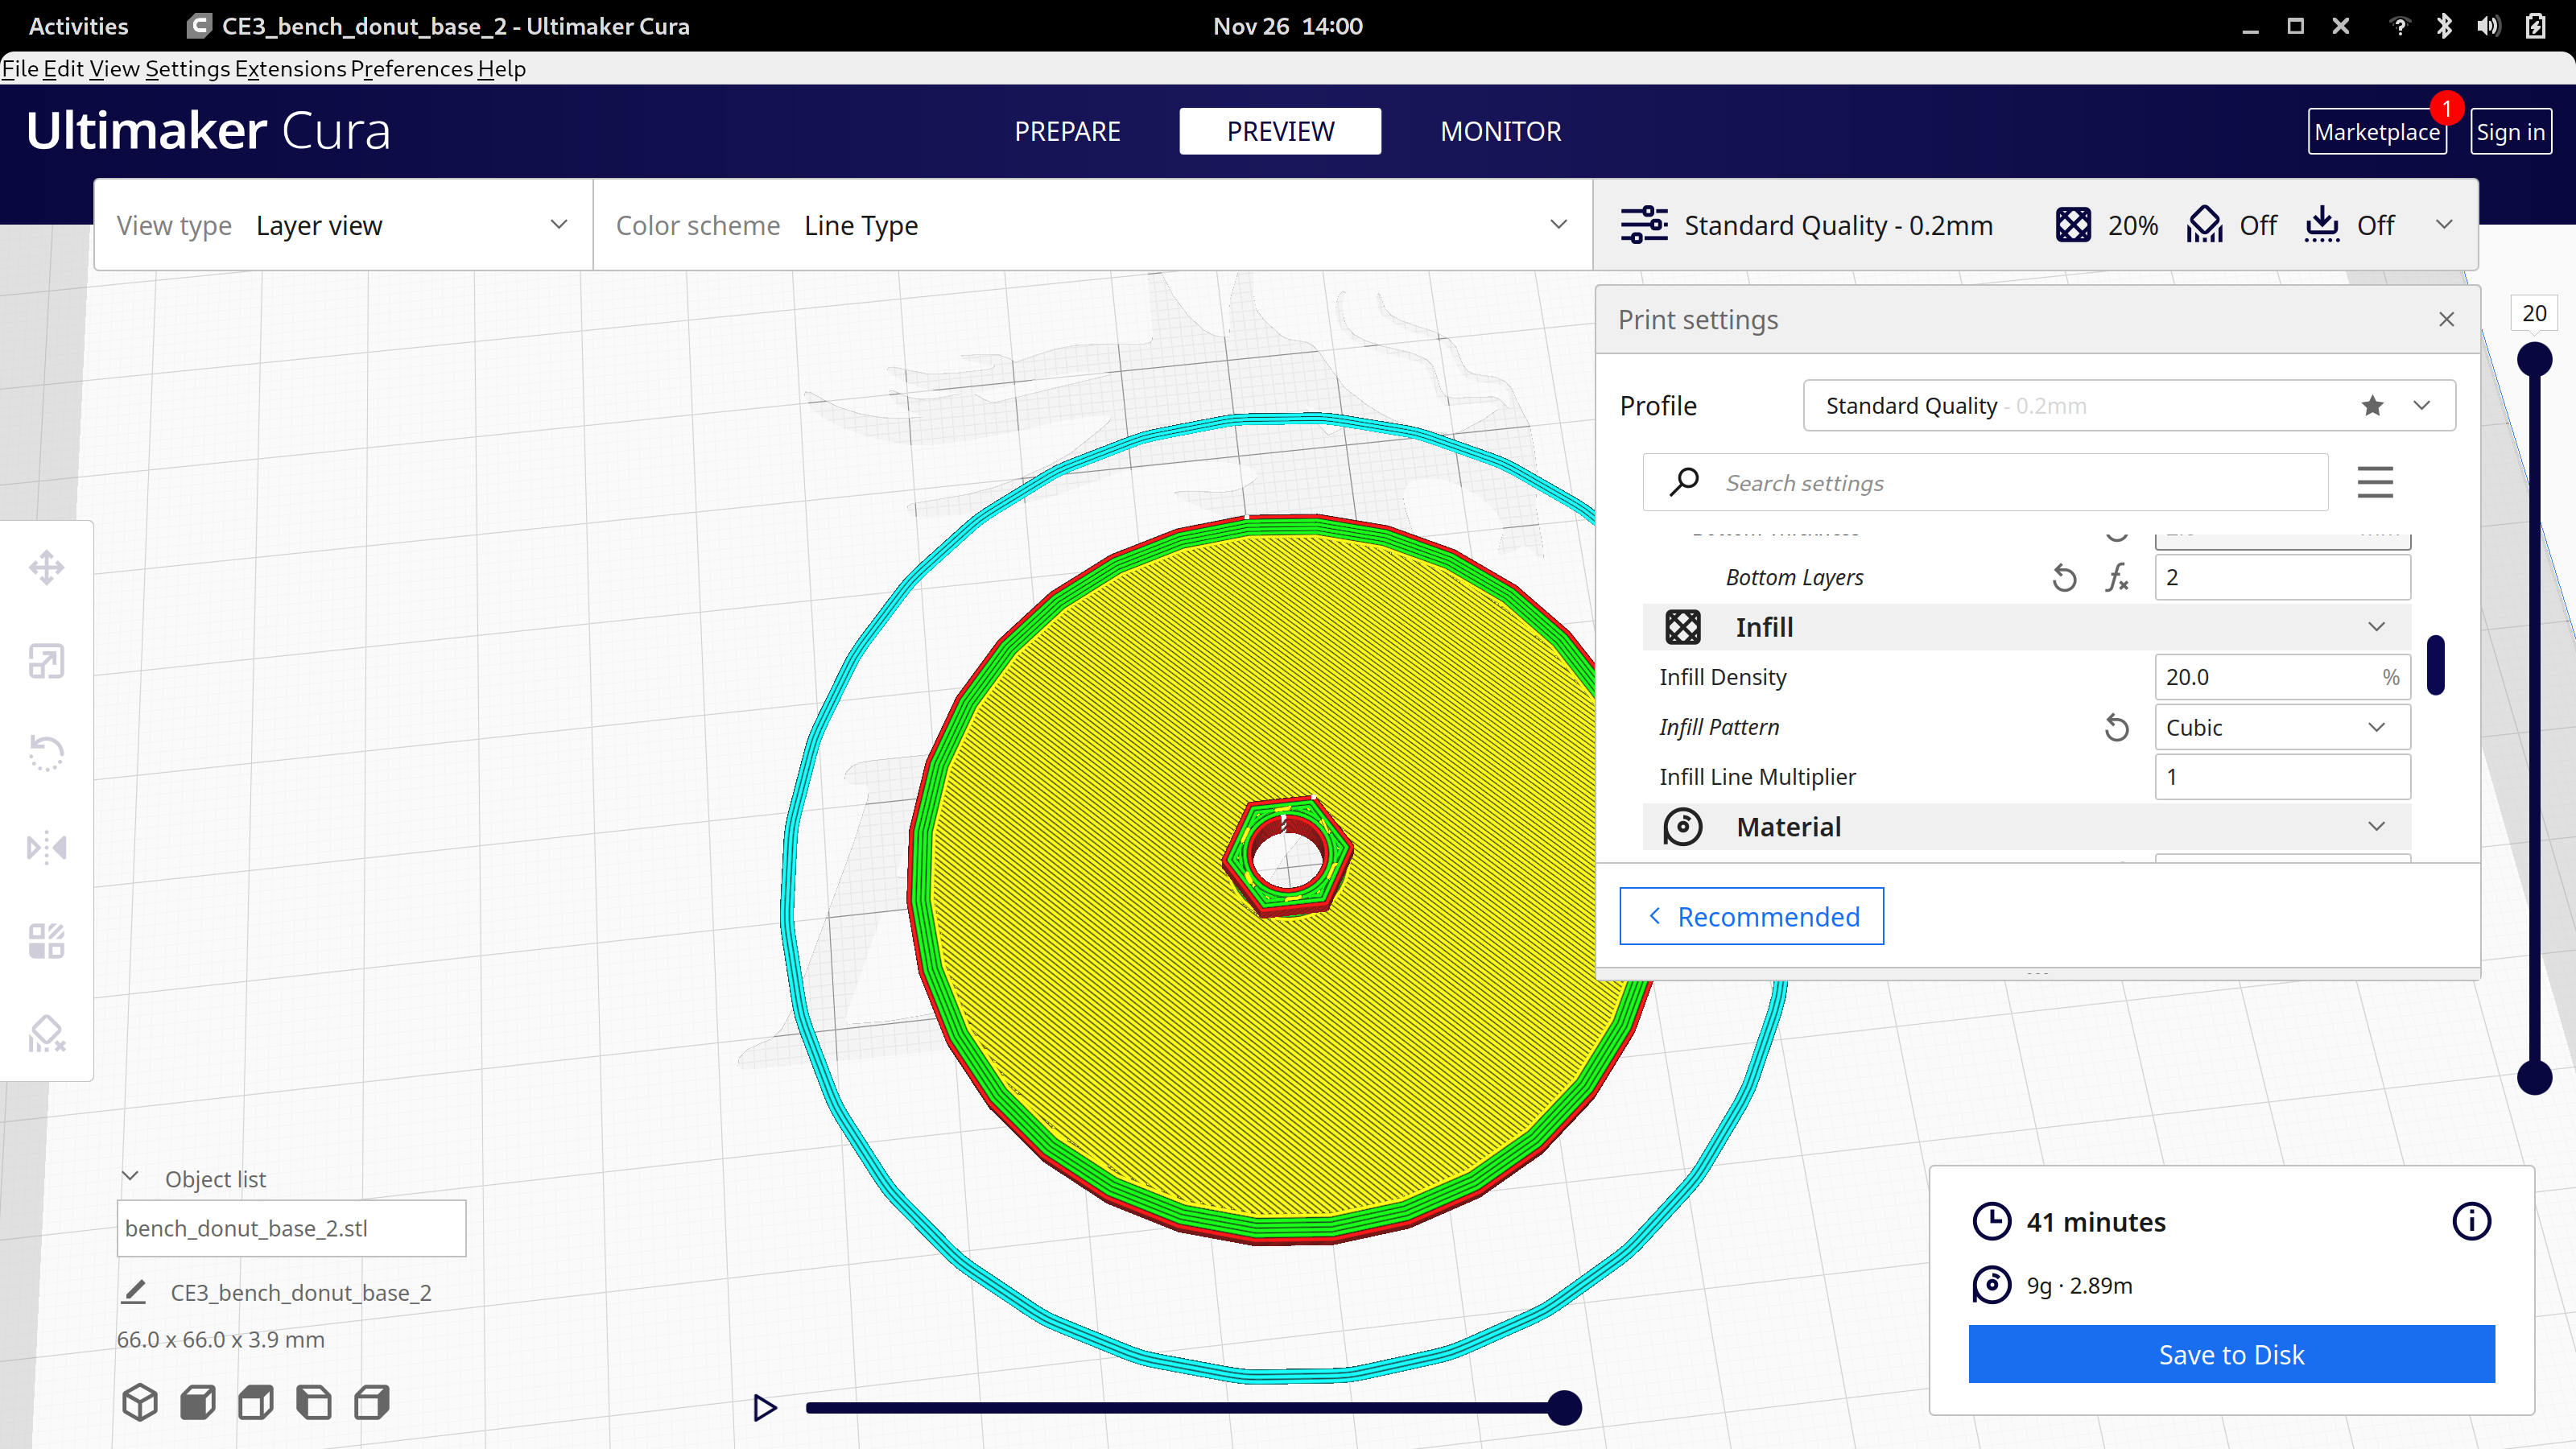
The Bench Donut is a kind of multi-purpose workholding tool. It resembles a hockey puck, with the top and bottom flat surfaces covered in a grippy material such as rubber. I didn't have any rubber at the time, so my version used anti-slip cloth which was left in a drawer when I moved into my house. To add more flexibility to the donut, an integrated threaded insert is at the axial center, suitable for an M6 bolt. While 3D printed, the bench donuts are heavy as they are filled with sand. Combined with the grippy surface, this results in a handy workholding solution.
I printed 8 of these donuts after receiving a gift of a circular saw. By placing the donuts on the floor, and then a sheet of material to cut on top, you can create sufficient clearance to use the saw anywhere there's a flat and level surface. The few times I've needed to do this sort of operation, the donuts were invaluable. As a bonus, they're so small you can shove them all into a backpack with ease.
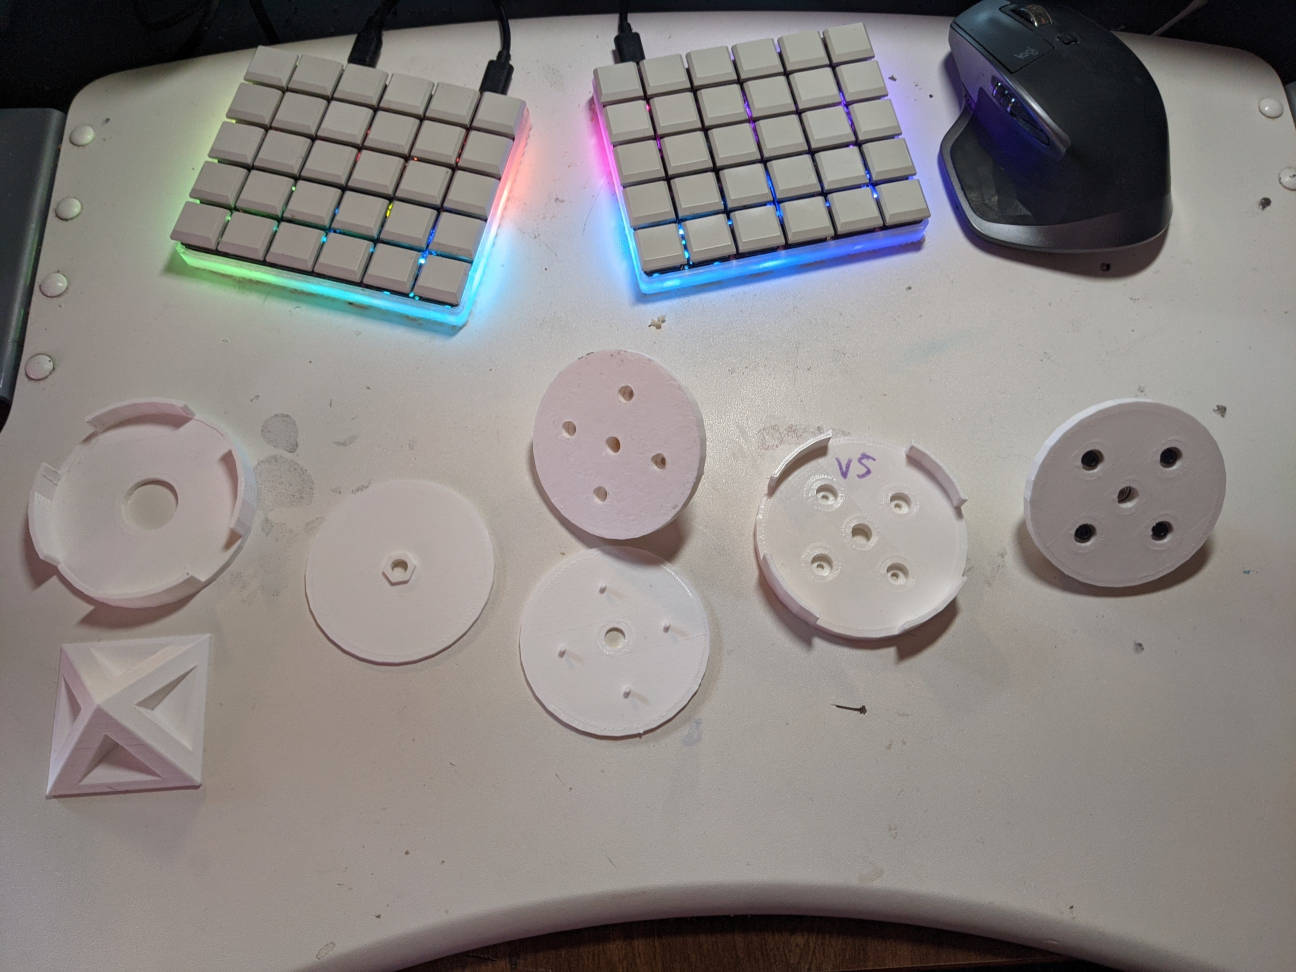
Another tool I also printed over the last year was a set of "painter's pyramids". These little tools are like the bench donut in that they elevate the work off of any flat surface, Unlike the donut, they also come to a point so as to minimize surface effects on material where finish is drying such as paint. There's a lot of painter's pyramids -- also called painter's triangles -- on Thingiverse. I needed them quickly, so I found the fastest to print design and went with that. The one's I printed worked, but I was ultimately unhappy with them. They were so small they would often move and skitter around the floor. The points were also very, very sharp, and clumsily stepping on one was not an experience I want to repeat.
When I had the opportunity to pull out the donuts to cut plywood for my on-going CNC machine project, I found the painter's pyramids right next to them. I couldn't help but think, I can do better.


Combining the pyramid and the donut isn't a new idea. Commercial versions of this also come with the option of painter's pyramids. Still, I wanted one I could print myself, was open source, and would work with the donuts I had already printed. I opened Blender and started to model an initial version. Thanks to my previous projects, I now had the skills to model something sufficient from scratch. The idea was simple: a blunted pyramid on top of a hollow cylinder which can clip on top of a bench donut.
From the start, I wanted to minimize the need for support material in the final print. For this reason, I broke my model into two pieces, a base and the pyramid itself. The modeling process was more straightforward than I imagined now that I was used to Blender's UI:
- Create a cube the size of the pyramid.
- Use the chamfer tool to create a pyramid on one half of the cube with the top still flat.
- Use the subdivide tool to subdivide the flat top.
- In edit mode, raise the now very small top polygon to create the blunted tip.
- Select the bottom of the half-pyramid/half-cube, shortening the cube half as much as possible.
- Use some more cubes and boolean modifies to create cutouts to reduce filament use.
I went one step further by trying to make space inside the pyramid for an M6 threaded insert I borrowed from another model. The base was modeled using nested cylinders and cutouts for the clips made using stretched cubes and boolean modifiers.
While it worked, the design had a few glaring faults. The threaded inserts I had did not fit at all, and the base had no way to locate itself on the pyramid, resulting in a sloppy appearance.


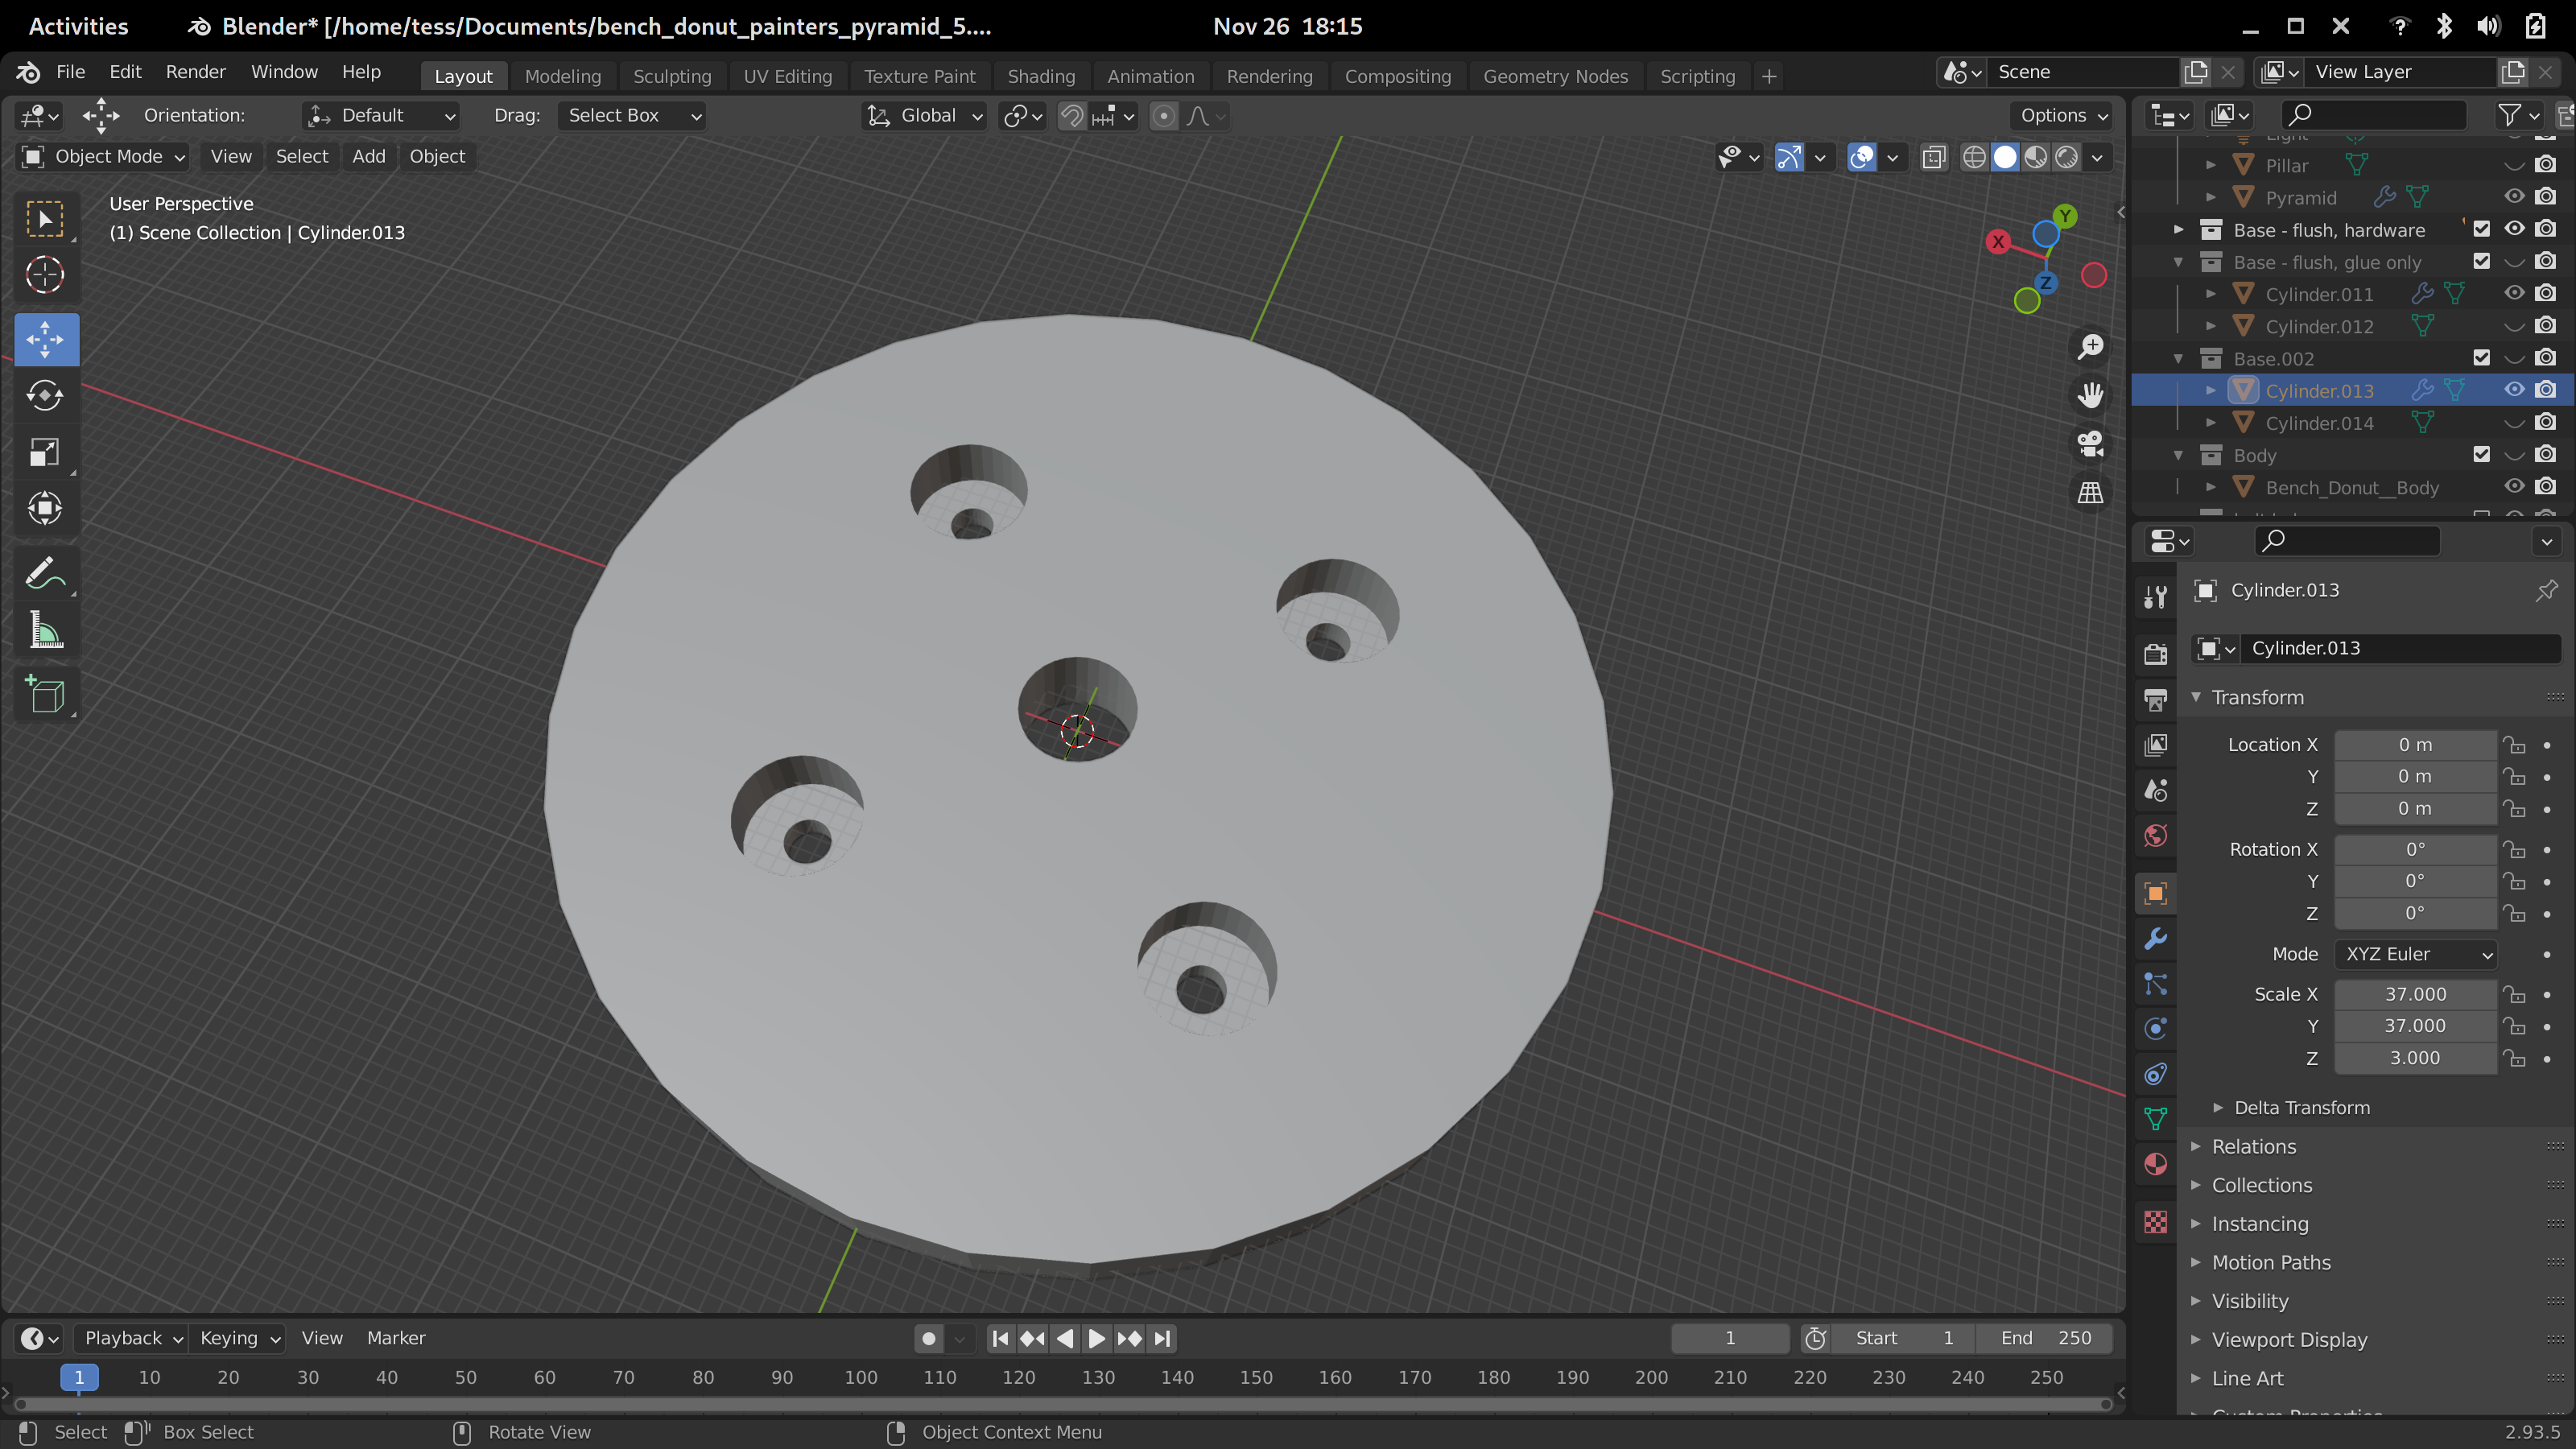
I scrapped the original model and tried again from scratch. This time, I borrowed a piece from the bench donut itself. Instead of a threaded insert, an M6 bolt or nut could be embedded into the pyramid. To keep that hardware captured, I made a simpler base with a "false nut" on top. This little extrusion would fit in the space for the nut in the pyramid, solving the locating problem.
Again, this worked, but it had a new problem. The false nut was tall enough that while a bolt would fit inside with the pyramid seated on the base, a nut would not. I also wasn't entirely fond of requiring glue for this project. I started wishing I could instead connect the pyramid to the base using regular hardware, such as M3 bolts.


At this point I was comfortable using boolean modifiers to union or punch holes in a model. Bolt holes are just more boolean modifiers with specifically sized cylinders. After changing the base units in Blender to use millimeters, I was able to make a slightly oversized 3.05mm hole through both the base and the pyramid. I had to make the base thicker to accommodate the heads of the M3 hardware.
Considering donating! It helps us pay for materials, tools, hosting, and helps to keep us making posts like this one!
I only eye-balled the dimension necessary for the bolt heads, but I got lucky and it worked the first time. Sadly, two a new problems were created in this version. The false nut and the holes for the bolt heads were on opposite sides, necessitating the need for support material. I didn't like this, but it was a very small amount of material so I hoped it would be okay. Imagine my surprise when I found out the false nut itself was the other problem. Due to the orientation of the nut and the M3 holes, the pyramid could only fit on one way, making for unnecessary frustration during construction.
I could have stopped there, but I just...wasn't happy yet.

One thing I realized is that with the bolts, I no longer needed the false nut in the base. This fixed several problems at once:
- The M3 hardware itself could locate the pyramid on the base.
- Removing the false nut eased clearance needed for the embedded M6 hardware.
- One side of the base was now flat, and could be printed without support material.
The only real problem left was minor. The M3 holes needed to be a little larger to pass through the bolt without resistance. Previous versions had it as the same size as in the pyramid. While that took some trial and error, but eventually I got that to work.


While I was happy with the version I had made, I could tell that others might want more options for building the pyramids. A hardware-less glue-only version would be nice, as it has half the print time of the standard base. I would also want a clip-on version, which eliminates the need for an M6 threaded rod to join the pyramid to the donut securely.
The glue-only version was easy. A cylinder the same size as the hardware base, but with four tiny pins on one size. These pins loosely fit in the M3 holes in the pyramid, allowing locating without much additional material.
The clip on version required more editing, but it was essentially extending the existing flush model. Then, I used the same method to make the first clip-on version with the updated base. Since I wanted no support material, only the hardware version of the base is available as a clip-on, as one side can be placed flat on the bed.

Instead of keeping the design to myself, I posted the final version on Thingiverse for others to use. It can be printed relatively quickly, and has multiple options for the base. Hopefully someone else will find it of use.
While this project wasn't complicated, it was an excellent learning opportunity for me. Never before was I able to model something like this from scratch, while also iterating on the design to correct previous issues. This gives me a little more confidence that I can design my own creations for my printer in the future.


