
A cheap, durable, and flexible indoor greenhouse
It's hard to be a gardener in Minnesota. Our growing season is really short, so execution requires a lot of cleverness when it comes to doing indoor set ups. Last year, we had a single grow light and a few trays of pre-made seedling trays. While we did get a few plants out of it, the total result was a moldy, green mess by the end. We had better luck with seedlings bought at the hardware store and co-op, but this year we really wanted to do better.
And to do better, you need to start seedlings indoors in Minnesota.
In February.
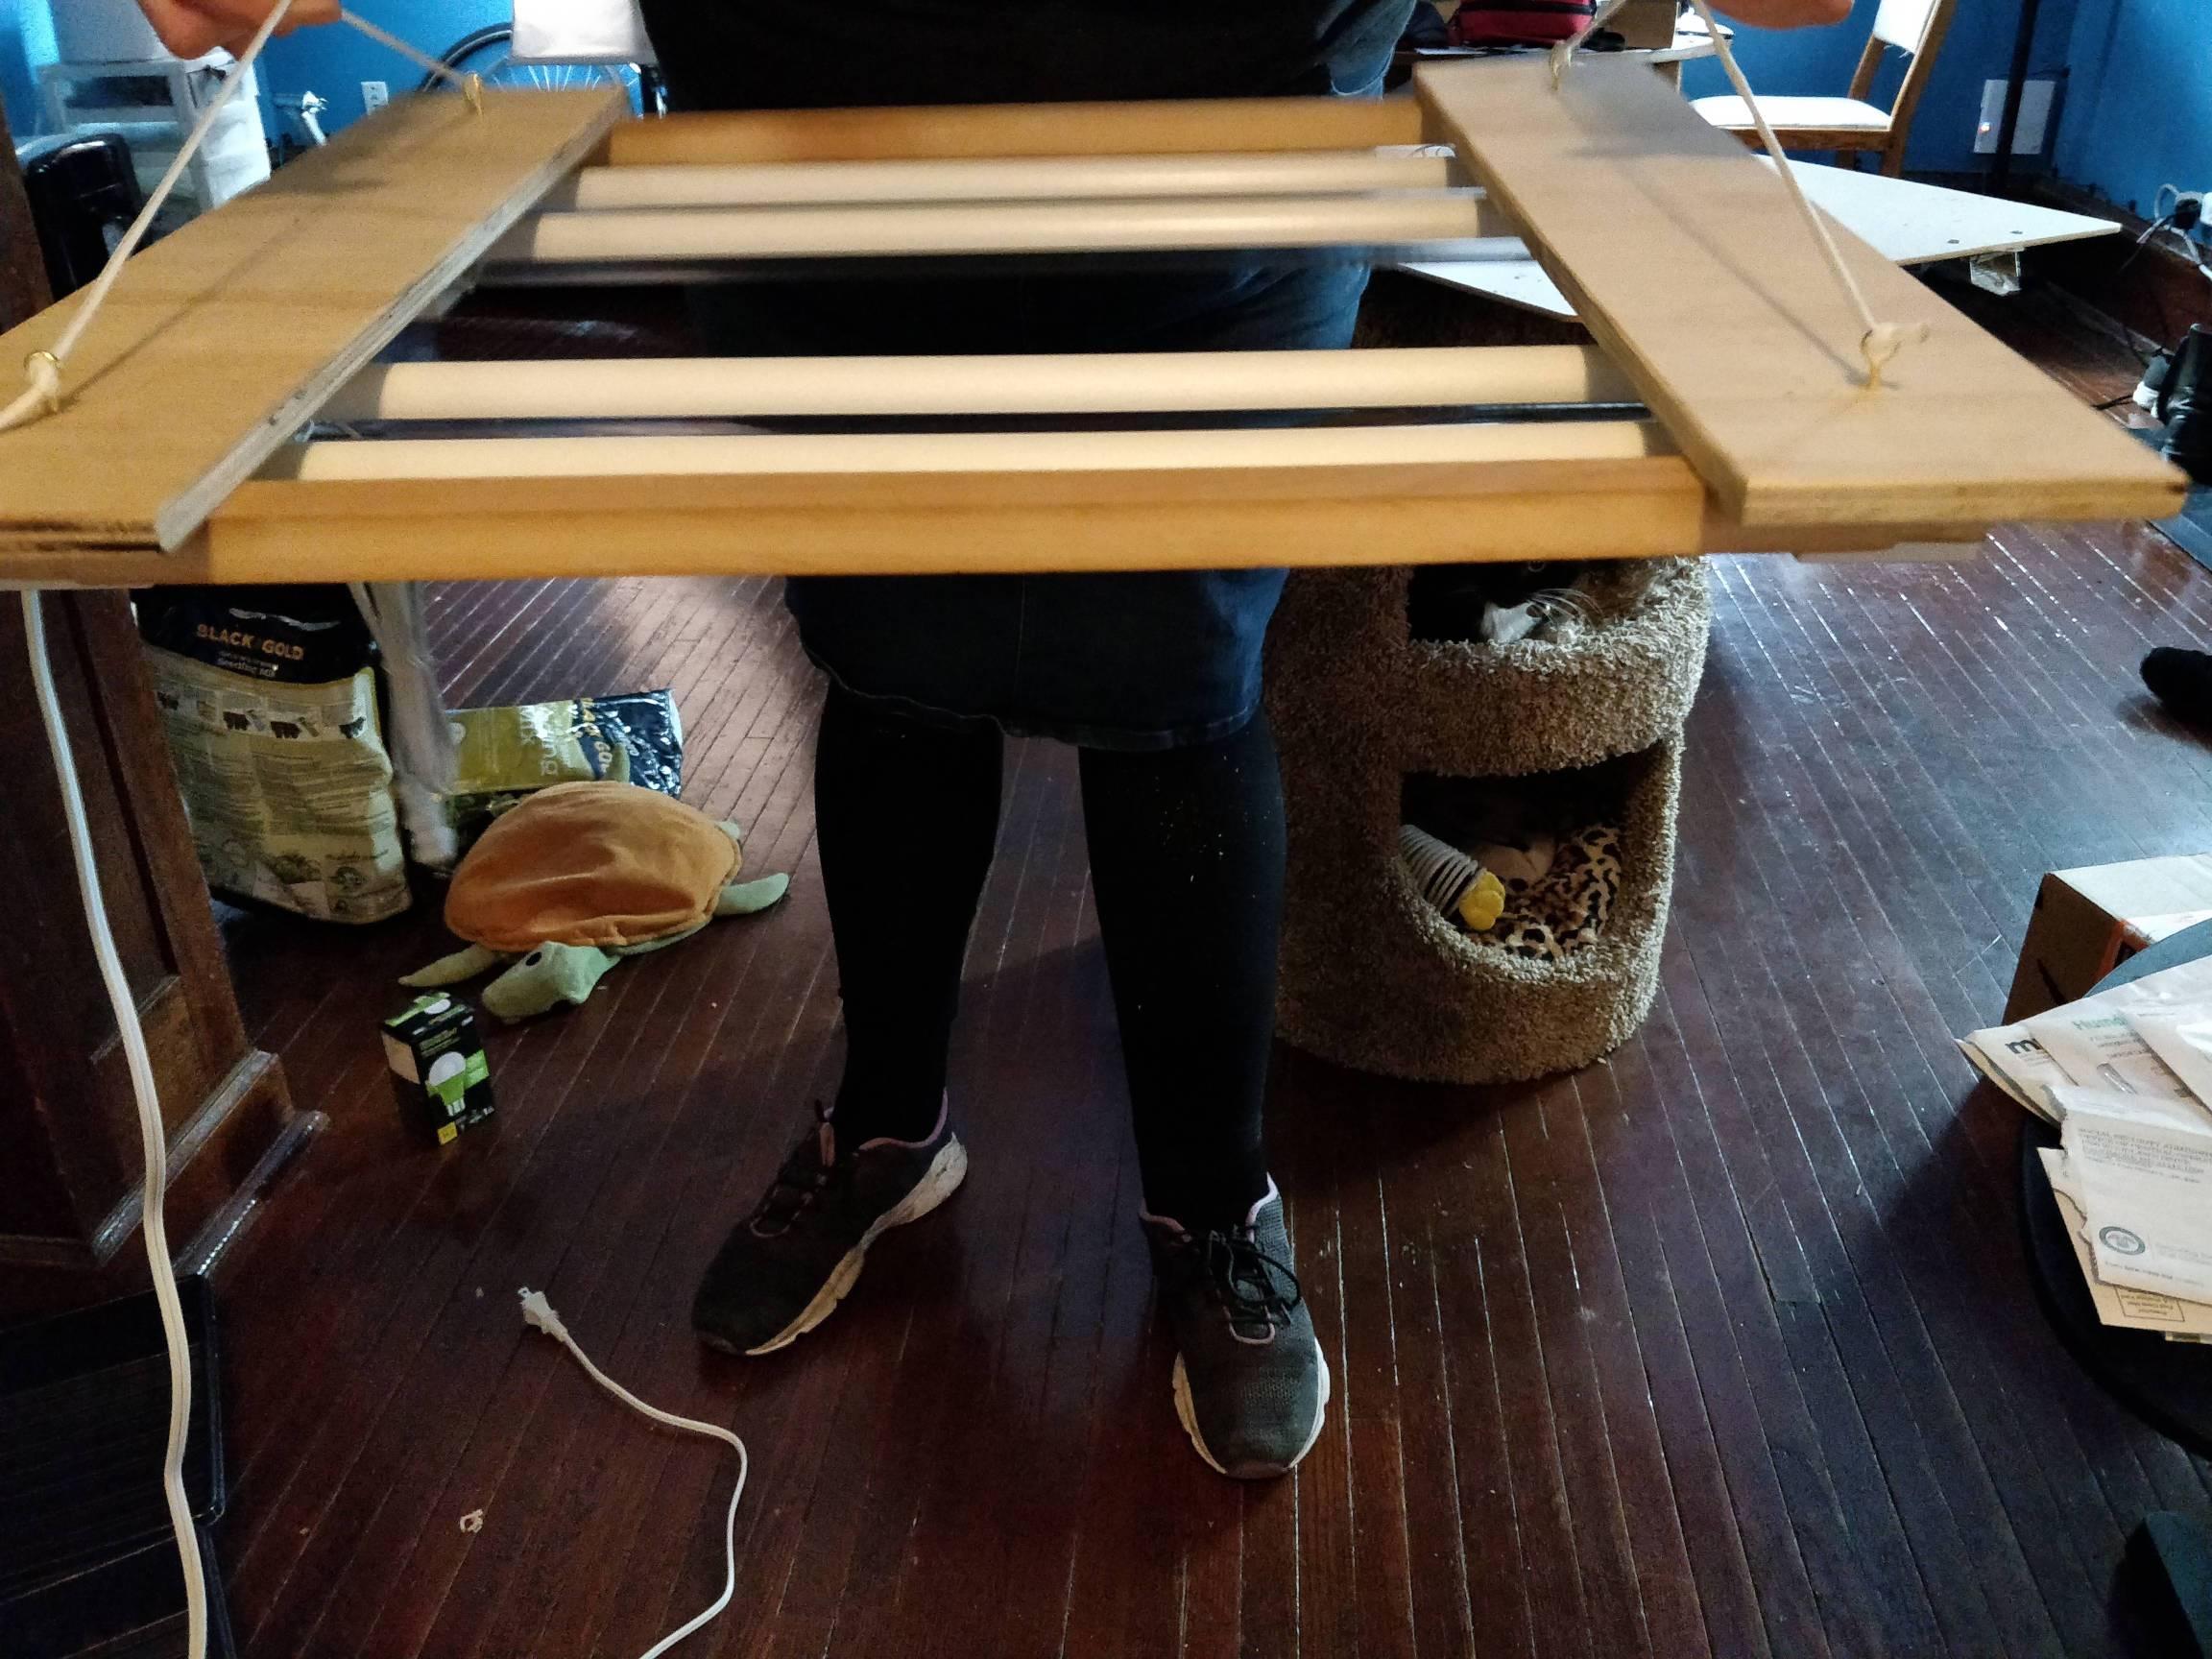
This year, we tried the same seedling setup we had last year, only with separate seed starter soil instead of a pre-made kit. We purchased two tubular style grow lights. They look like long-form florescent lights, but are LEDs instead. We built a small framework to hold two sets of lights suspended using paracord.
This worked, but there was no way to keep the plants warm without keeping an entire room warm. Which is a challenge when it's -23C outside and your house is over 100 years old.

Two weeks later we were having some success, but there were still more seedlings to start. The problem was, we had no where to put them. The light frame we had made before was good for two trays. Some thinking later, we hit on an idea.
Lying around the house was a hideous plastic shelving unit. It's the kind you get at any hardware store to set up shelving in your garage. They're plasticy, utilitarian, but easy to break down and store. Everything that makes it bad for indoor decor makes it great for an indoor greenhouse: The plastic is impervious to water, and the open grid shelves allow air circulation.
We chose a window in the house that was usually covered up, but received sunlight for the longest amount of time of any day.

We purchased two more of the same LED lights to populate the shelves. The lights are by far, the most expensive part of this build. Each single light unit was $40 USD, and there are four levels on this greenhouse. The top shelf is kept empty as a cover. Fortunately, you don't need to buy them all once, and you may find cheaper options or alternatives in your area.
Mounting our lights was done using a roll of solid core "bell wire" we had around the house. You can use rope, yarn, chain, a bunch of twist ties... The LED lights are very light, so they don't need to hold much weight. For the bell wire, we looped one end through the existing mounting holes in the lights, and then another around the shelf above it through the grid. Professional, it is not, but it is effective!
Please consider donating. Even a few bucks can help with hosting or our next project!
Dedicated grow lights have the advantage they are intended to be chained together. Each has an outlet on one side for the next light to plug into. Be sure to check your light's instructions on how long these chains can get. Too many can be a fire hazard. We passed the cable for the bottom-most light through the bottom shelf and into an appliance timer to turn the lights on and off automatically.

If you have plants and pets, you're going to have problems. Dogs may eat your plants, cats too, or at least jump on the shelving units and potentially make a mess. Worse, some plants you may grow could be poisonous to your pets, so you want to keep them safe.
I had thought of a few ways to do this, but I found the solution was again, use what you have.
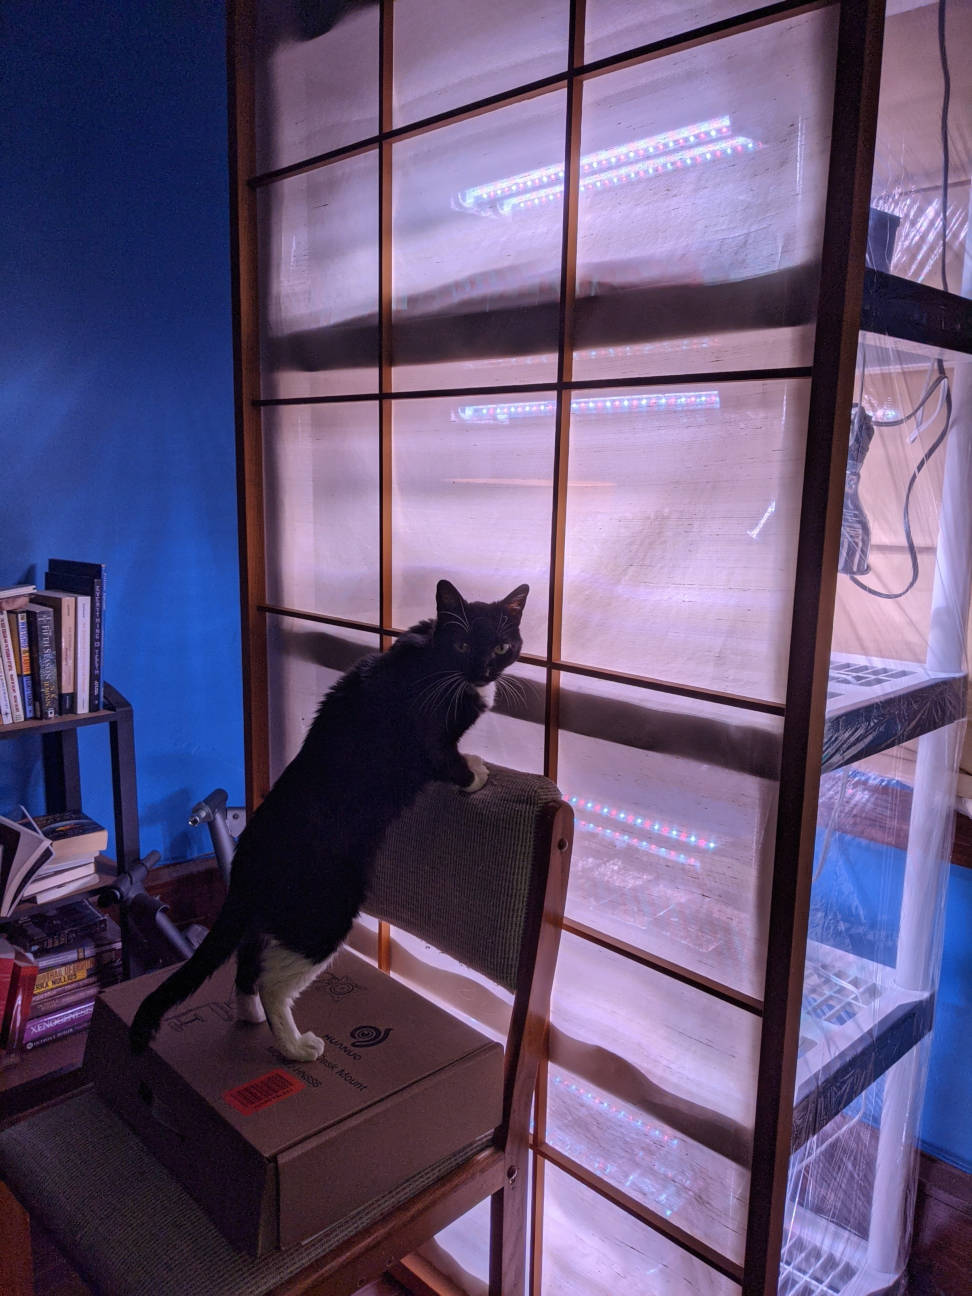
The winter was really mild this year in MN, so I had several boxes of plastic window insulation I hadn't used this year. Usually I just keep it around until the next, but they also make a great barrier -- at least for my cat. Some pets will plow right through the plastic, so your mileage will vary here.
Use the provided double sided tape in the package to line each shelf on the outside, optionally, also put a strip on the vertical members. If you haven't put up window plastic before, a standard utility knife, scissors, and a plastic putty knife are your friends. Use the utility knife to cut the strips from the roll as you apply them. Press the tape on using the putty knife. Then the utility knife again to remove the backing. If you don't have a plastic putty knife, a debit/credit card will work even if it's a bit harder on the fingers.
While the window insulation plastic only has a certain height, it comes on a continuous roll you can cut. Instead of rolling out the width of the shelf as you would for a window, roll out the height of the shelving unit and cut it with the scissors. Cover three sides of the shelving unit. If your plastic isn't enough, no problem. Add double sided tape to the end of the plastic, cut an additional section from the plastic roll, and keep going.
This creates both a heat barrier (it is window insulation after all) which allows light through. Place the open side of the shelving unit against a wall. You can slide the entire unit out carefully to water. Or, if you have a curtain or panel, place that on the open side instead.
- Plastic shelving unit ($15-$30)
- One grow light for each self ($40-160)
- Window insulation ($7, optional)
- Appliance timer ($15, optional, but really nice to have)
- Utility knife ($5)
- Plastic putty knife ($3)
- Scissors ($4)
This indoor greenhouse only takes about a day to make. You'll likely spend more time getting your seeds started than building the shelving unit. As a bonus, the entire greenhouse can be broken down and stored easily. You can start with only one shelf, adding more lights as needed.
The best part is you might have most of this stuff already. We only needed to buy the lights.
