
Blinkenlights for TCHeRI
One of the design motives for TCHeRI (formerly "The Pi Cluster"), was to show off the electronics. It wasn't enough to just made an understated case which quietly sits in the room, I wanted it to be a celebration of it's construction and components. It's why I built the case out of aluminum extrusions and used plexiglass for the side panels.
One key item I had yet to add to the case was a logo. While TCHeRI itself now has a logo, my original plan was to use the deninet "brick" logo instead. I actually have two of them already 3D printed; a larger one almost 120mm wide, and a much smaller one. My first thought was to use the large one and split it between the doors, but as the case came together it seemed to simply overwhelm everything else. After a poll on social media, I was convinced to use the smaller, more understated logo.


Kinda.
One idea I've had repeatedly is to light up the brick logo so that the banding and "shadow" glow, while leaving the silver parts opaque. The problem was the two logos I already had printed came in two parts. The silver part and red part (the banding and shadow) where printed out of different materials. While the shadow was translucent, the banding clipped over the silver part in the existing prints, meaning lighting it from underneath would be muted at best.
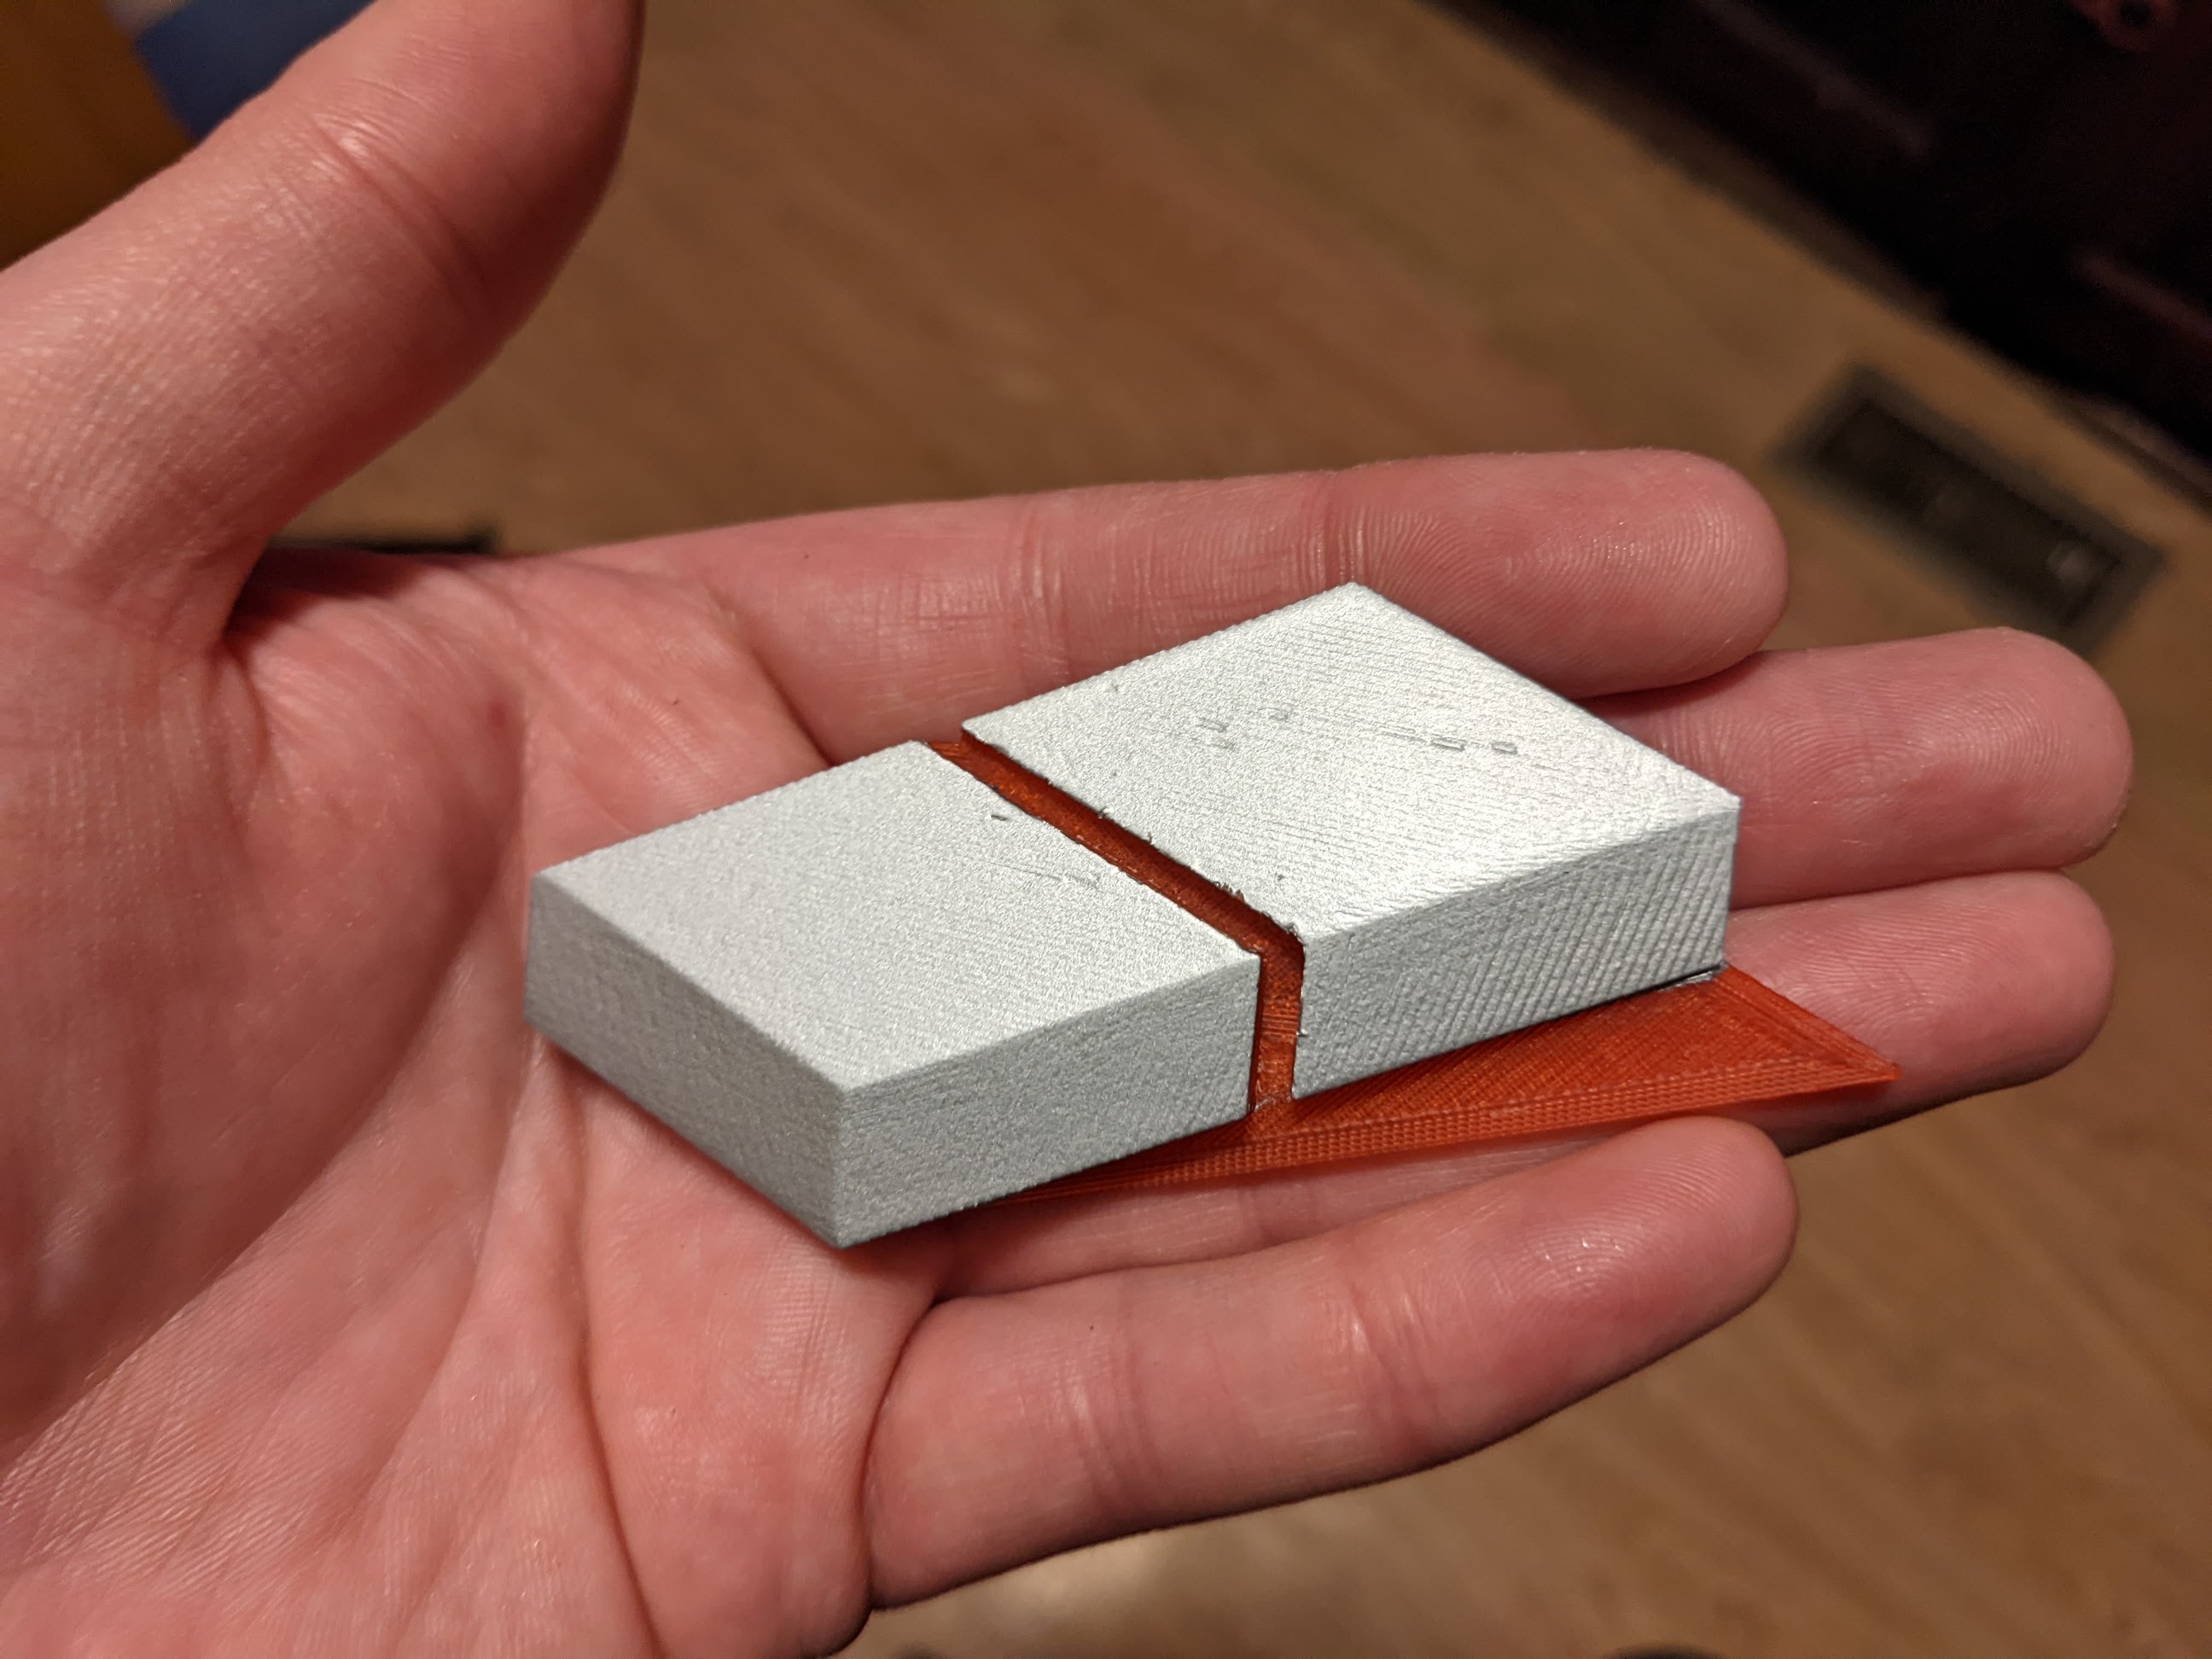
Fortunately, I had three things on hand: The STLs for the logo pieces, some silver spray paint, and some translucent red ABS 3D printing filament. In blender, I combined the silver and red pieces into a single model. Then, I printed the entire thing in red ABS. This would allow better transmission of light from the banding, at the cost of needing to mask and paint the model.
After filing and sanding the faces of the print as smooth as I had patience for, I masked off everywhere I wanted the original plastic to show through. On a cold, snowy Sunday, I applied layer after layer of silver paint to the part, letting it dry in a bathroom with a window fan venting the fumes outside. Ideally, I'd have just left the part outdoors, but the cold temperatures wouldn't allow this to work, and I didn't want to wait until spring.
After letting it dry for 24 hours, I removed the masking tape and the result was nearly perfect. There's a small blemish on one of the faces where the printer underextruded which the paint did not fill in. In the future, I may try to fill that with epoxy filling compound instead. Even so, the result was more than acceptable. As a bonus, the paint was a proper metallic silver, rather than a dullish silver you get from most silver filaments.


The next part of the project was to make the thing glow. I had originally though of using a neopixel ring I had on-hand, or some multi-color two wire LEDs I used in the 3D printed Pumpkins project. Both of these had separate problems. The ring was a lot brighter, but it was physically bigger than the logo itself. Given the place on the cluster's case, I didn't want to make the logo bigger to accommodate the ring. The LEDs would have worked, but they couldn't be synchronized and required 3.3V instead of the standard USB 5V, complicating installation.
Either way, I really wanted a microcontroller to control the lights for future tinkering. One micro I had on hand was a Arduino Micro, a now discontinued smaller, breadboard friendly version of the Arduino. It was just small enough to fit under the logo, and I found a nice case on Thingiverse I could modify into the outline of my logo. After some more modeling in Blender, I was able to do just that. The pins of the micro actually face toward the logo, with a small chamber in which to mount whatever lights I wanted under the logo. Two through bolts secured the back case to the logo. Instead of bolt holes, I heated an M3 nut at the end of a long bolt and then pressed it into the underside of the logo, matching the bolt holes in the rear case. Repeating the process a second time resulted in a logo with to embedded nuts.
But, I still needed to solve that light problem...
I have a roll of Dotstar LEDs I bought years ago for a project I never really got around to doing. When I looked more closely at the roll, however, it became obvious I couldn't really use it. The roll wasn't a normal LED strip, but a low density, weather-proof strip. I had intended to use this to wire some windows in my house with a lit up display, so the low density and weather proofing made sense. The weather proofing wasn't too hard to remove as it was just a silicone sleeve around the strip. The real problem was the low density. Each LED was further apart than the logo was wide.
I was about to put the project aside and order some neopixels when I found an old LED strip in my junk drawer. This was from the first keyboard I built myself. I did try to install the LED strip then, but it never quite worked in the keyboard, so I removed it and set the strip aside. Could I use this? I thought.

Unlike the Dotstars and Neopixels, the no-name strip from the keyboard wasn't four wire, but three wire. After some searching online, I found the pinout and necessary libraries to run the strip. The only problem was the strip was still longer than the entire logo. I would need to cut it in two. Worse, some of the connectors on the strip itself had failed or broken from my earlier, ham-fisted attempts to get it working in the keyboard.
This is where the Pinecil came to save me. It's smaller size and narrower tip compared to my Hakko soldering station allowed me to carefully resolder the broken connections on the LEDs themselves. This allowed me to not only repair the strip, but cut it in two and use all six LEDs. The LED strip is connected to the micro using dupont connectors which attach to the micro's pins. I wanted a solderless set up here for future modification without requiring soldering. While this did add size to the overall device, most of it will be inside TCHeRI's case, and not readily apparent.
When left out of the case, and both halves put together, the result looked rather like a Star Trek combadge toy I had as a kid:

With the logo finished, mounting it in TCHeRI was a simple process of locating where to make the holes in one of the plexiglass doors. Using a bit of poster tape, I positioned the logo on the plexiglass so it would look nice and level. Since I had melted nuts into the logo, finding where to modify the door was as simple as opening the door, locating the nuts, and marking the inside of the door using a sharpie. I could then carefully remove the logo.
Like I did with the panels, I used the Pinecil to melt the plexiglass to make the necessary bolt holes. Some careful work with a utility knife blade allowed me to clear away the now unnecessary melted plastic. This created a kind of sandwich: Logo on the outside, plexiglass door, rear case with the LEDs and micro. In a dark room, the entire plexiglass door becomes illuminated with distinct, but understated rainbow colors. The result was wonderful.
I've unfortunately skipped a step here in the narrative. I hadn't really talked about how I built the case itself. I do plan to get to that, but this small project was so much fun and required ingenuity at key steps I simply couldn't resist.
Don't worry, we'll get to that.
Building the blinkenlights for TCHeRI was one of the most fun parts of the project I had thusfar. It required drawing on multiple disciplines in order to pull it off -- printing, painting, design, electronics, and fabrication. The result is stunning and I'm looking forward to putting actual hardware inside the case and finally spinning on a Raspberry Pi powered computing cluster.


