
Components and rack for the Pi Cluster
Sometime earlier in the pandemic I did some unfortunate math. I decided to calculate how much I was spending on web hosting each month compared to how much hardware I'd have to buy to run those sites on a Kubernetes cluster out of my house. Unsurprisingly, the math was damning; the hardware was likely cheaper, even if I bought new hardware every year. Of course, this doesn't factor in time for software updates, materials, energy costs, and other upkeep.
I had run my own web server once. The junkbox system ran this site for almost two years, but in the end I decided to go back to third party hosting. This was before SSDs and more powerful single board computers made a powerful counterargument. Factoring those in, as well as the fiber line I have to my house, made me want to try again.
Even if it ended up being a silly project, I might learn something from the attempt.


The first thing I did was do some searches on Thingiverse. After some searching I found a simple, modular rack. Instead of holding each Pi in a little drawer, it has a sliding mount form which the Pi hangs. Furthermore, each Pi can be paired with a 2.5" SSD for additional, fast storage. The most attractive part was that each part wasn't a long print, meaning I wouldn't need to risk a lengthy, all-night job.
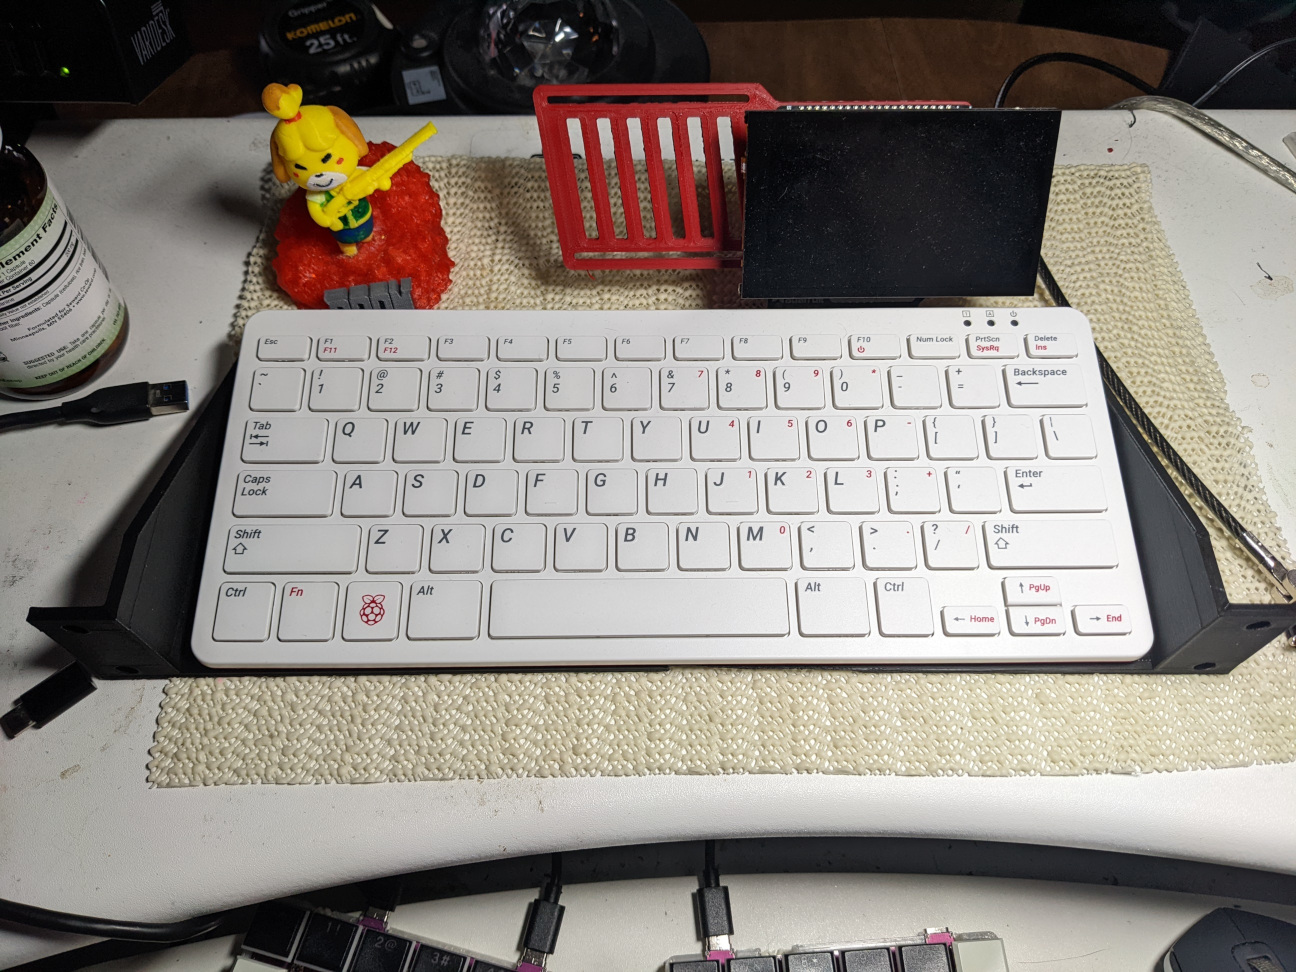
Originally, I was going to print all the components in black and red. The chip shortage, however, made Pi 4s difficult to find, although Pi 400s were much more available. I decided to buy one 400 for the kubernetes management node. And since the 400's color scheme was white and red, I decided to print everything in those colors with the plan to also make the case in white too.
For power, I decided to use Power Over Ethernet (PoE) and a small PoE network switch to match. This would reduce cabling for the cluster. I slowly started to acquire the hardware for it, eventually remixing an existing rack mount for the switch. Instead of buying two switches, I only bought one and used some spare filament to print a dummy switch just to maintain aesthetics.
Originally, I was going to acquire all the hardware for the cluster, print the rack mount components, and then make the rack itself using plywood and other woodworking methods. The more I thought about this, though, the less it seemed to appeal. While building the rack using plywood would allow me to flex other skills, it would also hide all the work I had done for the cluster itself. Furthermore, I didn't know what to use for the rails on which the rack components would mount.
The thought occurred to me that instead of the typical L-brackets used in pre-fab racks, I could use aluminum profiles. Also called aluminum extrusions, these profiles had a slot in which you can mount components face on. For this reason, they're popular for 3D printers, and I used them to build the bed of my CNC machine and laser engraver. Building the case out of profiles would allow me to practice more complex construction methods I would hope to use for a future build of a CoreXY 3D printer. I could also use plexy for the sides to show off my work.
There was only one problem, I didn't have any profiles left. I did, however, have a 3D printer and a roll of cheap, recycled PLA...


Printing "aluminum profiles" sounded absolutely ridiculous, but it was either that or waiting. And I wanted to see if these "faux-strusions" would work, and if the idea of using extrusions at all for the rack rails would work. Needless to say, I found an existing model on Thingiverse and printed several. Futhermore, I also printed the hardware (t-nuts) to mount parts face-on to the profiles.
While the result was more than a little wobbily, it was a proof of concept enough I decided to fully commit to using real aluminum profiles when budget allowed. There was also no need to dispose of the faux-strusions either; they could be torn apart easily and kept around for future prototyping projects.
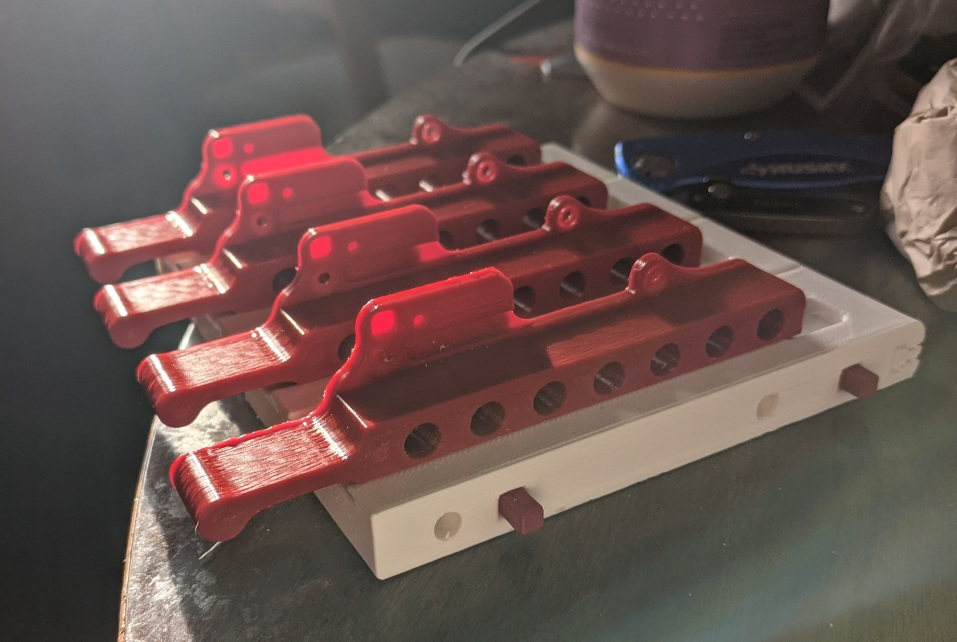
To hold the rack together, I decided to turn again to the 3D printer, and print out mounting brackets and washers to hold everything together.

Originally, I was planning on just resting the Pi 400 on top of the rest of the Pi rack. The top is broad and flat so it wouldn't be a bad way forward. This collided with another problem I was ignoring.
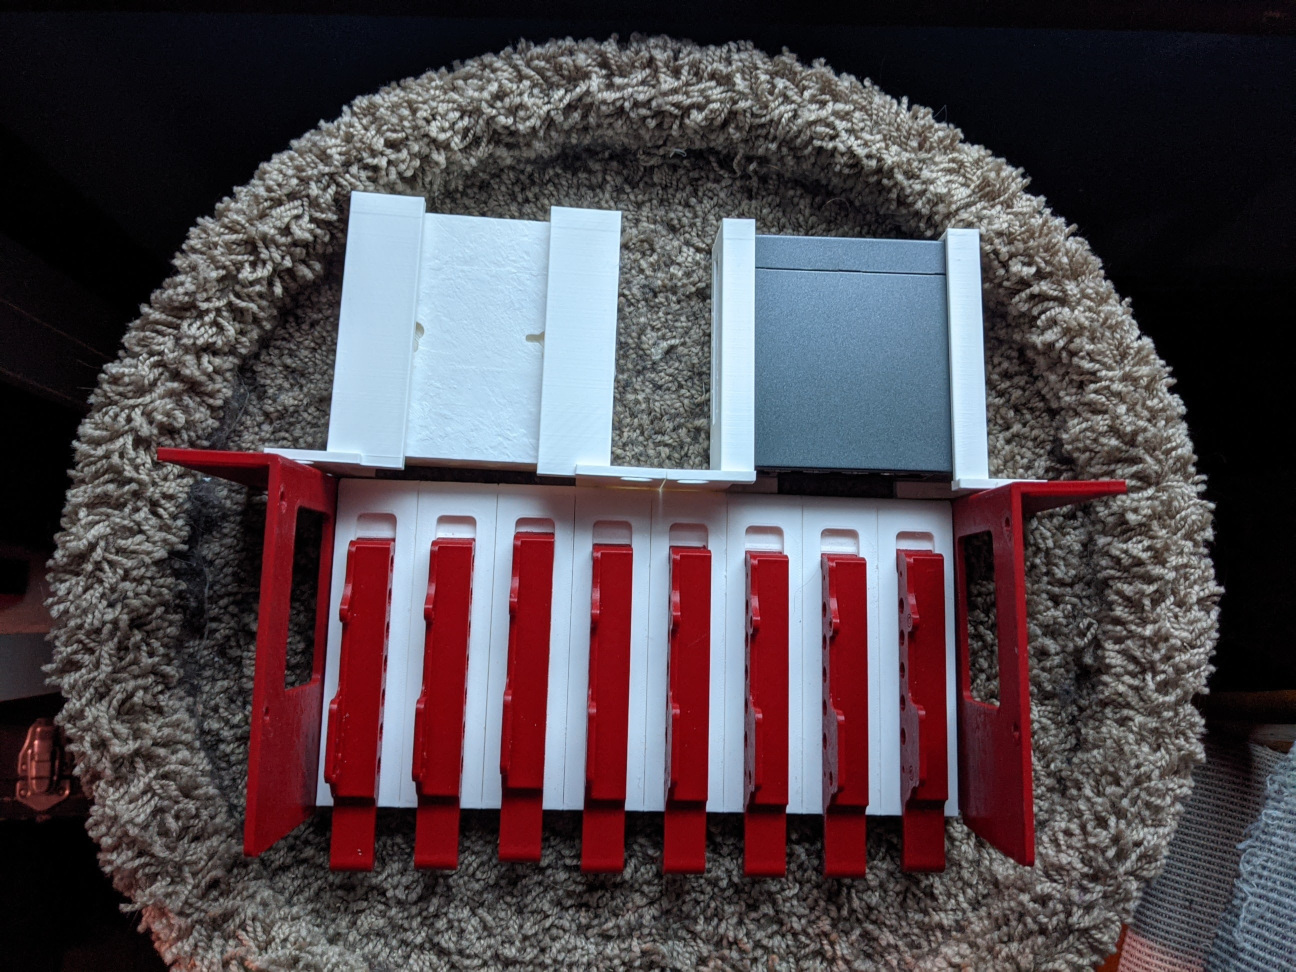
All computing racks invariably end up with random non-rack mount items they need to house. In my case, it was the power brick for the PoE switch. After talking to some people who worked in physical data centers and had assembled racks themselves, they told me the simplest solution was...a tray. That's it.


I designed rack tray that was half the width of the rack (150mm). This size was more necessitated by the print size of my Ender 3 than anything else. 150mm plus the length of bracket needed to mount on the rail easily fit on the print bed. Mirror that, you get a full-width tray. I used blender to design a new tray heavily remixed from an existing option. I printed a pair in the recycled PLA I used for the printed profiles, as I was expecting to order white filament in the future and print final versions.
And this is where I ran into another problem. I finally had the budget again to buy real profiles. I was hoping to buy a set and paint them to match the Pi400's color scheme. Aluminum, as I found out, is notoriously difficult to paint. It requires careful cleaning and sanding for paints to adhere. Buying extrusions in my chosen color, unfortunately, where straight out. They required a special order, and, because of the pandemic, had no promise of availability or arrival time. Even if I accepted the risk and painted them myself, it's the dead of winter in Minnesota, and I have no heated garage.
Given all of this, I gave up on the idea of a mostly white cluster case, and defaulted to my normal red and black. I haven't decided if I'll reprint the Pi rack itself in black, although that is certainly possible when I have more black filament in the future.


The last piece of the puzzle was power. The PoE switch and the Pi400 all have AC power bricks. While I could just use a conventional power strip, I wanted something more modular for this particular rack. Searches for something suitable online turned up nothing appealing, so I decided to design one myself.
To make the job easier, I was only designing the case for the power strip, rather than all the components. I already had the switches and the IEC power ports on hand. All that left was the AC outlets themselves and some wiring. Fortunately, you can order panel-mount AC outlets which are commonly used for office furniture. After several design iterations, I settled on a design that was 170mm wide, 50mm deep, and 70mm tall. Each strip would have three AC outlets with individual switches, and one IEC input with primary switch.
In theory, spade connectors would only be necessary to wire everything together with 16 AWG wire. The IEC port also has a built-in fuse for added safety. It's definitely overbuilt for the current requirements I'll be asking of it, but that also means an added margin of safety. AC power is not something to take lightly.
While there's still lots to go with this project, I want to make an effort to make smaller posts more often. Designing this cluster rack has been an unique experience. When I started it, I was hoping to flex all my skills in its production. Yet, the choice to move away from making the cabinet out of wood leaves me feeling a little disappointed.
Nevertheless, the rack is coming together surprisingly nicely. Given that this is a unique design and not one I'm building from an existing set of plans, it has taken longer and been more of a challenge than I expected.
In the next post, we'll start building the case, as well as take a brief detour into video production.


