
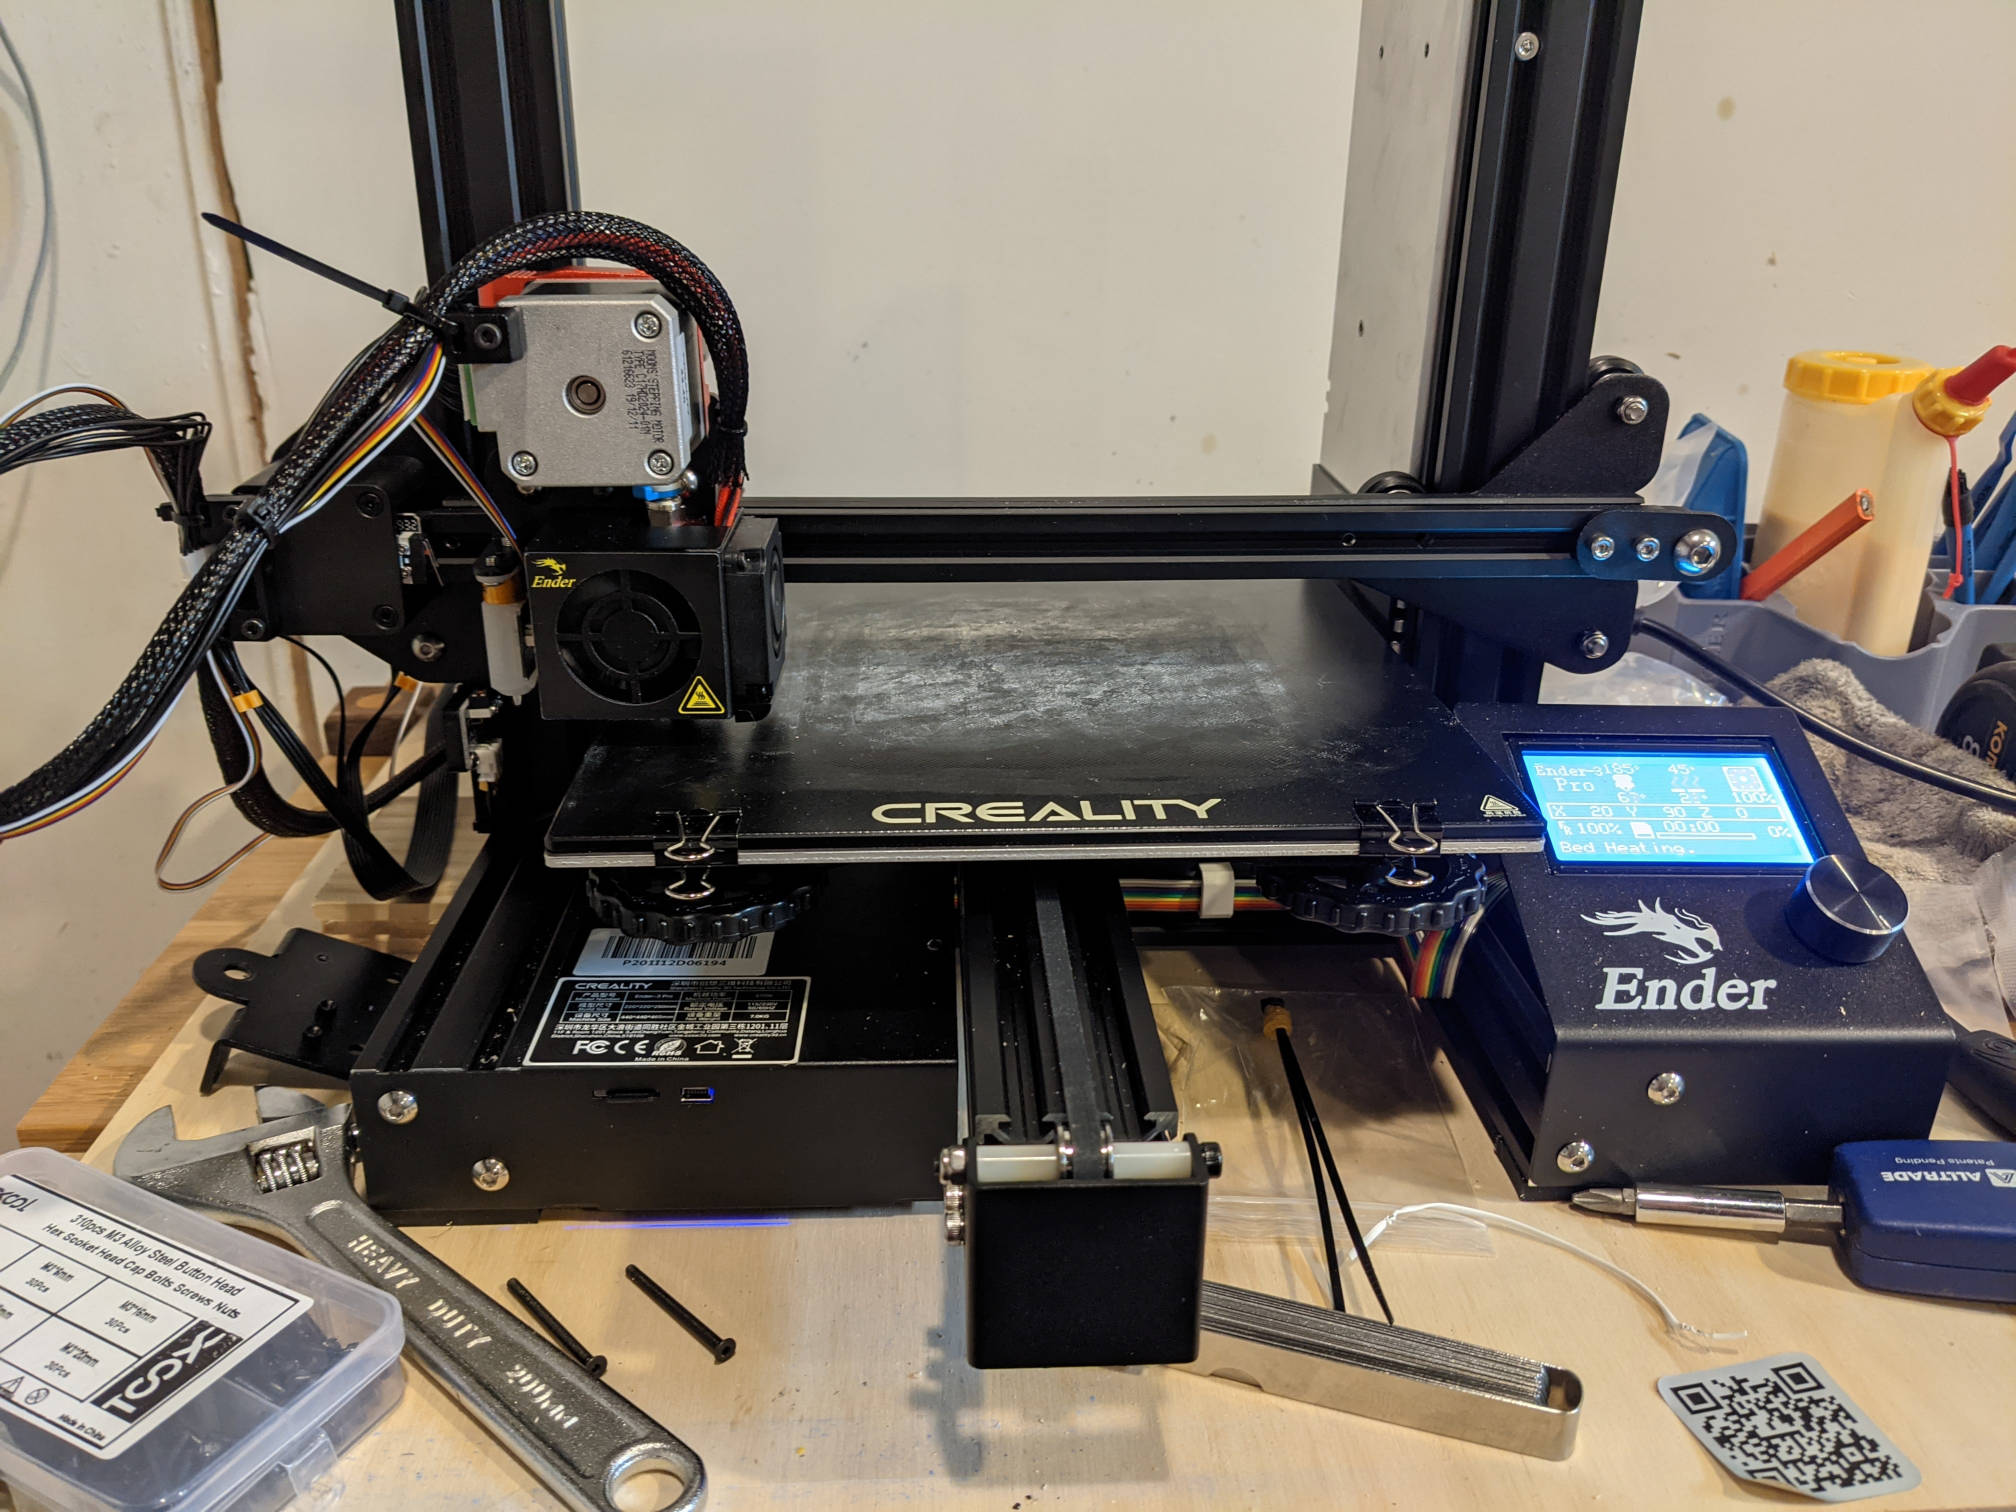
Ender 3 Pro Mods #1: Direct Drive
3D printers can unlock a lot possibilities at home. Instead of pulling out the phone to buy something, you start wondering, "Can I print that?" As a result, I have a few 3D printed things around the house which otherwise would have been a purchase. Broom holders, wall hooks, a handle for a brush, and a pill crusher are only some examples. It might not save you money, but there is a kind of pride to be found in repeatedly going back to something around the house and remembering, "I made that".
The thing is, printing is only half the fun of having a 3D printer.
The first natural question a lot of people have, is, "why bother modifying your printer at all?" Printers, like most things under Capitalism, are compromise devices. They are manufactured with a conflict between how much they cost to manufacture, the features they can provide, and the quality delivered. "Pick two," as the meme goes. Even if it weren't for the pressures of profiteering, there are even some physical limitations which can make a "no compromise" printer impossible. It is my belief that there isn't such a thing as a no compromise printer, but there can be no compromise enough for you.
Modifying allows you to impose your own personal context and needs upon the printer, customizing it so that it better suits what you want or need it to do. Those who are deeply invested in printing as a hobby, may even have multiple printers each configured with a particular slant of features such as speed, quality, or build volume.
One of the original motivations which led me to the Ender 3 Pro is that it's a fairly inexpensive printer which can be very easily modified. Indeed, there are a lot of commercial or DIY modifications that can be found for it. This allows you to expand the printer's capabilities over time rather than save up for the "ultimate" printer. More important to me is how modding is a challenging learning experience.


The Ender 3 is a bowden tube printer as shipped from the manufacturer. This setup places the extruder stepper motor away from the print head, using a slippery piece of PTFE tubing to route the filament from the motor to the hotend, where the plastic is melted. This is a tried-and-true extruder set-up, and is used on a variety of printers from economical to the elite. It does have a few downsides, however:
1. It can only work with rigid filaments and not flexible ones (reliably).
2. Loading, unloading, and changing the filament can be awkward.
3. The PTFE tubing must be of high quality, otherwise it can introduce filament drag (excess friction on the filament) which leads to underextrusion.
The key advantage, however, is that the heavy stepper motor doesn't have to move with the print head. This can me higher acceleration and print speeds with fewer artifacts such as ringing (repeated artifacts of features such as corners or holes on otherwise flat surfaces). Those who stick to a bowden tube typically trade flexibility for higher print speeds, often to stunning effect.
For me, I'm not here to win any speed races. I'd rather have more flexibility and much, much easier loading. Within the Creality enclosure on a 100% stock printer, to say it was awkward to change filament was an understatement. So much so that I often just left the spool of filament in the printer once loaded for months at a time (don't do this).
All of this led me to wanting mod the printer to use direct drive. In a direct drive, the stepper motor is as close to the hotend as possible, often moving with the print head on the same assembly. While printed options existed, they often required modifying the printer's firmware to support them, and that was a step too far for me at the time. When I heard about Printermods Modular Direct Drive (MDD), I ordered a kit as soon as the money was available.


One thing that's nice about the MDD is that it is an inexpensive kit, and reuses most of the parts already on the printer. That said, I would likely not buy it again if I had to make the choice over. In short, the MDD is, like everything else, a mod which particular compromises in mind. It's optimized for cost and reusing the existing extruder stepper and hotend. It works, but newer options like the Microswiss direct drive kit have key advantages I'd like to try out someday.
Consider supporting us. It pays for equipment, materials, and keeping this site running!
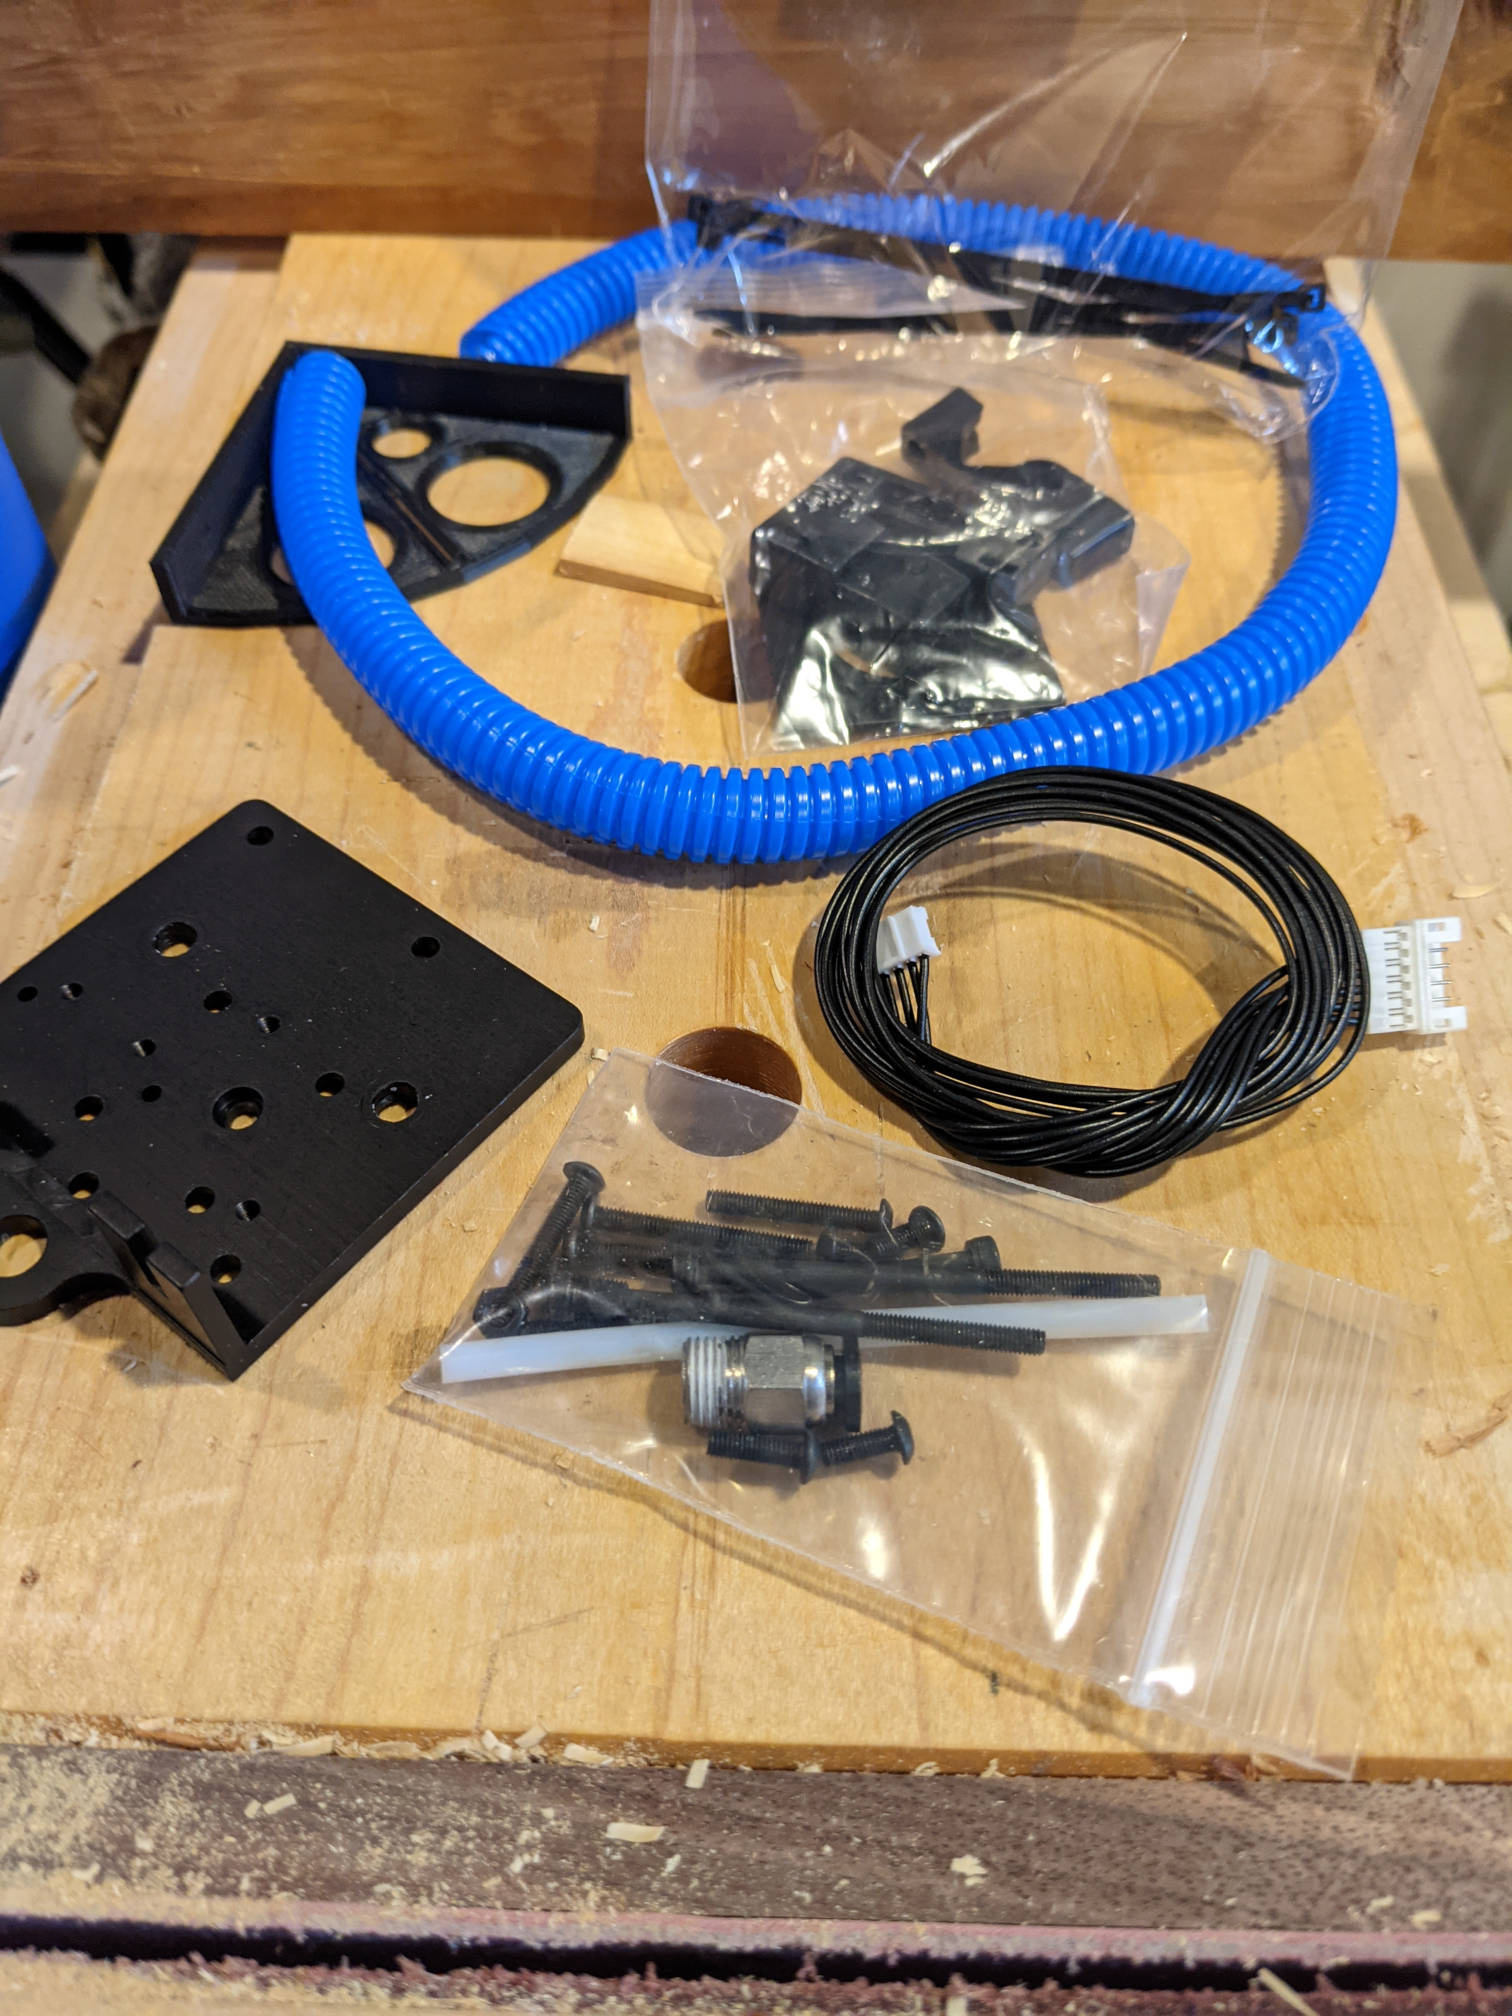
Installing the MDD is pretty straightforward. The instructions come with pictures, and you can find several videos online about how to assemble it step by step. Primarily, the kit is a new mounting plate for the gantry slider, with some plastic pieces and hardware to tie it all back together.
Disconnect the bowden tube and use the exposed bolts to remove the fan shroud around the hotend. Then unbolt the hotend itself, leaving the gantry slider bare. The trickiest part is knowing and accessing the eccentric nut at the bottom of the slider. This nut isn't concentric with the axis of rotation, but offset. This allows the normal nut tightening action not only to go down along the bolt, but side to side. In the Ender 3, it's used to tighten one of the roller wheels against the aluminum extrusion which makes up the gantry. Remove the old slider, transfer the wheels to the new backing plate, put it back on the gantry.
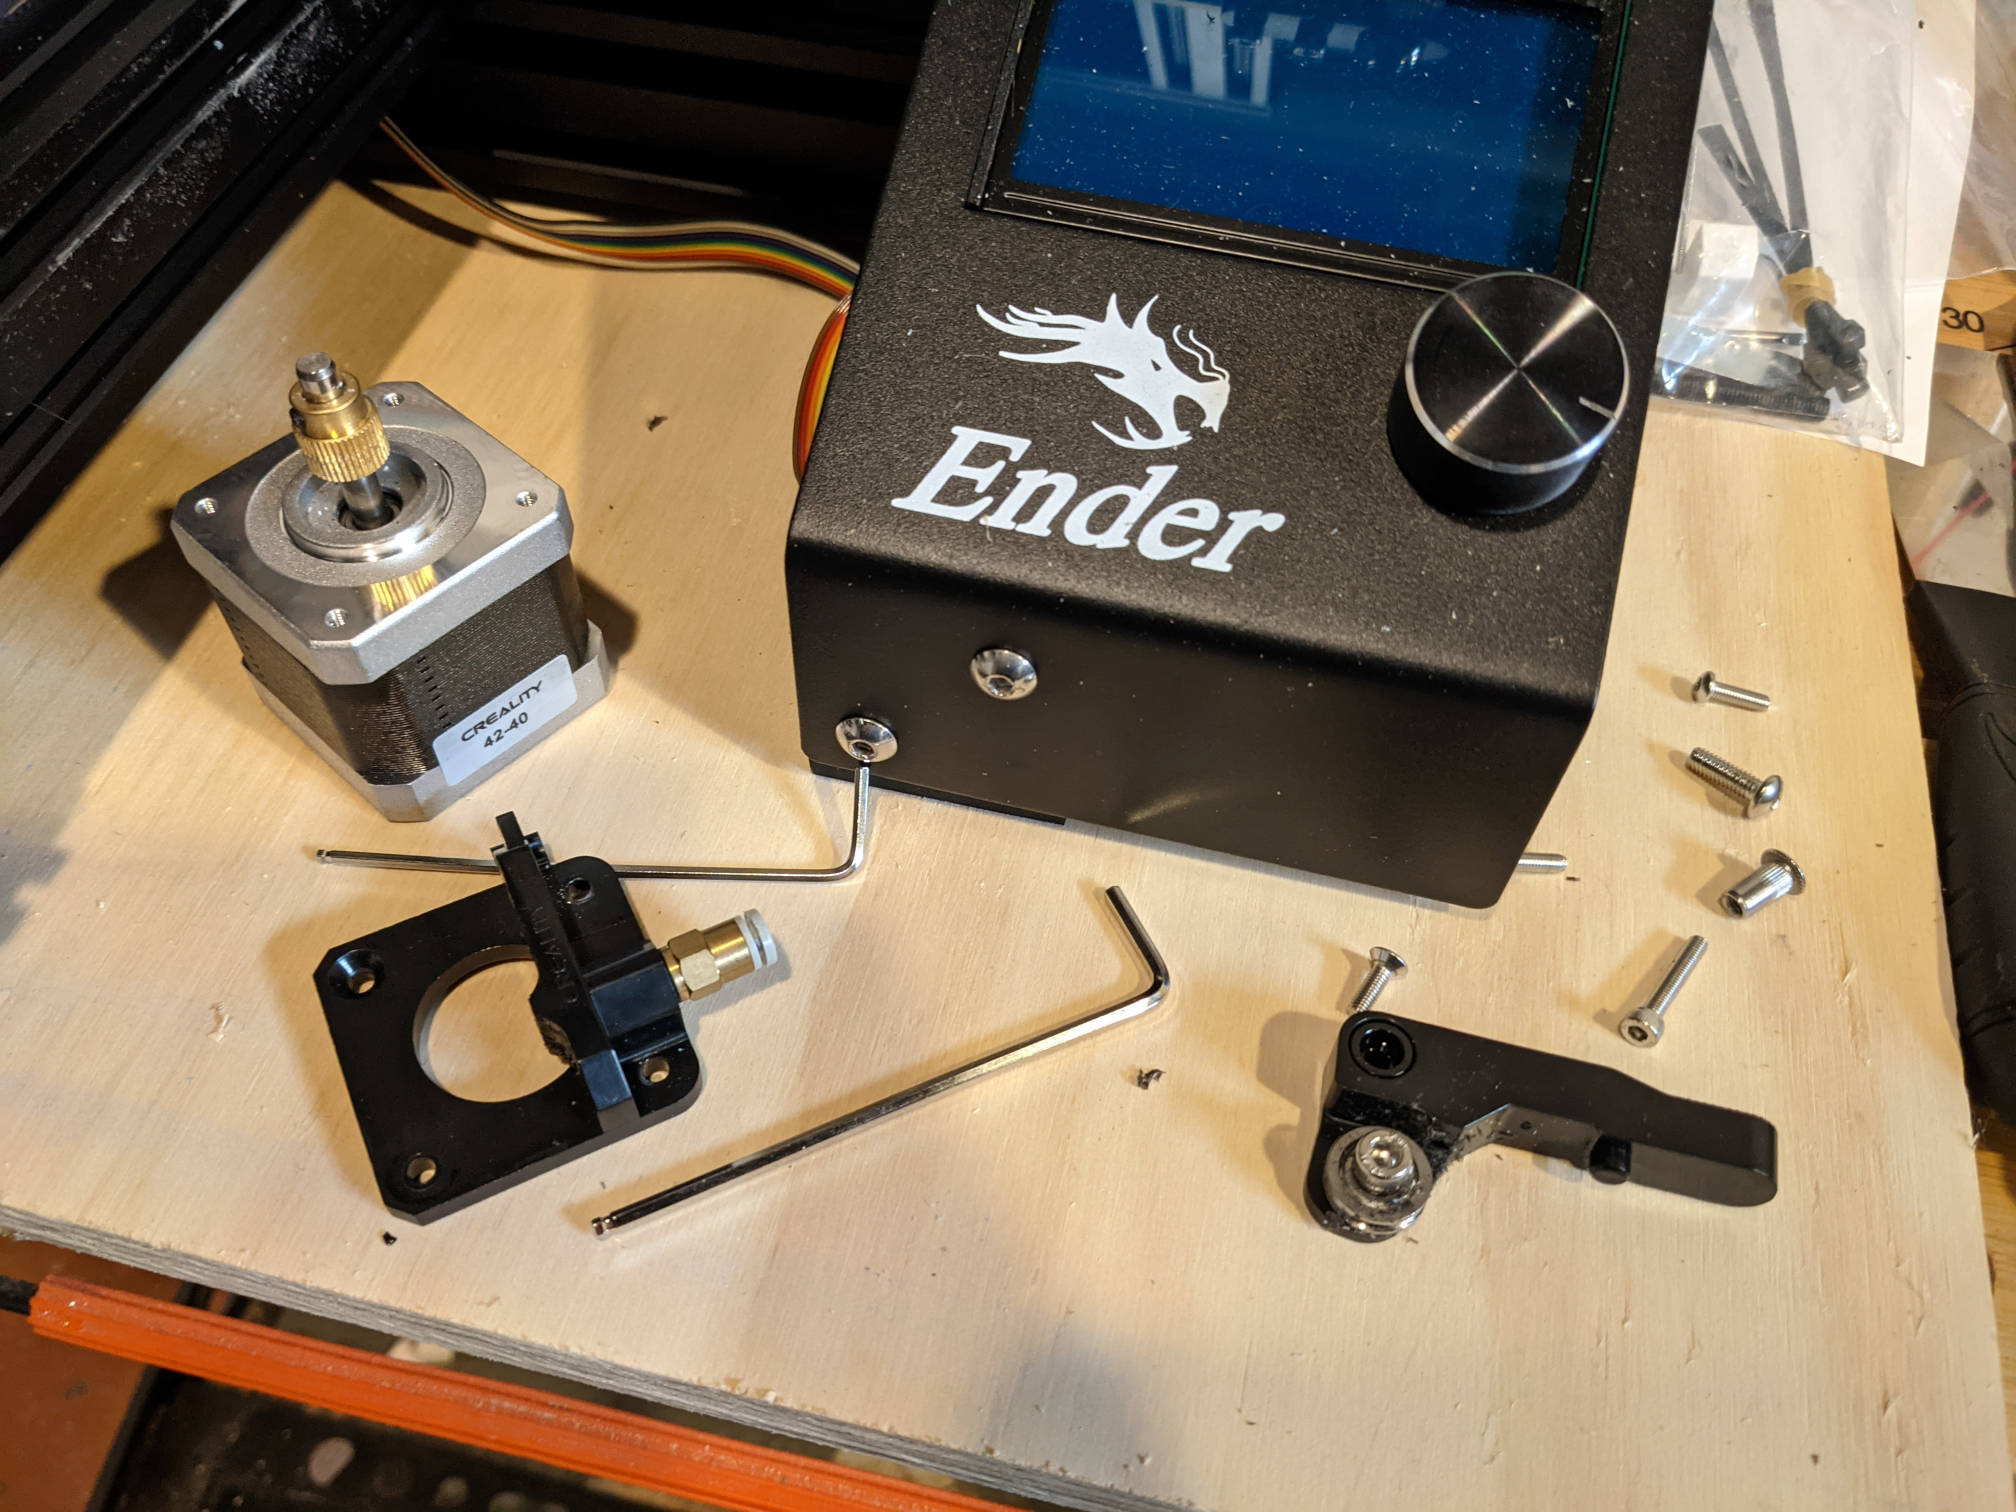

Once you have the gantry slider installed, you need to move the existing extruder motor to the plate. This involves unbolting it from the existing mounting bracket. You could then replace it, unchanged, onto the new direct drive mount. One thing that occurred to me while doing all of this was to do other smaller upgrades while I was at it.
The MDD instructions actually request to inspect the extruder arm carefully once you have it off the printer. The stock extruder is made of plastic, and the tensioner arm is known to crack and break over time. While mine did not have this issue, I did decide to upgrade the existing extruder for one made of metal.
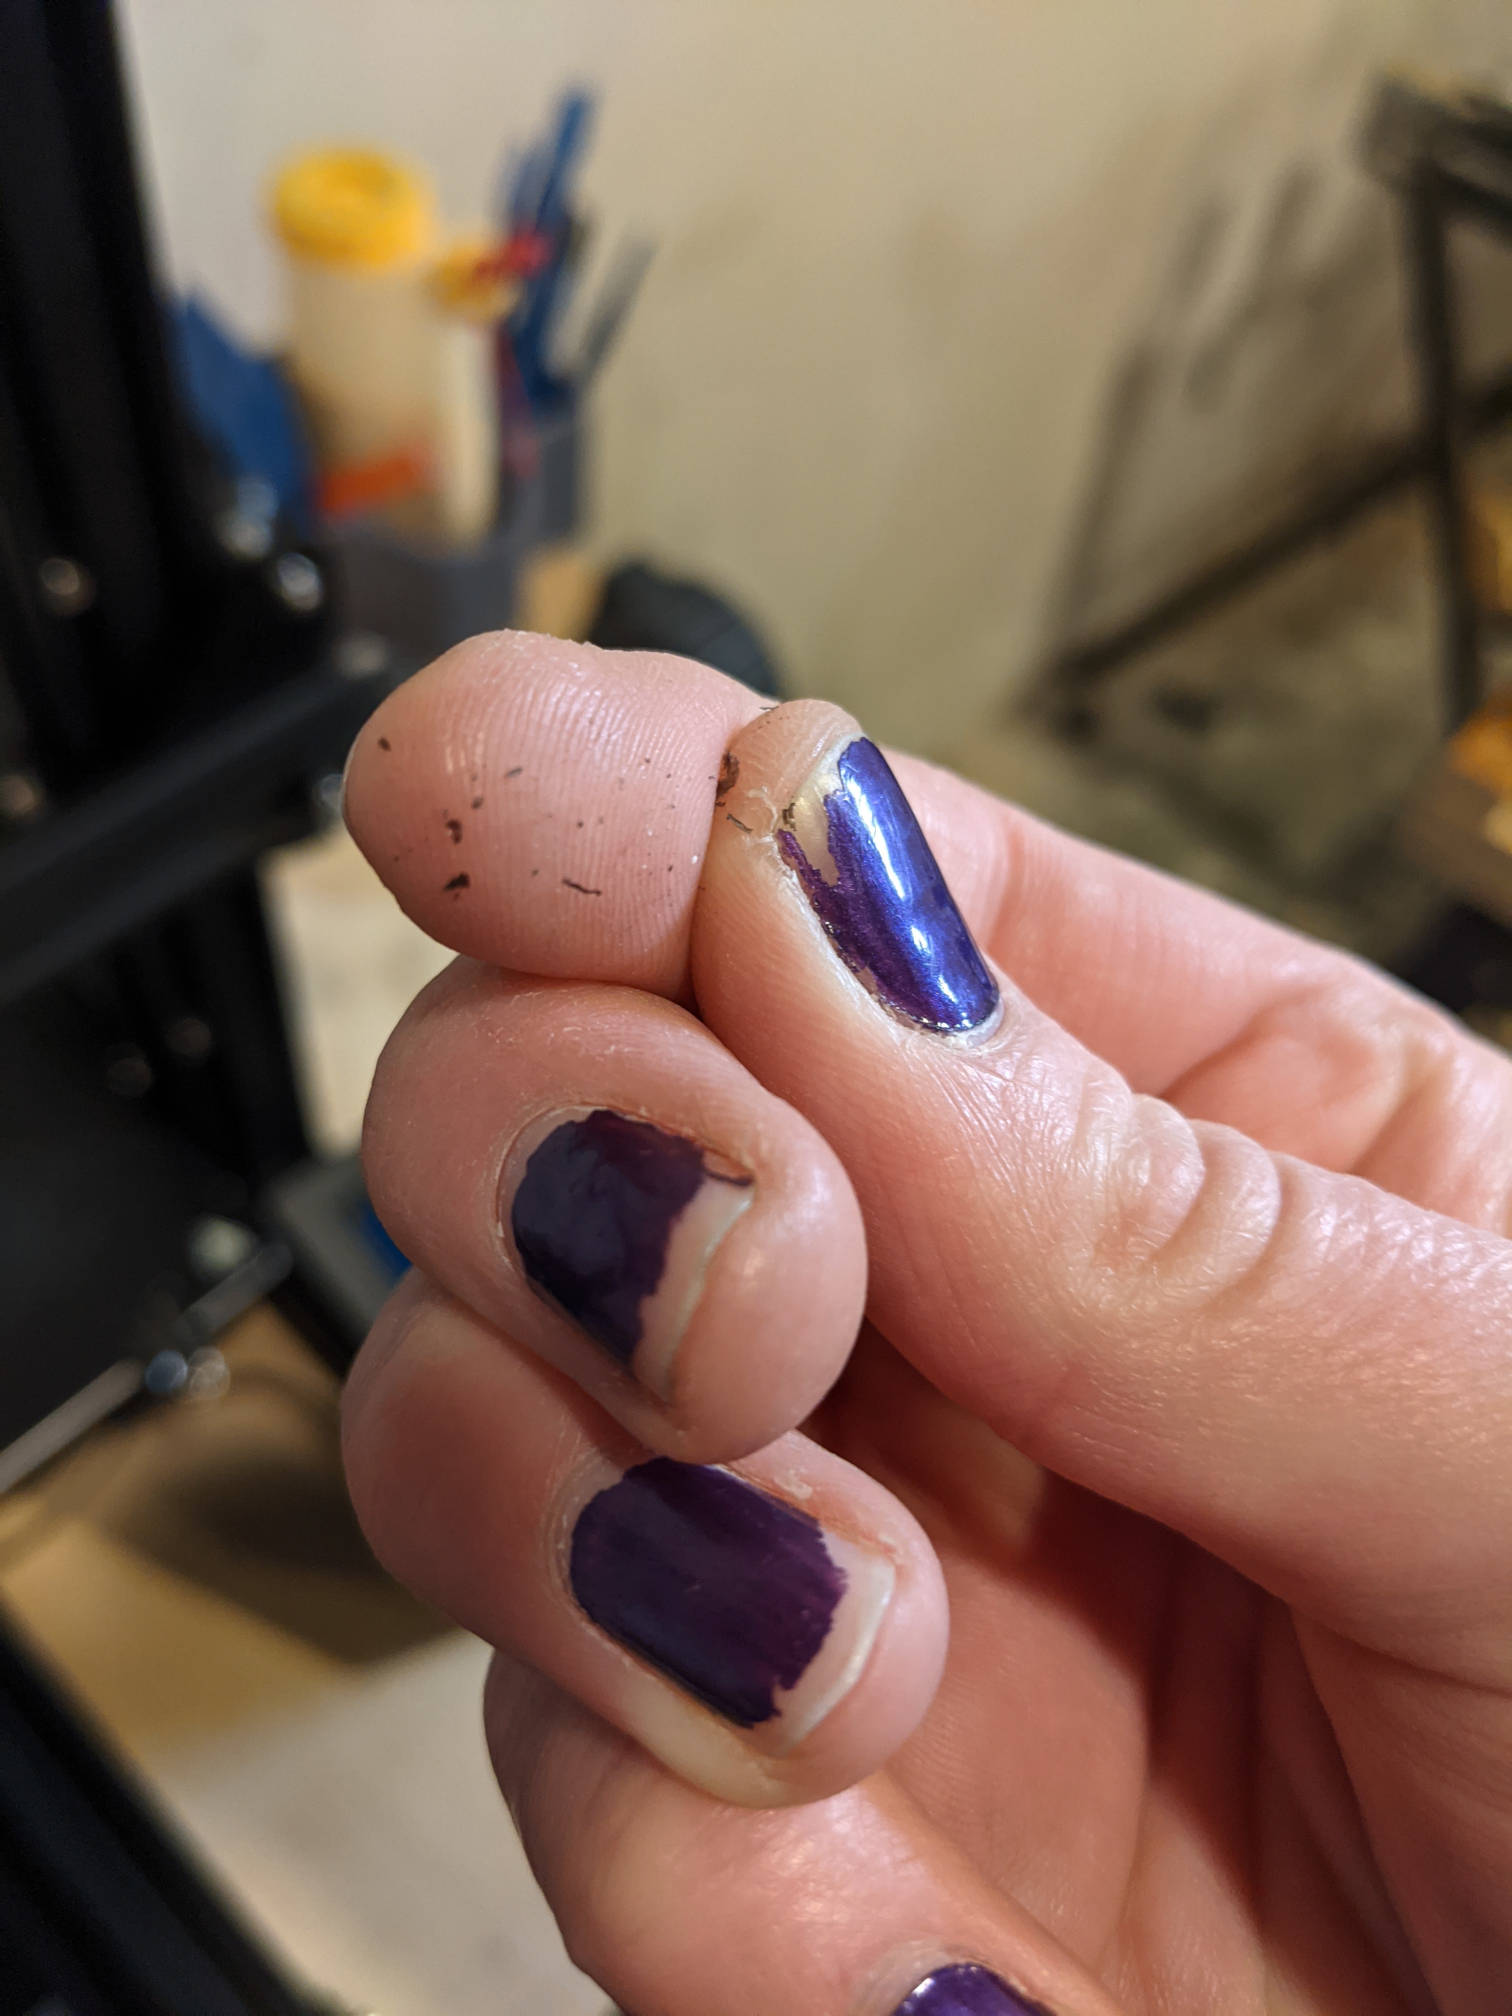
During disassembly, I noticed some plastic shavings. This is a telltale sign that the extruder had been grinding at some point. This happens when there's sufficient pressure on the filament as it moves through the entire extruder assembly that the toothed gear "skips" on the filament as it tries to advance it. And, if I recall, the printer was in fact jammed at this time after operating for months without fault.
I didn't buy any special kind of extruder for my replacement, but whatever was popular online. While it didn't come with instructions, once I had disassembled the previous extruder, putting the new one together was a simple enough task.


The MDD isn't an "all metal" conversion, as it relies on the stock hotend that came with the Ender 3. This hotend requires a length of PTFE tubing in it from the blunt end of the nozzle to the extruder. This length of tubing is very short and straight, so it still allows more force to be transferred from the extruder to the hotend with less drag than a full bowden tube.
Of course, the first thing I needed to do was get the tube out. As I mentioned above, the printer was jammed at the time, the first time it had jammed in all the months I had been using it at this point. Since this was the first time I was disassembling it, it didn't occur to me to disassemble the hotend with it hot, as is recommended. Instead, I tugged and pryed on it until finally, the tube came out. I was lucky I didn't damage the hotend with all that violence.
Once the tube was out, it found it to be a filthy mess. The entire surface was sticky, with a glob of unidentified stuff at the top, and a blacked mass clogging the end of the tube. Furthermore, the tube itself was clogged. I could just cut off the damaged sections, but PrinterMod's included a short length of PTFE with the kit, so I intended to use that.
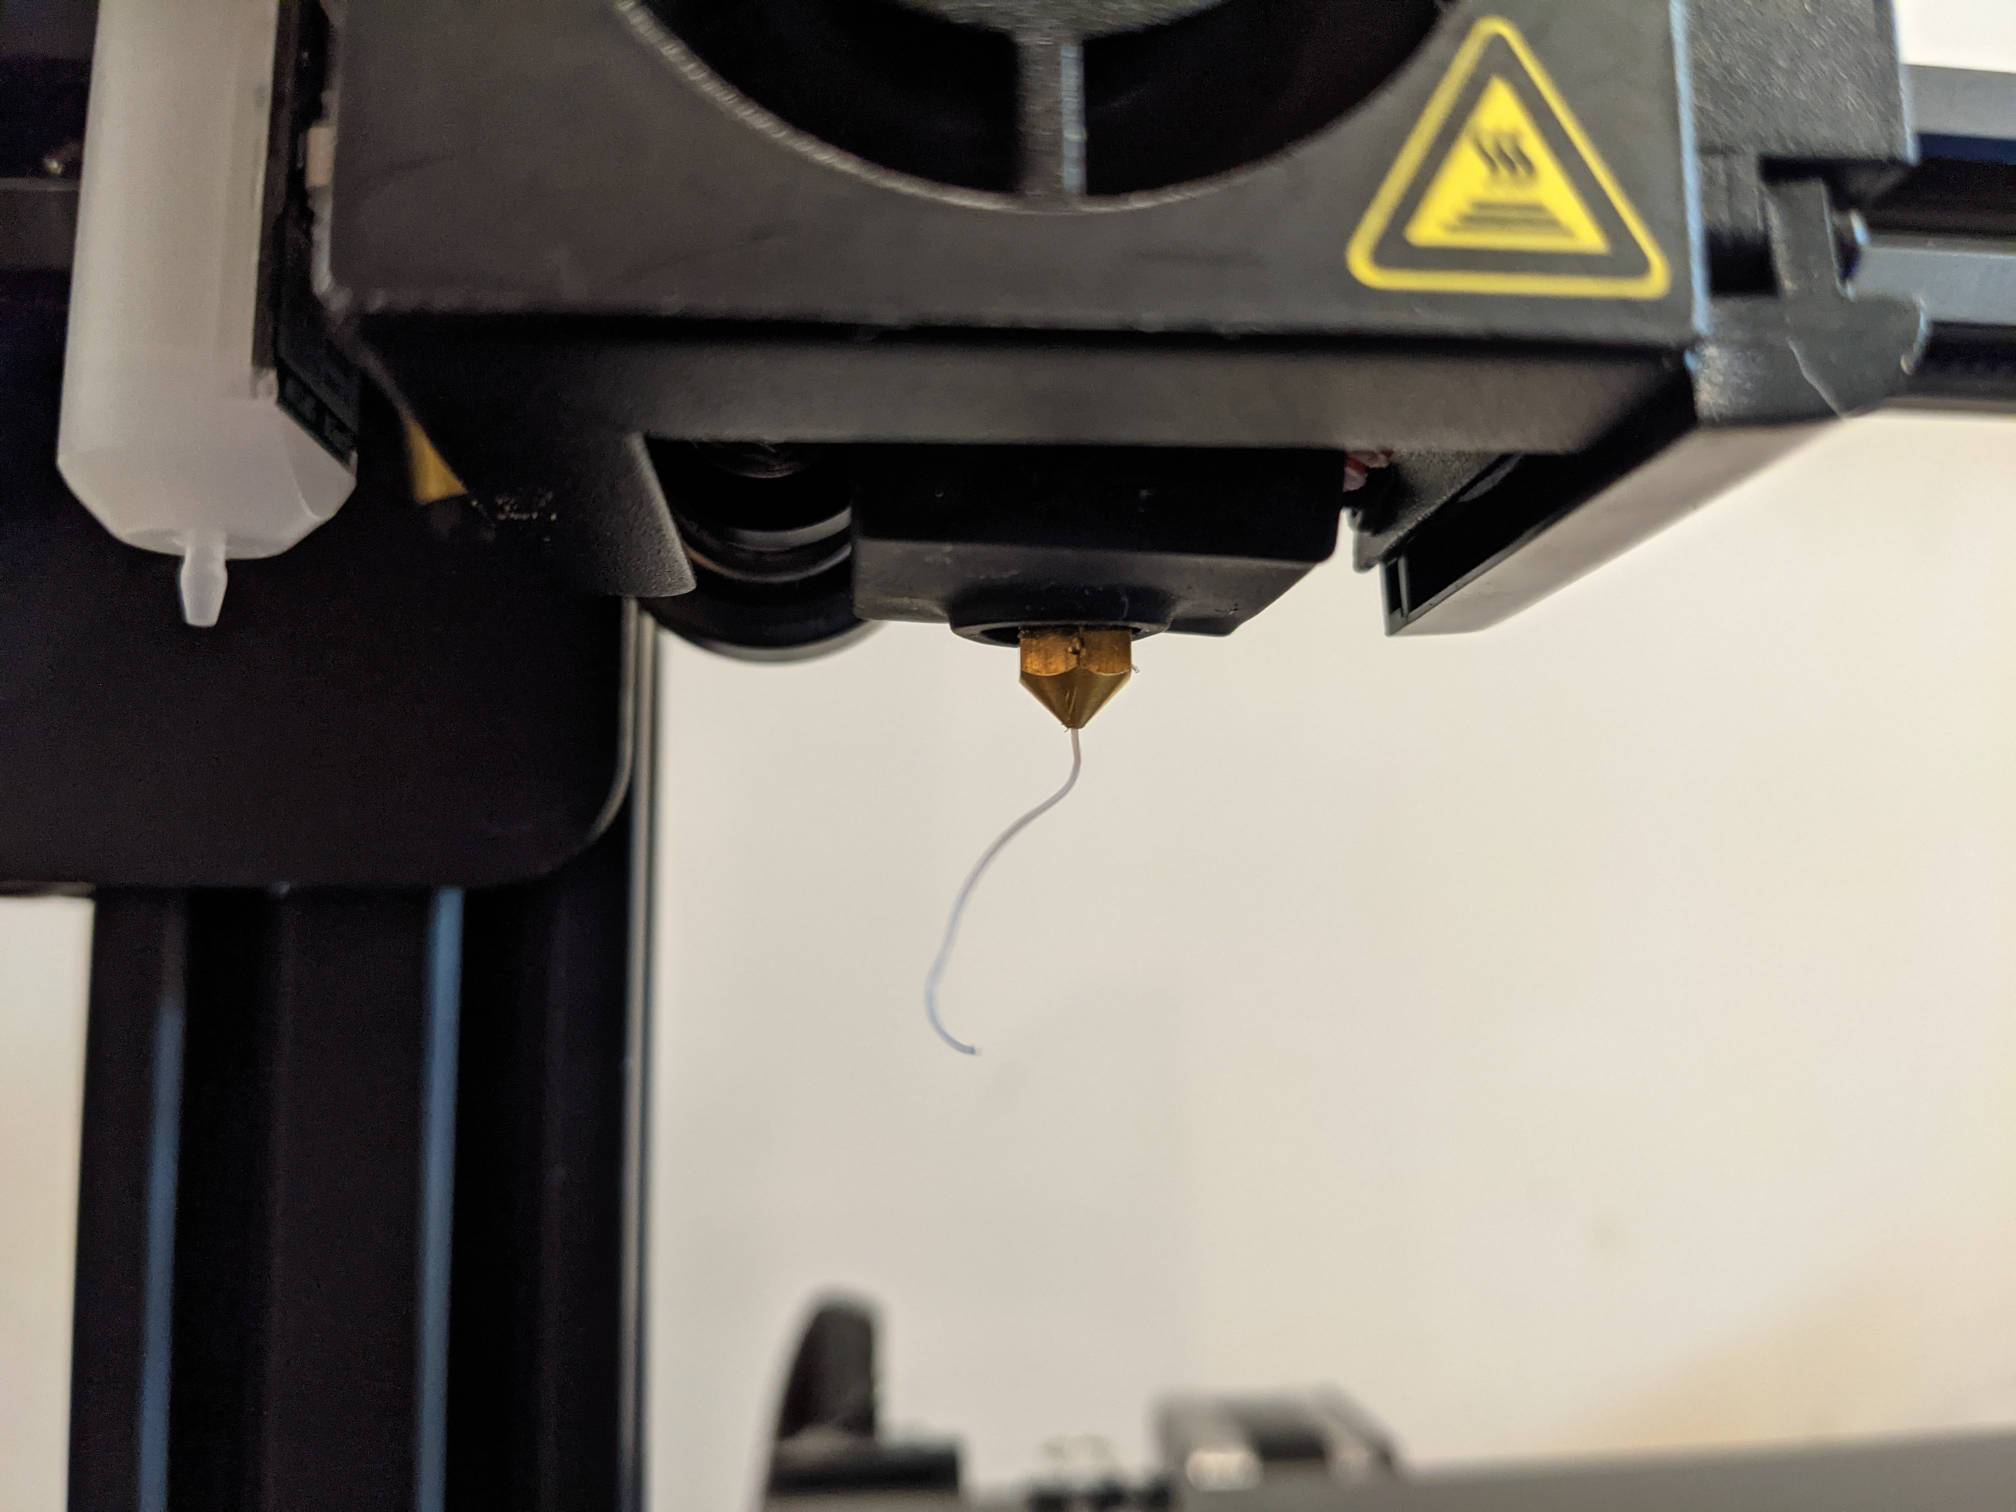
Worse, though, was the nozzle itself appeared to be clogged. This is actually normal, and fortunately, the Ender 3 comes with a small bag of spare nozzles just in case. The bigger problem was the heatbreak.
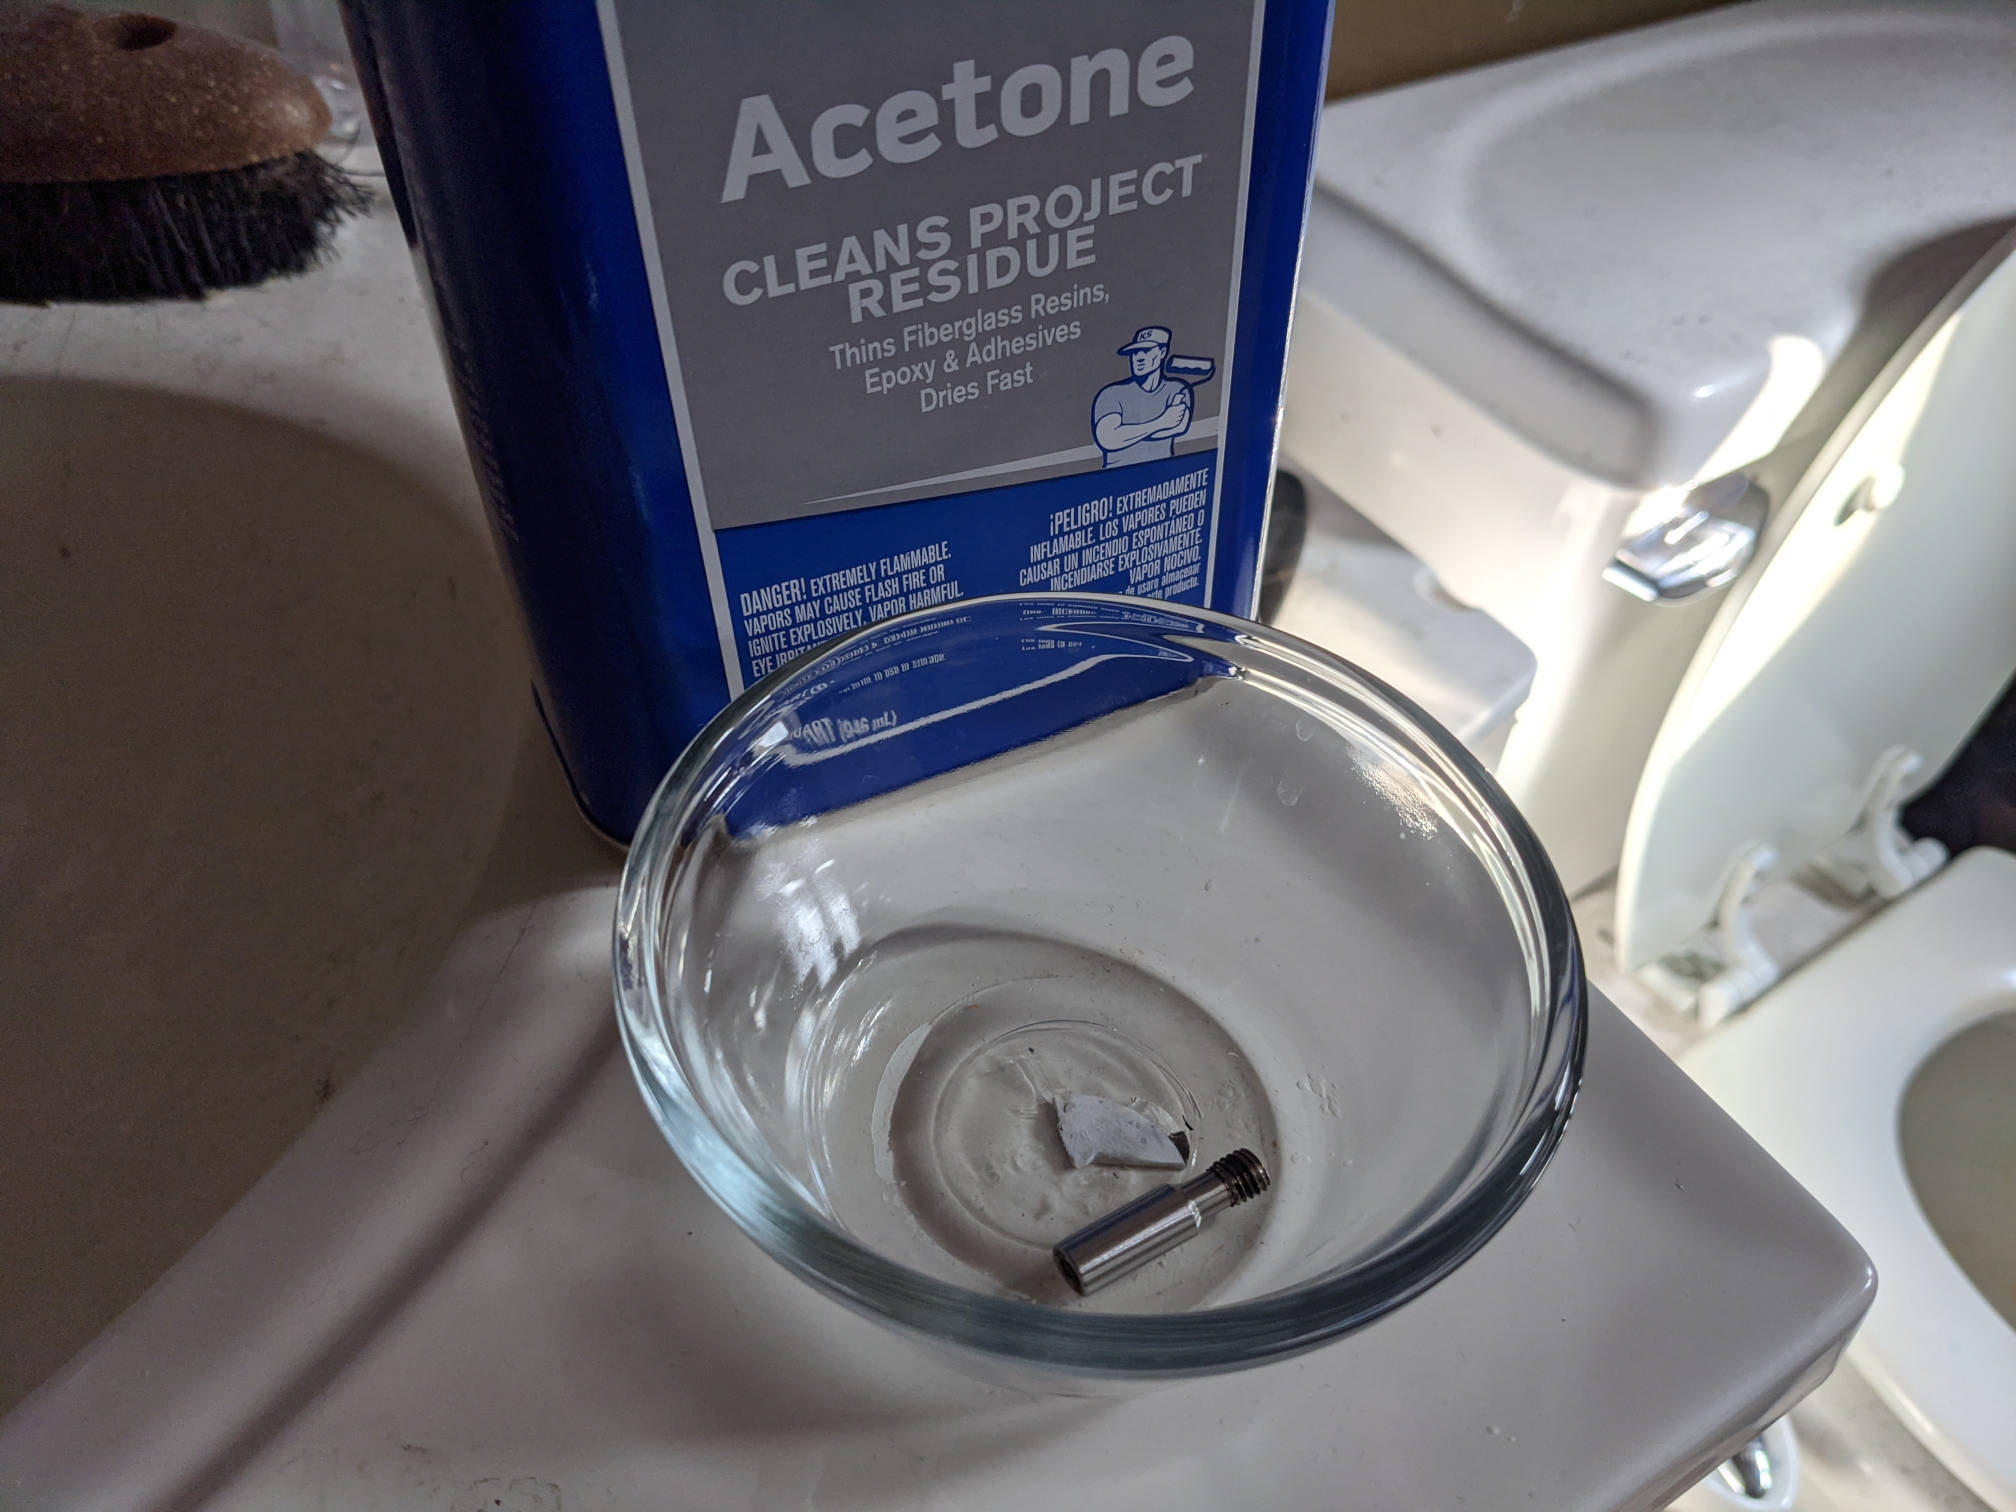
The heatbreak is a short length of stiff metal tube between the heatsink and the heater block. The purpose is to keep the heat from the heater block in the heater block (to "break" it) and not have it travel up into the heat sink where plastic would melt prematurely. When I pulled out the PTFE tube, it was a sticky mess, so presumably, was the inside of the heatbreak.
While I had spare nozzles, I didn't have any spare heatbreaks, so I decided to try to clean it by soaking it in acetone. After the inside was reasonably clean, I could reassemble the hotend and mount it on the gantry slider plate. A small but key step is to include the plastic spacer that keeps the heatsink from being completely flush with the plate.


One last mod I wanted to get in before putting the printer back together was to install an Auto Bed Leveling (ABL) sensor. The one I chose was a BLTouch, from Creality's official kit. This was actually a thank you gift from a tech conference I spoke at, Florida Drupal Camp. While Florida is just not my jam, I love that camp. It's always been an enjoyable and enlightening experience and I hope to go back again in the future.
At the time, I knew I couldn't get the BLTouch working, since this would require firmware changes I wasn't ready yet to tackle. But since I did have the hotend in pieces, I might as well physically install it.
Creality's BLTouch kit has a small mounting bracket with the same mounting holes as the fan shroud. Once you mount the BLTouch sensor, you put the bracket, and the fan shroud back on the gantry assembly at the same time. It's...clumsy to say the least. After a few tries you do get the hang of it.


For the direct drive conversion, I only changed the physical arrangement of the printer components, with only changes in mounting brackets to facilitate it. Nevertheless, I was still overjoyed when flipped the printer back on, heated it, and began pushing filament through it.
After re-leveling the bed, I decided to print one of my favorite test prints, a "calibration cat". I love this print as it's both useful as a calibration device, as well as cute and a nice little trinket to give away to friends. The print turned out flawlessly on several different filaments, and the results compared identically with previous prints I made of the same model with the stock printer.
The filament path was now much more direct than the original bowden setup. As recommended, I removed the spool holder and flipped it around so the roll was in line with the gantry. Now, I only needed to drag down the filament from the spool and insert it into the extruder head. This was a massive improvement for loading and changing filament, particularly from within an enclosure. Everything was now front-loaded, the only complication being that the extruder gearing was facing toward the rear of the printer. In practice, this is only a problem when the printer jams. It's better to remove the extruder stepper motor and not disassemble the hotend to clear it. This is awkward, but less fiddly than removing the hotend.
I can't tell you which mods to do on your printer. I'm not you, living your life, in your living situation. Everything requires context to decide, so a direct drive conversion might not be what you want or need. In my case, this was the modification I continue to be happiest with. It simplified filament changeovers, while expanding the capabilities of the printer.
While the heavier extruder head can create more artifacts with printing, I haven't found the ringing to be significantly bad enough on my modified printer to worry about it, even at speeds up to 100mm/s.
Next time, we'll get that BLTouch working, but we'll do more than that. We'll replace the mainboard entirely, relocating it and adding a Raspberry Pi for remote printer control. Strap in, there are mode mods to come!


