
The piMate 300
At some point in the late 90s, I was in a computer store fawning over big tech's latest creations. Among them was a unique, laptop-shaped device made out of translucent green plastic. I had played with Newton machines before -- especially the MessagePad 100 -- but not one in this style.
The eMate 300 was a Newton-based Personal Digital Assistant (PDA) intended for the education market. I had only seen them in pictures at this point, but I was in love with the design. In an era where capacitive touchscreens weren't yet the norm, the use of a stylus with both long-term storage and quick-use positions on both the left and right captivated me. It was unfortunate that by the time I had seen it, the Newton platform was already considered dead. I still wanted one, but there was no way I could afford even the deeply discounted price they were asking at the time.
Almost 18 years later, I was reminiscing about this device when it occurred to me, "I bet I could cram a Raspberry Pi in there if I could find one." It wasn't an original thought in the least; Pi-in-a-thing-case projects litter the internet to the point it's almost a cliche.
But I didn't care. I wanted one anyways.

I first asked around my social networks if anyone had an eMate, specifically a broken one, they'd be willing to ship to me. After a few days, I had absolutely no bites. So, I did what any other reclusive nerdy person does and went to eBay. I did find an eMate on sale for $35 including shipping. The case and keyboard were perfectly intact, but there was no hint as if the thing worked or not. Since I only really wanted the case, I slapped down the cash and waited for it to arrive.
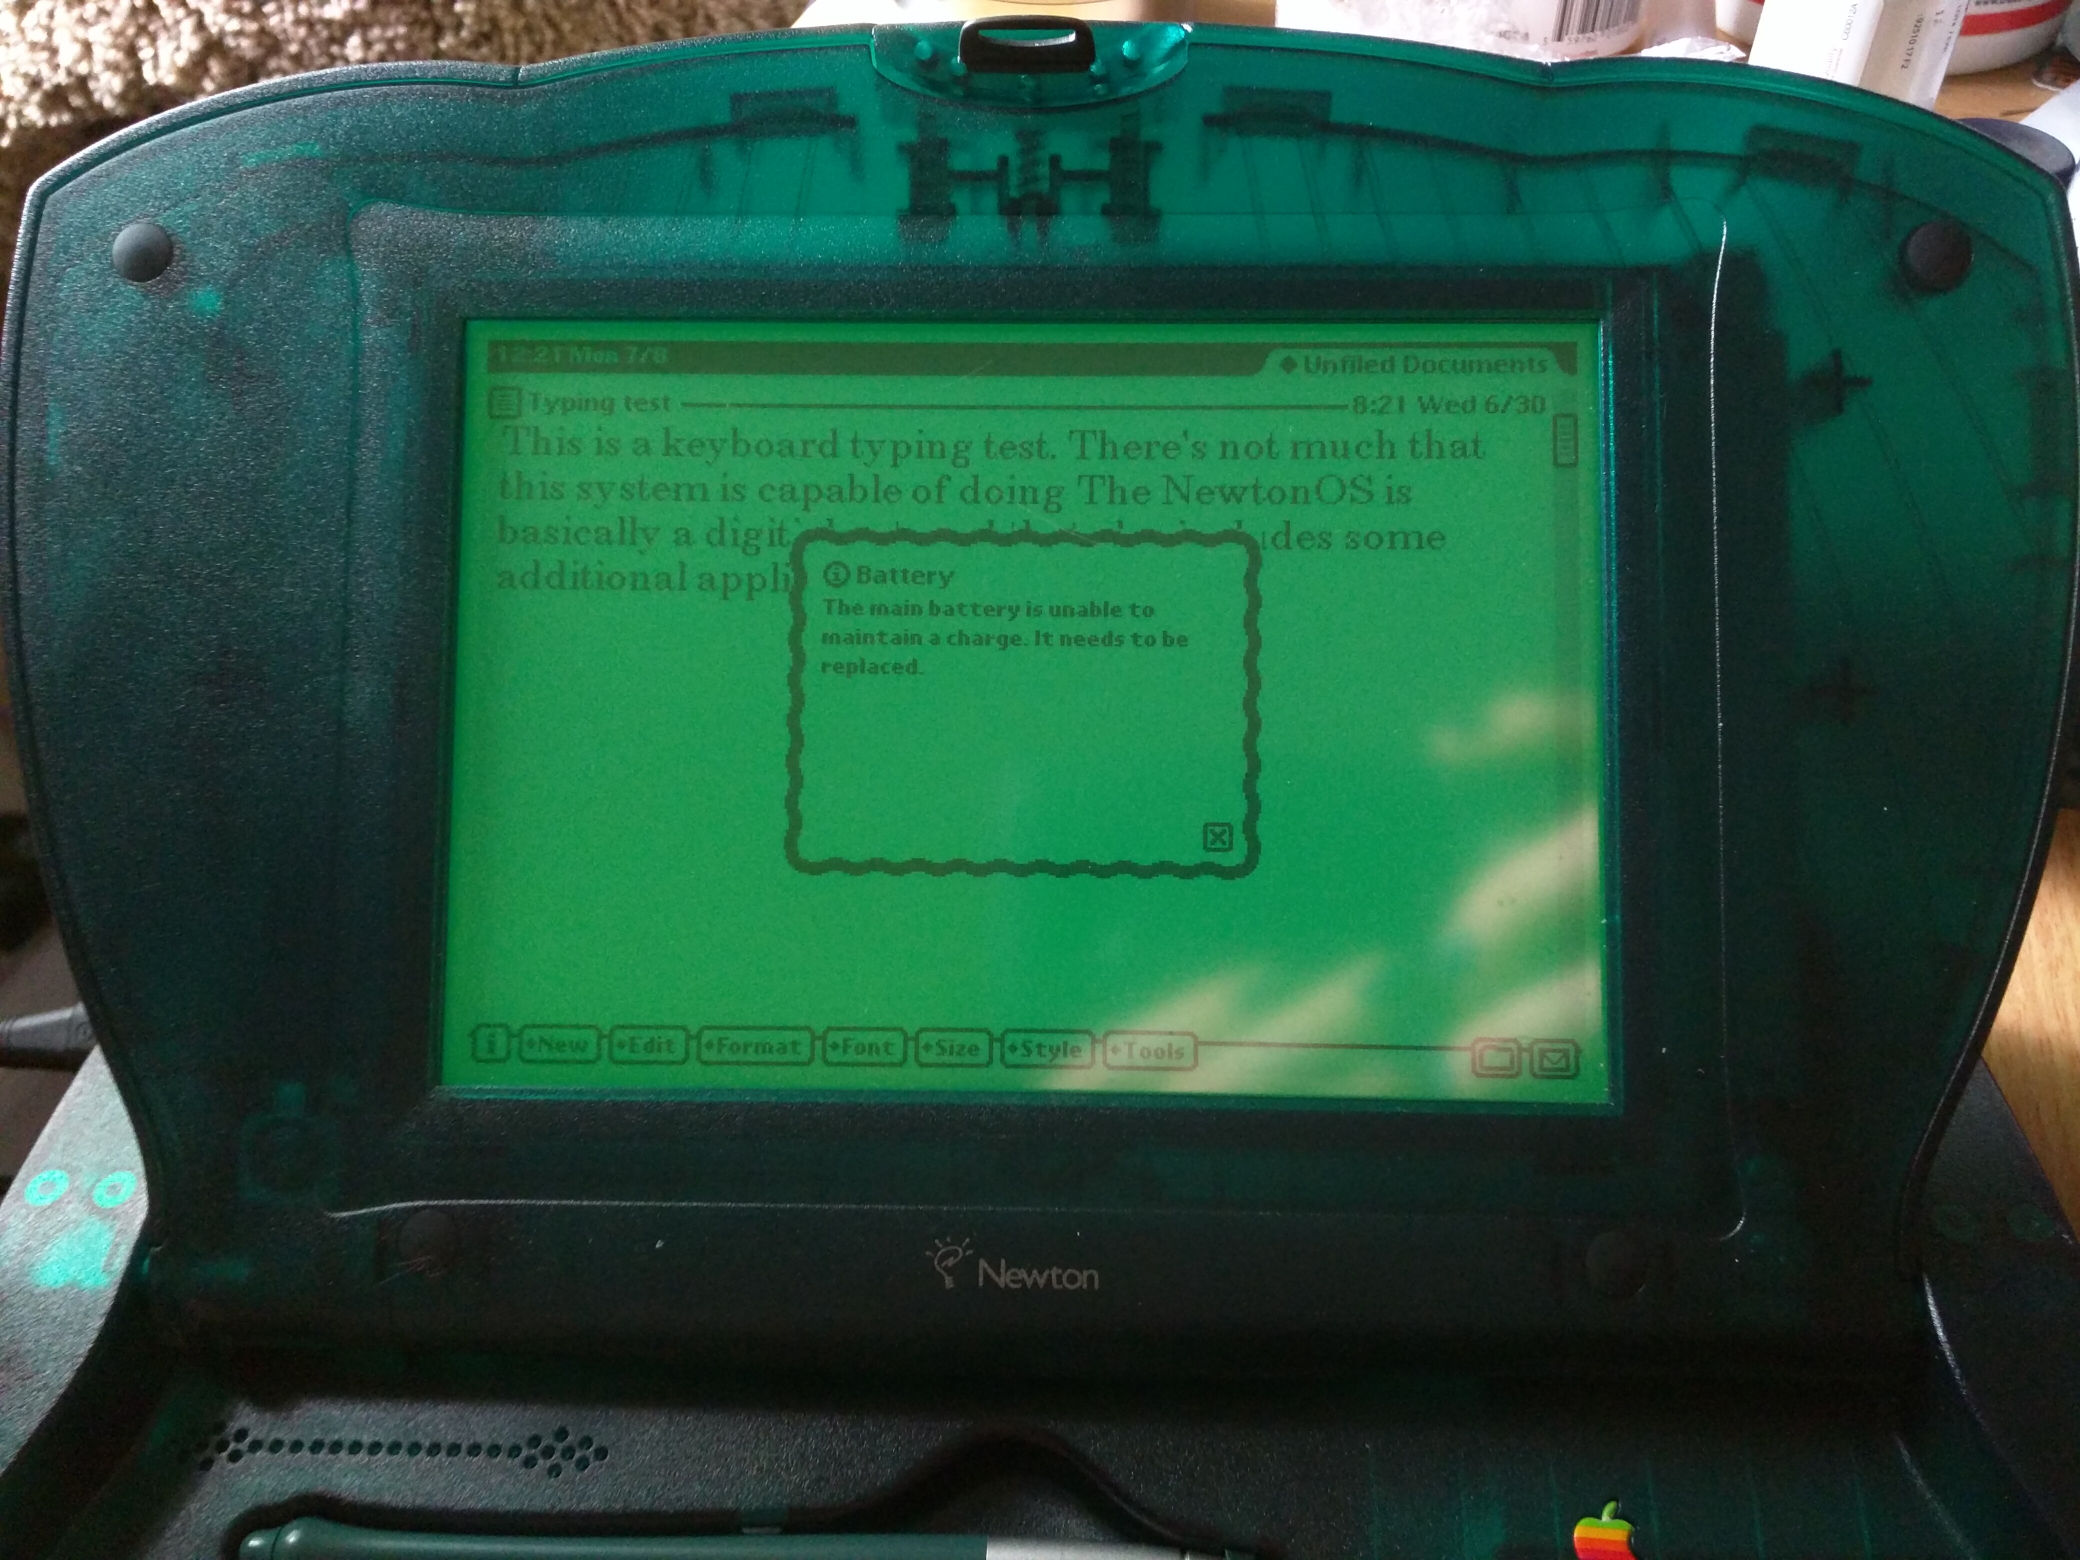
When it did, it was in remarkable condition. It looked as if it was barely used. Instead of immediately tearing it down, I decided to order a multi-adapter and try to power it on. To my surprise, it booted just fine. Like other Newton devices, there's no hard drive, only non-volatile internal memory. Unless someone went out of their way to wipe the memory, the OS would remain intact for as long as the chips could physically endure.
The device and all its internal software worked. Without even a hardline connection or a web browser, there seemed little point in trying to keep it intact. I realize other have modded other Newton-based devices to get them online, but that wasn't what this project was for. It wasn't what I wanted, and for a colossal flop of a device, many others existed in equally perfect order.
Still, it was fun to play with NewtonOS for a while... (You might want to turn the sound on for the following video.)


The first order of business for the retrofit was to replace the screen. Someone more versed in electronics than I might have gone out of their way to use the original screen in place, but it was beyond my abilities. Instead, I chose to replace the screen entirely. A natural choice would have been a Pi Foundation Display, but the cabling was a problem. Routing the delicate ribbon cable -- as well as finding an extension for it -- would have made the set up fragile and not easy to replace. I needed something that could withstand some flex as well as be replaced relatively easily.
Eventually, I settled on an Adafruit HDMI backpack. This 800x480 display supported full color, but also only needed two standard cables in order to function: HDMI and USB. The USB cable not only powered the display, it also provided a touch interface. I was initially disappointed at settling for a resistive touchscreen. These act as plastic overlays which flex slightly when touched. It's older, less sensitive tech. And the overlay does affect screen quality. However, it turned out to be the perfect choice for this project, as the existing stylus worked without issue. Neat!
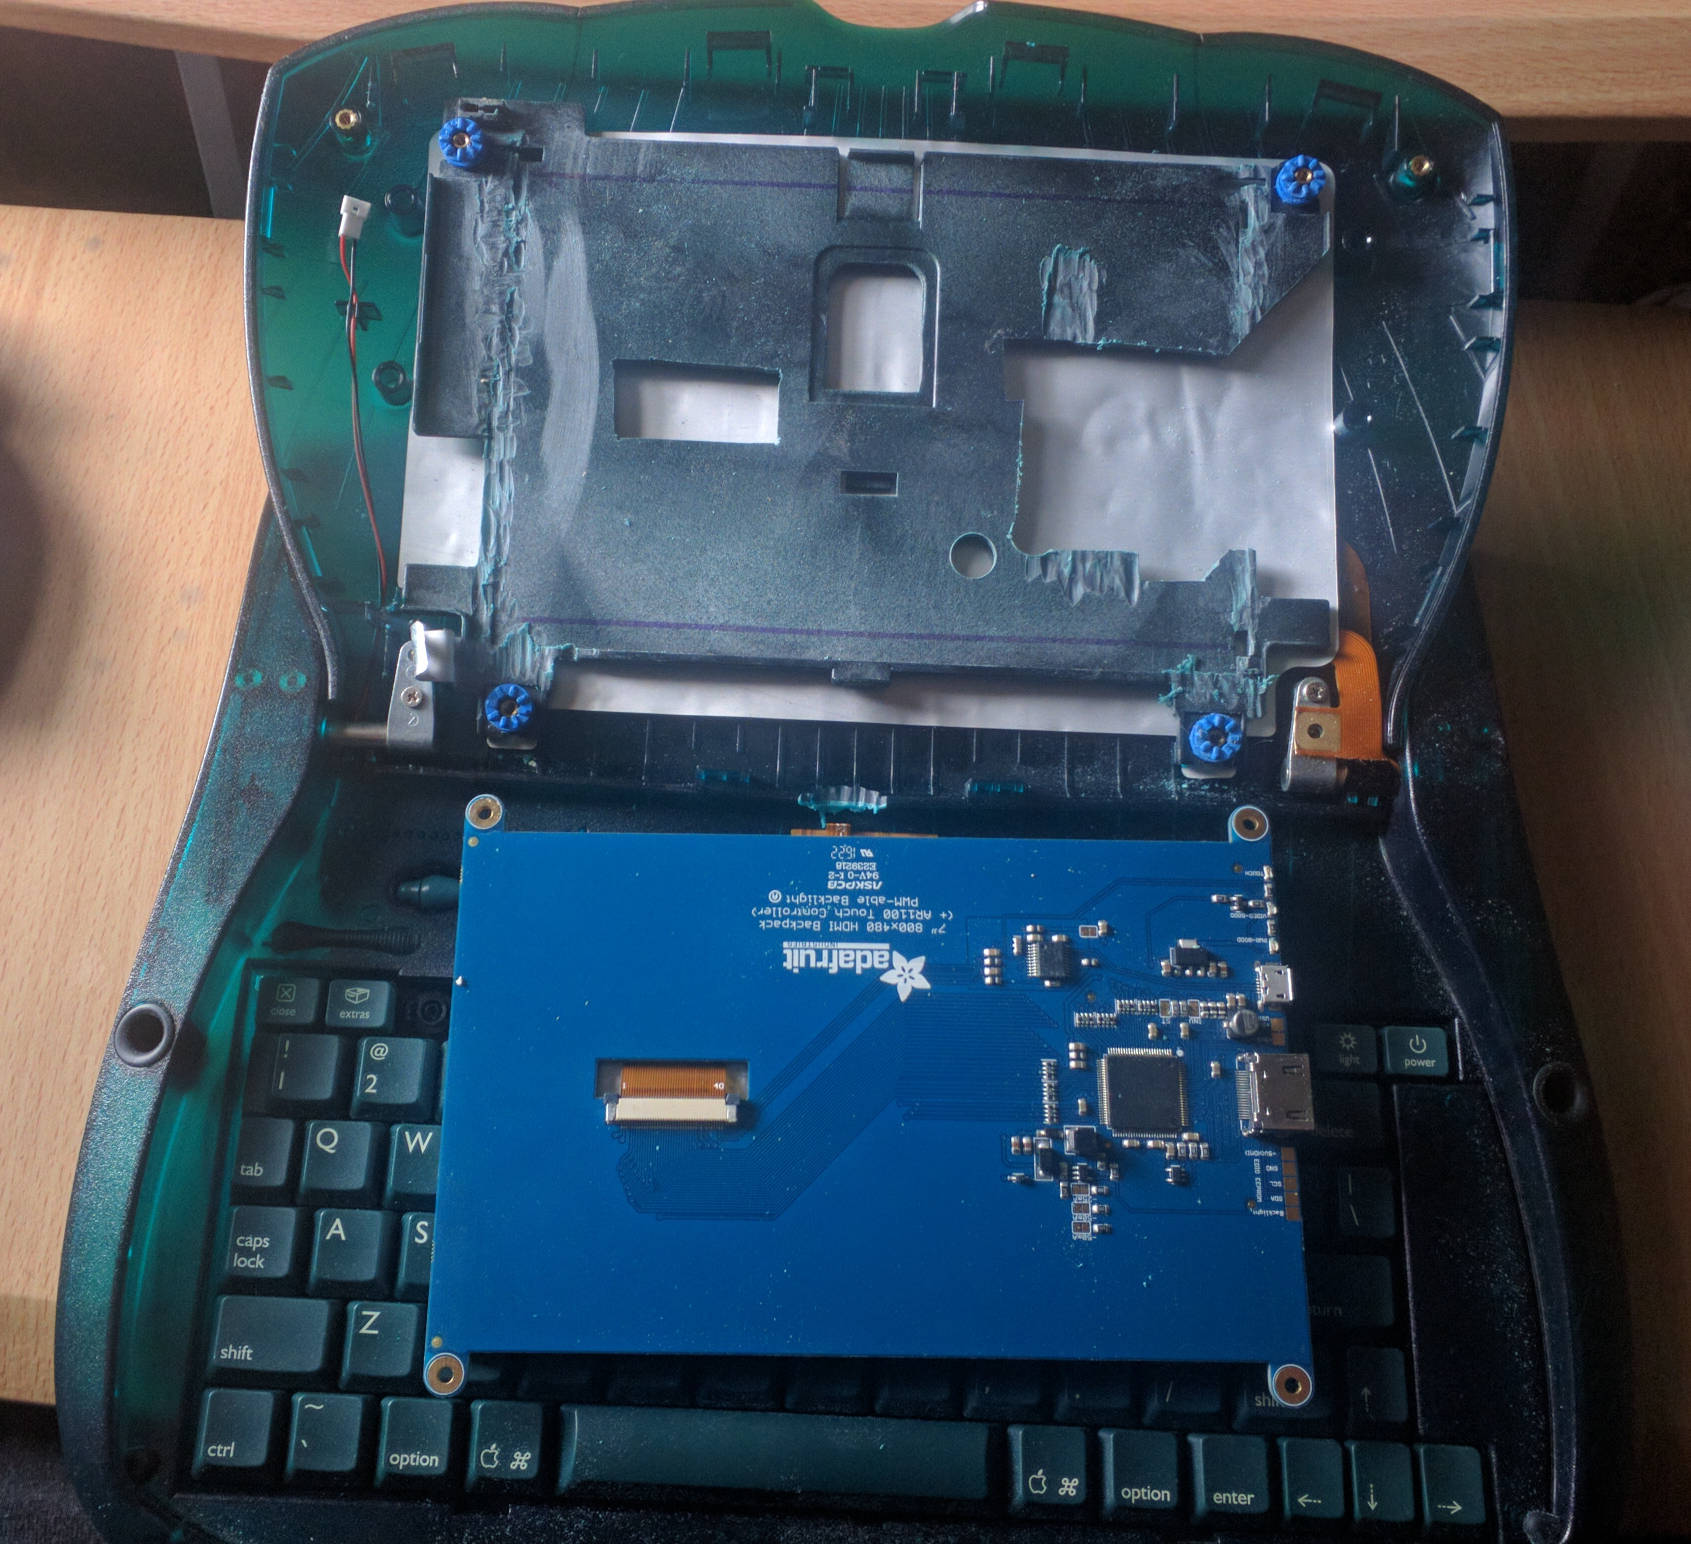

Mounting the screen required careful disassembly of the monitor assembly. While there are some screws, a lot of it was held together with clips. Using a small flat blade screwdriver, you can carefully open the assembly and remove the original LCD display. What I wouldn't have given for an iFixit Jimmy then!
Removing the original screen is pretty easy once the case is open. The screen is part of an assembly with plastic shock mount, and some metal shielding. The LCD is actually transparent, with the green backlight a separate, paper-thin component.
After prying it all apart, I decided not to "improve" on Apple's existing mounting strategy for the screen. Instead, I modified the plastic shock mount to accept the Adafruit screen. This would allow the screen to mount on one-half of the two pieces that made up the eMate's lid without further modification. This years (literally) was before I bought a 3D printer, so I was stuck with whatever I had.
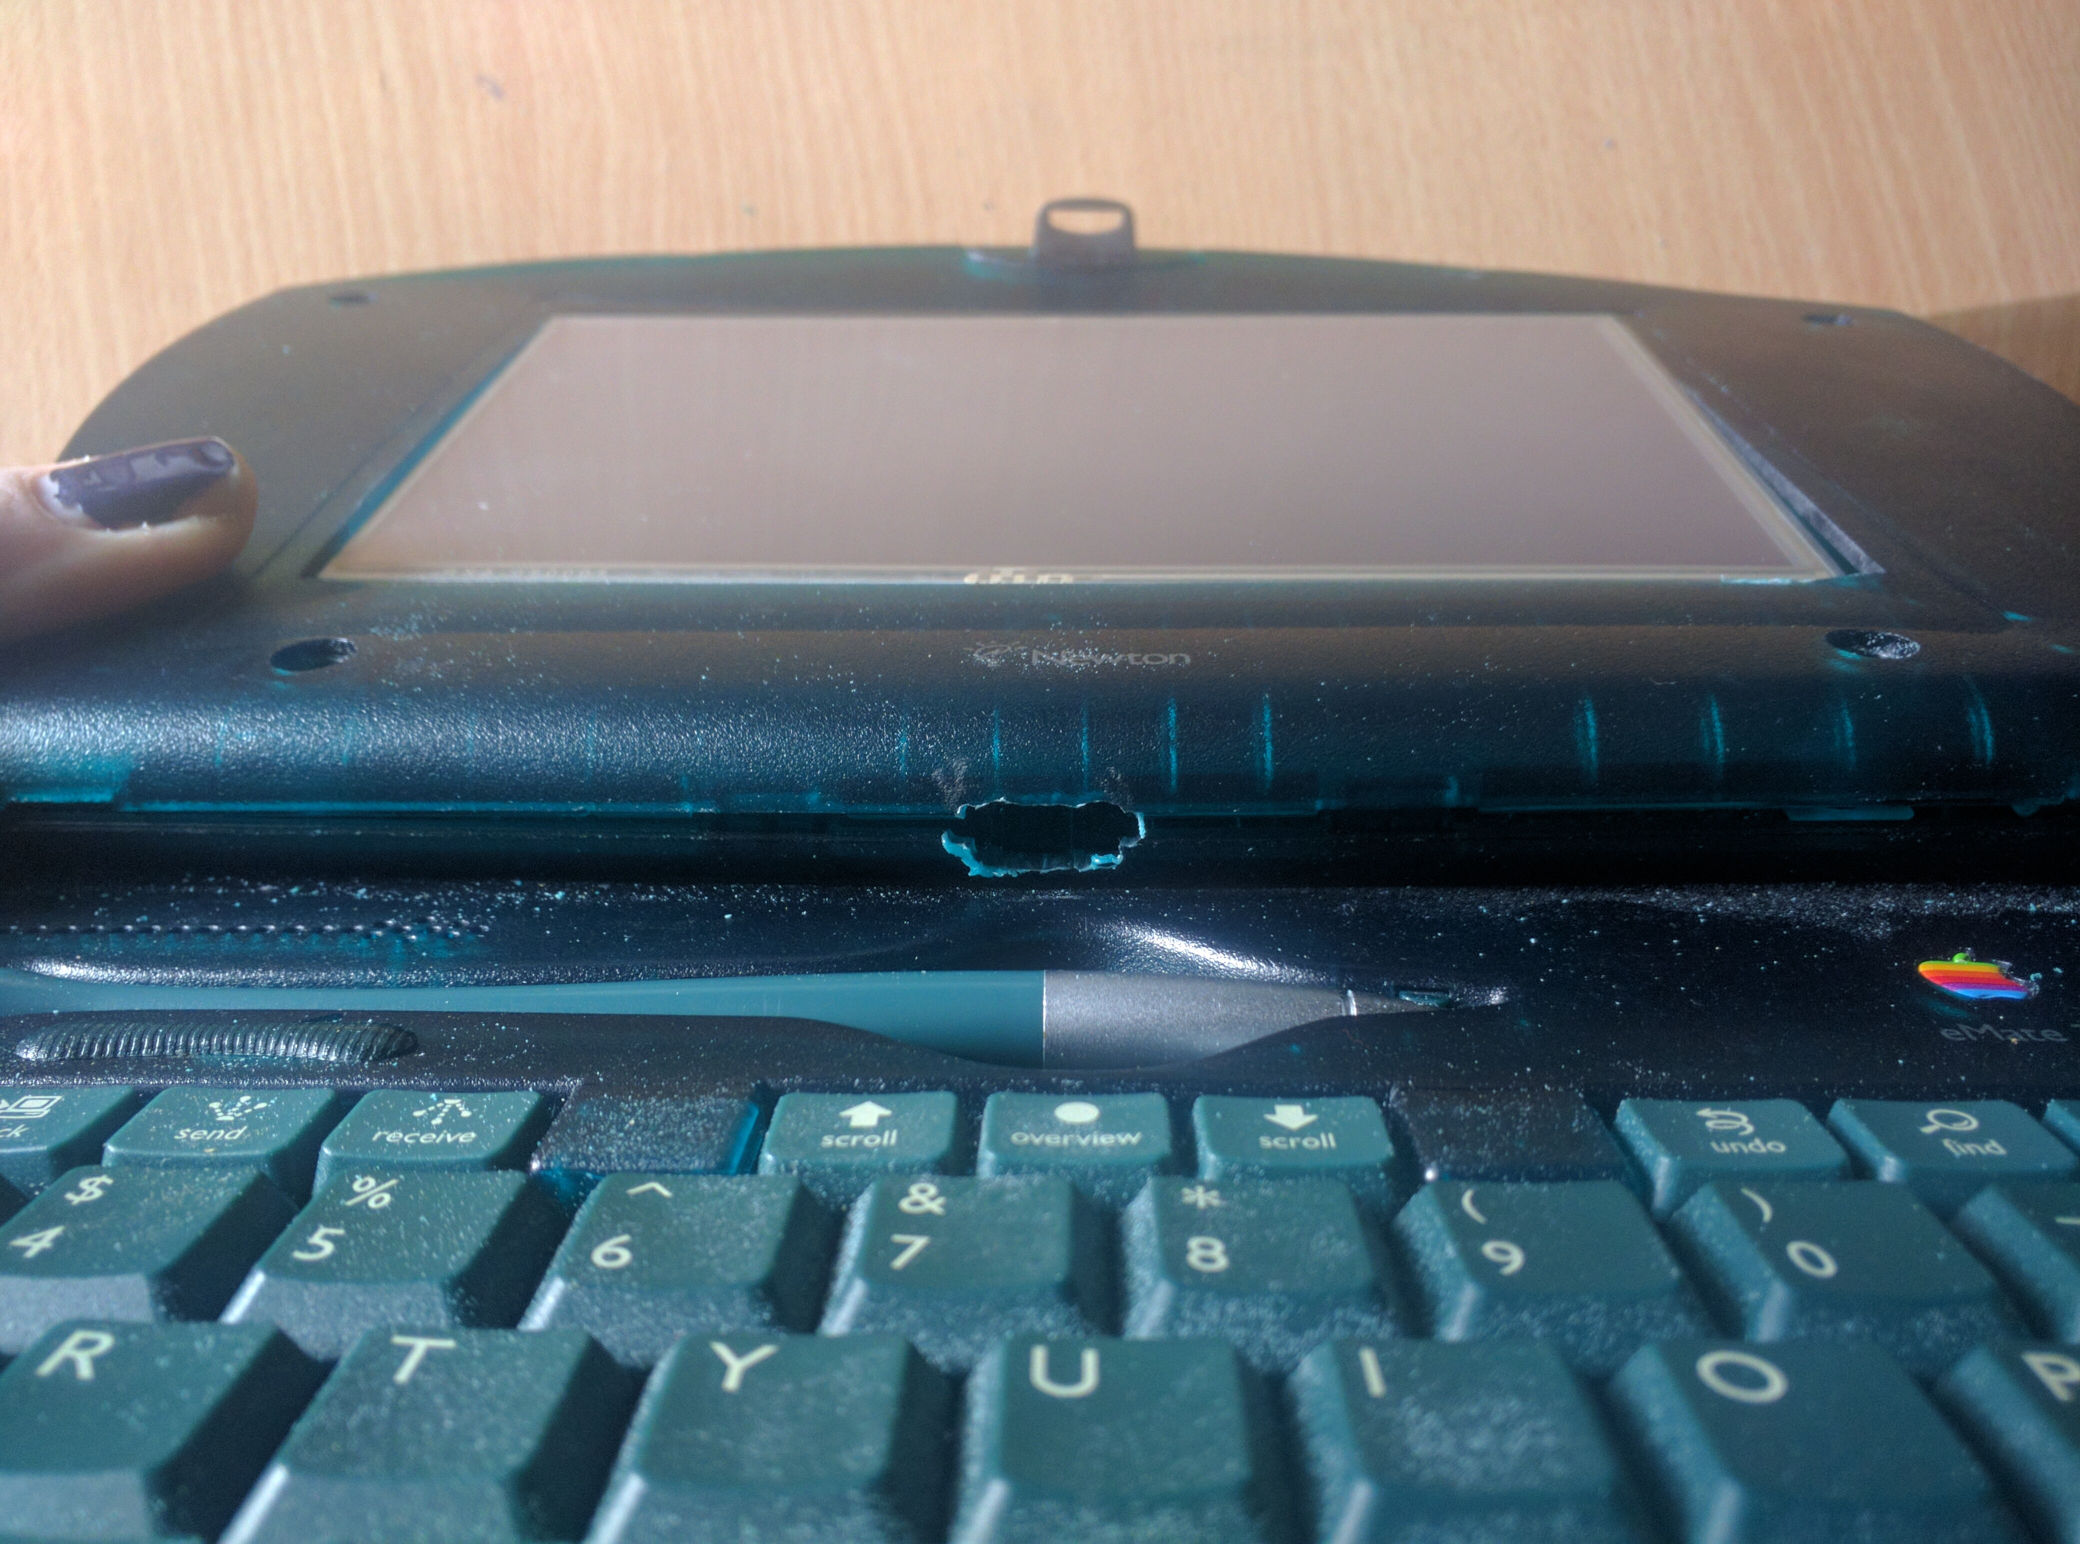
The front, however, required lots of careful fitting. The Adafruit HDMI Backpack is, as you expect, wider than the original LCD screen. Some careful sawing, sanding, and filing allowed a snug fit, with only a little of the screen protruding from the case. This works, but I'm sure others can come up with a far better solution than my rudimentary skills are capable.
Originally, this was not going to be a Raspberry Pi project! Instead, it was going to rely on a Pocket C.H.I.P., the "worlds first $9 computer". This now defunct single board computer was really tiny, had Wifi and Bluetooth baked in, and even could be powered directly from a LiPo battery.
I had contributed to the KickStarter and also added an HDMI board. This created a very simple set up where I needed no extra boards to make it functional (minus the keyboard). My initial tests were looking really promising, and it seemed straightforward to cram the tiny package and the battery into the eMate's limited internal space.
Then I blew up the power regulator chip on the board. Whoops.
The screen, combined with running the HDMI board seemed to be too much current for the little device to handle, and I blew up the power circuitry completely. The board never booted properly after that. Some time thereafter, the company itself folded up, and the platform was now dead.
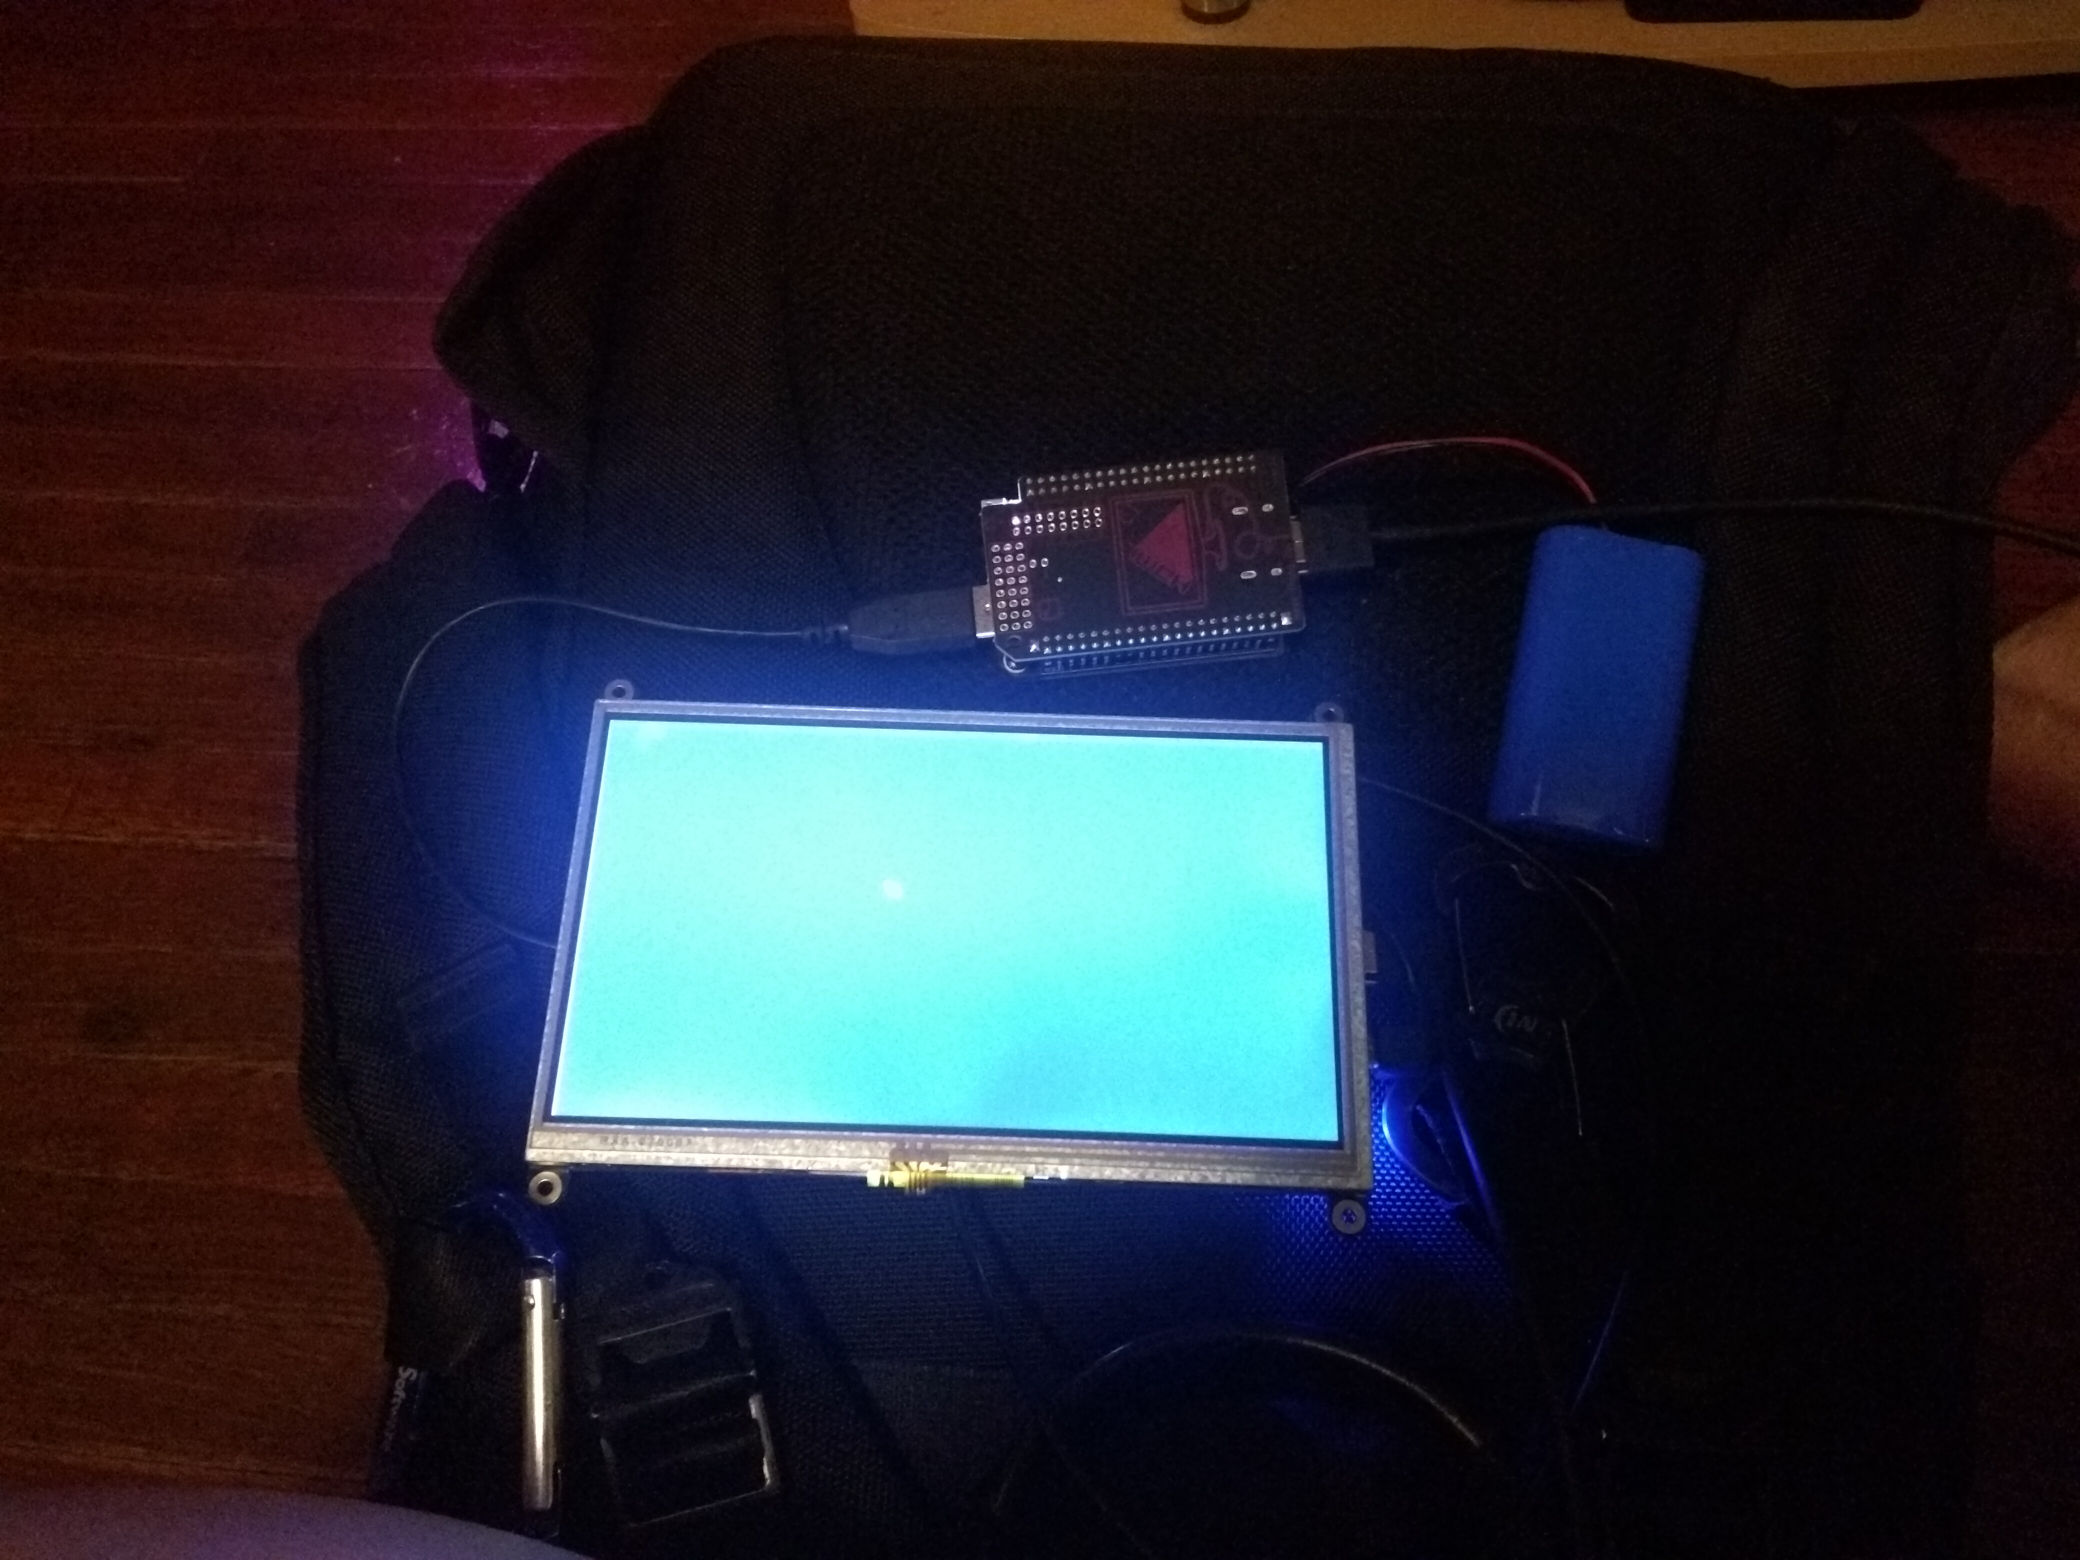
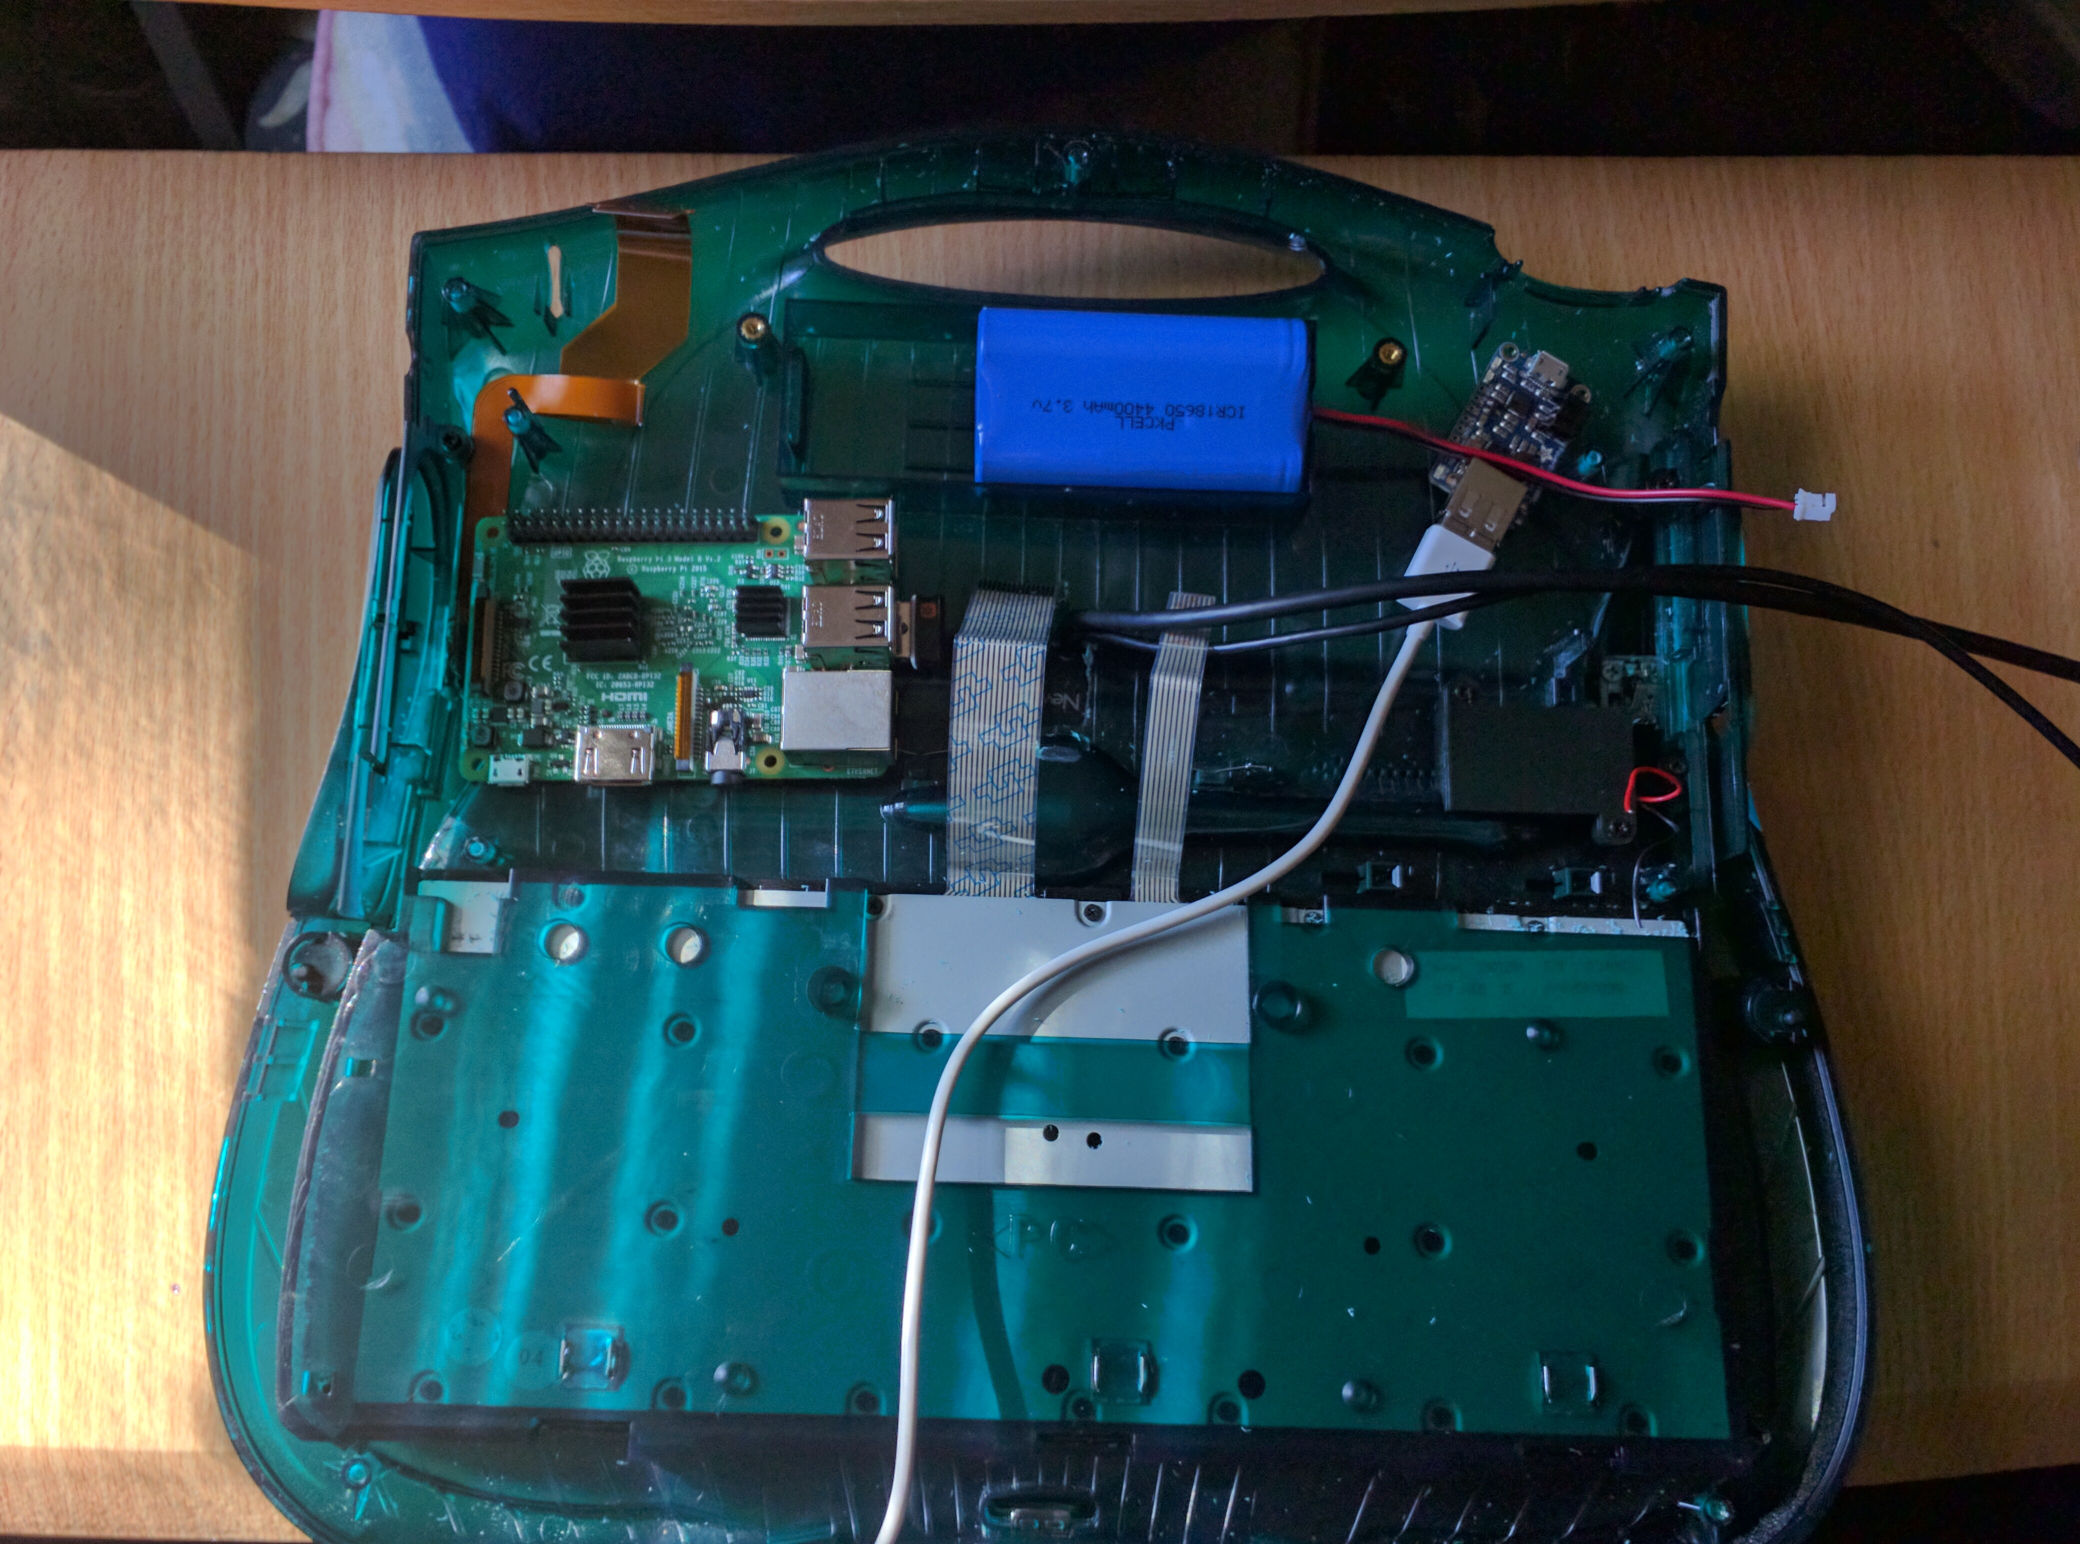
Fortunately, the Raspberry Pi was still going strong, and the Pi 3 also had built in Wifi and Bluetooth. Some paychecks later, I scraped together enough spare cash to order one and put the C.H.I.P. in the bin.
Help us out! Even a few bucks can help us with the next post!
One of the advantages of the C.H.I.P. was it had an integrated LiPo charger. With only the battery, you could run the entire system with no further components. The Pi had no such functionality. As a result, a lot of people who build silly portable Pis like this one rely on a USB powerbank. The problem was, I simply didn't have the space for one inside the piMate.
What was smaller, however, was an Adafruit PowerBoost 1000. This tiny board has all the charging circuitry, packed into a tiny little space. Several projects were using it at the time, so I thought it'd work for this project too.


I quickly found out, however, that the PowerBoost's 1A output simply wasn't up to the task. Even when I tuned the system to be slower and the screen much dimmer, the entire system would overcurrent when doing anything particular strenuous. considering that this was without any sound output or a microcontroller to drive the keyboard, I'd need something more robust.
The next thing was to try to find a board that was small enough, but provided closer to 2.4A of power, rather than just 1A. After some research, I found the piJuice. This little board had power, a real time clock, a soft power switch, and tons of other features I needed to power the project. All I would need to do is use the provided battery and mount the hat on the RasPi itself, conserving lots of space an eliminating complexity. I ordered one but...it was out of stock for 4 months at the time.
4 months, and this was before the Pandemic.
So, in the interim, I also ordered another 2A board to see if it would be enough. There was no way I'd fit it in the piMate case, but it would make a good test and perhaps I could use it for other projects (in the end, it ended up in the Cardboard Pi).


The initial tests of the redboard looked more than promising. I was able to use the piMate regularly, although it was difficult without a functioning keyboard. My hope was to use some sort of microcontroller to interface with the eMate's existing keyboard. I had probed it earlier with an oscilloscope prior to disassembling the eMate. The keyboard relied on two ribbon cables, one for rows and another for columns. By checking each column one at a time for each row, and then going through each row, you could assess which key was pressed. Typically, this was done multiple times a second, with multiple "hits" resulting in a keypress for debouncing.
It sounded simple enough to do with a microcontroller, right?
The problem was finding a micro that had enough inputs to read all the columns. I had bought an Arduino Nano, but found this board just wasn't enough alone. I'd need a shift register or some external circuitry to drive it, adding more complexity. I considered using a Tinsy microcontroller, as it had many more inputs and output and would eliminate the need for external circuitry.
I had been working on this project for 4 years at this point, and I just never seemed to find the time to do all the desoldering, testing prototyping, and programming I needed to make it happen. I was tired, and I just wanted this thing to be useful.
As it happened, I had recently been building mechanical keyboards lately, which gave me an idea to cut to the chase.


Instead of trying to figure out how to use the existing keyboard, why don't I just replace it entirely? I had recently built a Helix keyboard with low-profile "choc" switches. I loved the feel, but the Helix was just a little too wide to fit in the existing space in the eMate case.
Fortunately, Keeb.io also sells the Nyquist, a similar form to the Helix, with less complexity, on-board micros, and one column smaller. With a little effort and a Dremel, I bet I could squeeze the entire thing into the piMate. After some tense debating on how best to remove the original keyboard, I found I only needed to bend a few metal tabs and apply some convincing leverage to remove it. It popped out easily, allowing me to confirm, yes, the Nyquist would fit just fine.

The Nyquist keyboard fit amazingly well inside the eMate case, with one exception. The keyboard was a scant few millimeters taller than the original keyboard. Combine this with the fact that the screen also now protruded a millimeter from the original, I could no longer latch the piMate closed!
More internal debating ensued about how best to solve the situation, but in the end the solution resounded with the whir of a Dremel once more; I cut out the internal supports holding the original keyboard in place. I would need to find a solution later to mounting the Nyquist to the bottom of the case instead. I actually haven't solved this yet, but it occurs to me a 3D printed base might work if I actually knew Blender enough (or had the time to learn) to design one. I could also just pull out a 3D pen and goop the thing down for peak "can this thing just be done already?" desperation.
The underlighting of the Nyquist is an unexpected treat in the translucent green case of the piMate. It makes the entire thing glow like a bottled Christmas Tree. Unfortunately, it also draws more power than the piJuice can supply, threatening an instant reboot when overcurrent protection kicks in. Oh, well.

The last thing it seemed to be missing was sound. The HDMI backpack didn't provide any sort of sound output. My experience with the Cardboard Pi, however, suggested I could use the same stereo amplifier board and mini speakers to provide output. The piJuice also provides some pins for external power, meaning I could simply connect to those to power the speakers.
At first, it didn't work, until I realized those external power pins need to be enabled in software:
And of course, I'll old frienemy Overcurrent Protection showed up when the speakers were on too. Even the piJuice just didn't have enough power to keep all the lights and sounds on without putting a stop to the entire thing. If I had swallowed my pride at the start of all of this, I might have avoided a lot of consternation by using a USB powerbank instead.
The piMate is one of my longest running projects. While it's not done, it has been a learning experience. At each step, I found myself taking stock of how much energy, money, time, and knowledge I had. When the project stalled out, it was time to reassess my limits and try to find a different way forward that I could succeed in. This project wasn't a failure, but it was a lesson in accepting my personal limits.
Today, I might not try to build something like the piMate. I'd likely build a cyberdeck out of more accessible components with looser tolerances. A USB powerbank may not have any finesse, but it certainly is effective more than the three different solutions I have attempted. The Raspberry Pi also has a lot of limitations which make it less suitable as a portable system. And now with pure Linux portables like the PinePhone and the PineTab, building a SBC into some strange case seems less useful than before.
If, however, one accepts the point isn't utility but fun and learning, then the piMate has been an incredible project to work on. Maybe someday I'll sort out the remaining issues and use it as a fun alternative to a regular laptop.
This post was created with the support of my wonderful supporters on Patreon.
If you like this post, consider becoming a supporter at:
Thank you!!!


