
A month off, Day 4: A Trio of Calicats
With the part failure on day 3, I spent a lot of time thinking I needed to reprint not only that, but multiple parts throughout the printer. While the spool of transparent red ABS I have is out of the question due to low ductility, I do have a spool of black ABS.
The problem is, the spool of black ABS prints really, really poorly. I've bought previous spools from the same manufacturer of the exact same kind, and never had the issues I'm having with this one. The quality is poor, the extrusions aren't well bonded, the overhangs are a mess, and it pops and bubbles like it's been stored in a toilet tank.
So, what do we do when a filament is cantankerous?

While the Benchy is a popular test model, I'm far more fond of the Calibration Cat. It's a faster print, and the result is an enjoyable little thing to keep around and give away to friends. Since I didn't have the budget to just buy myself out of this problem, the best thing to do was to try to sort out why this filament was misbehaving.
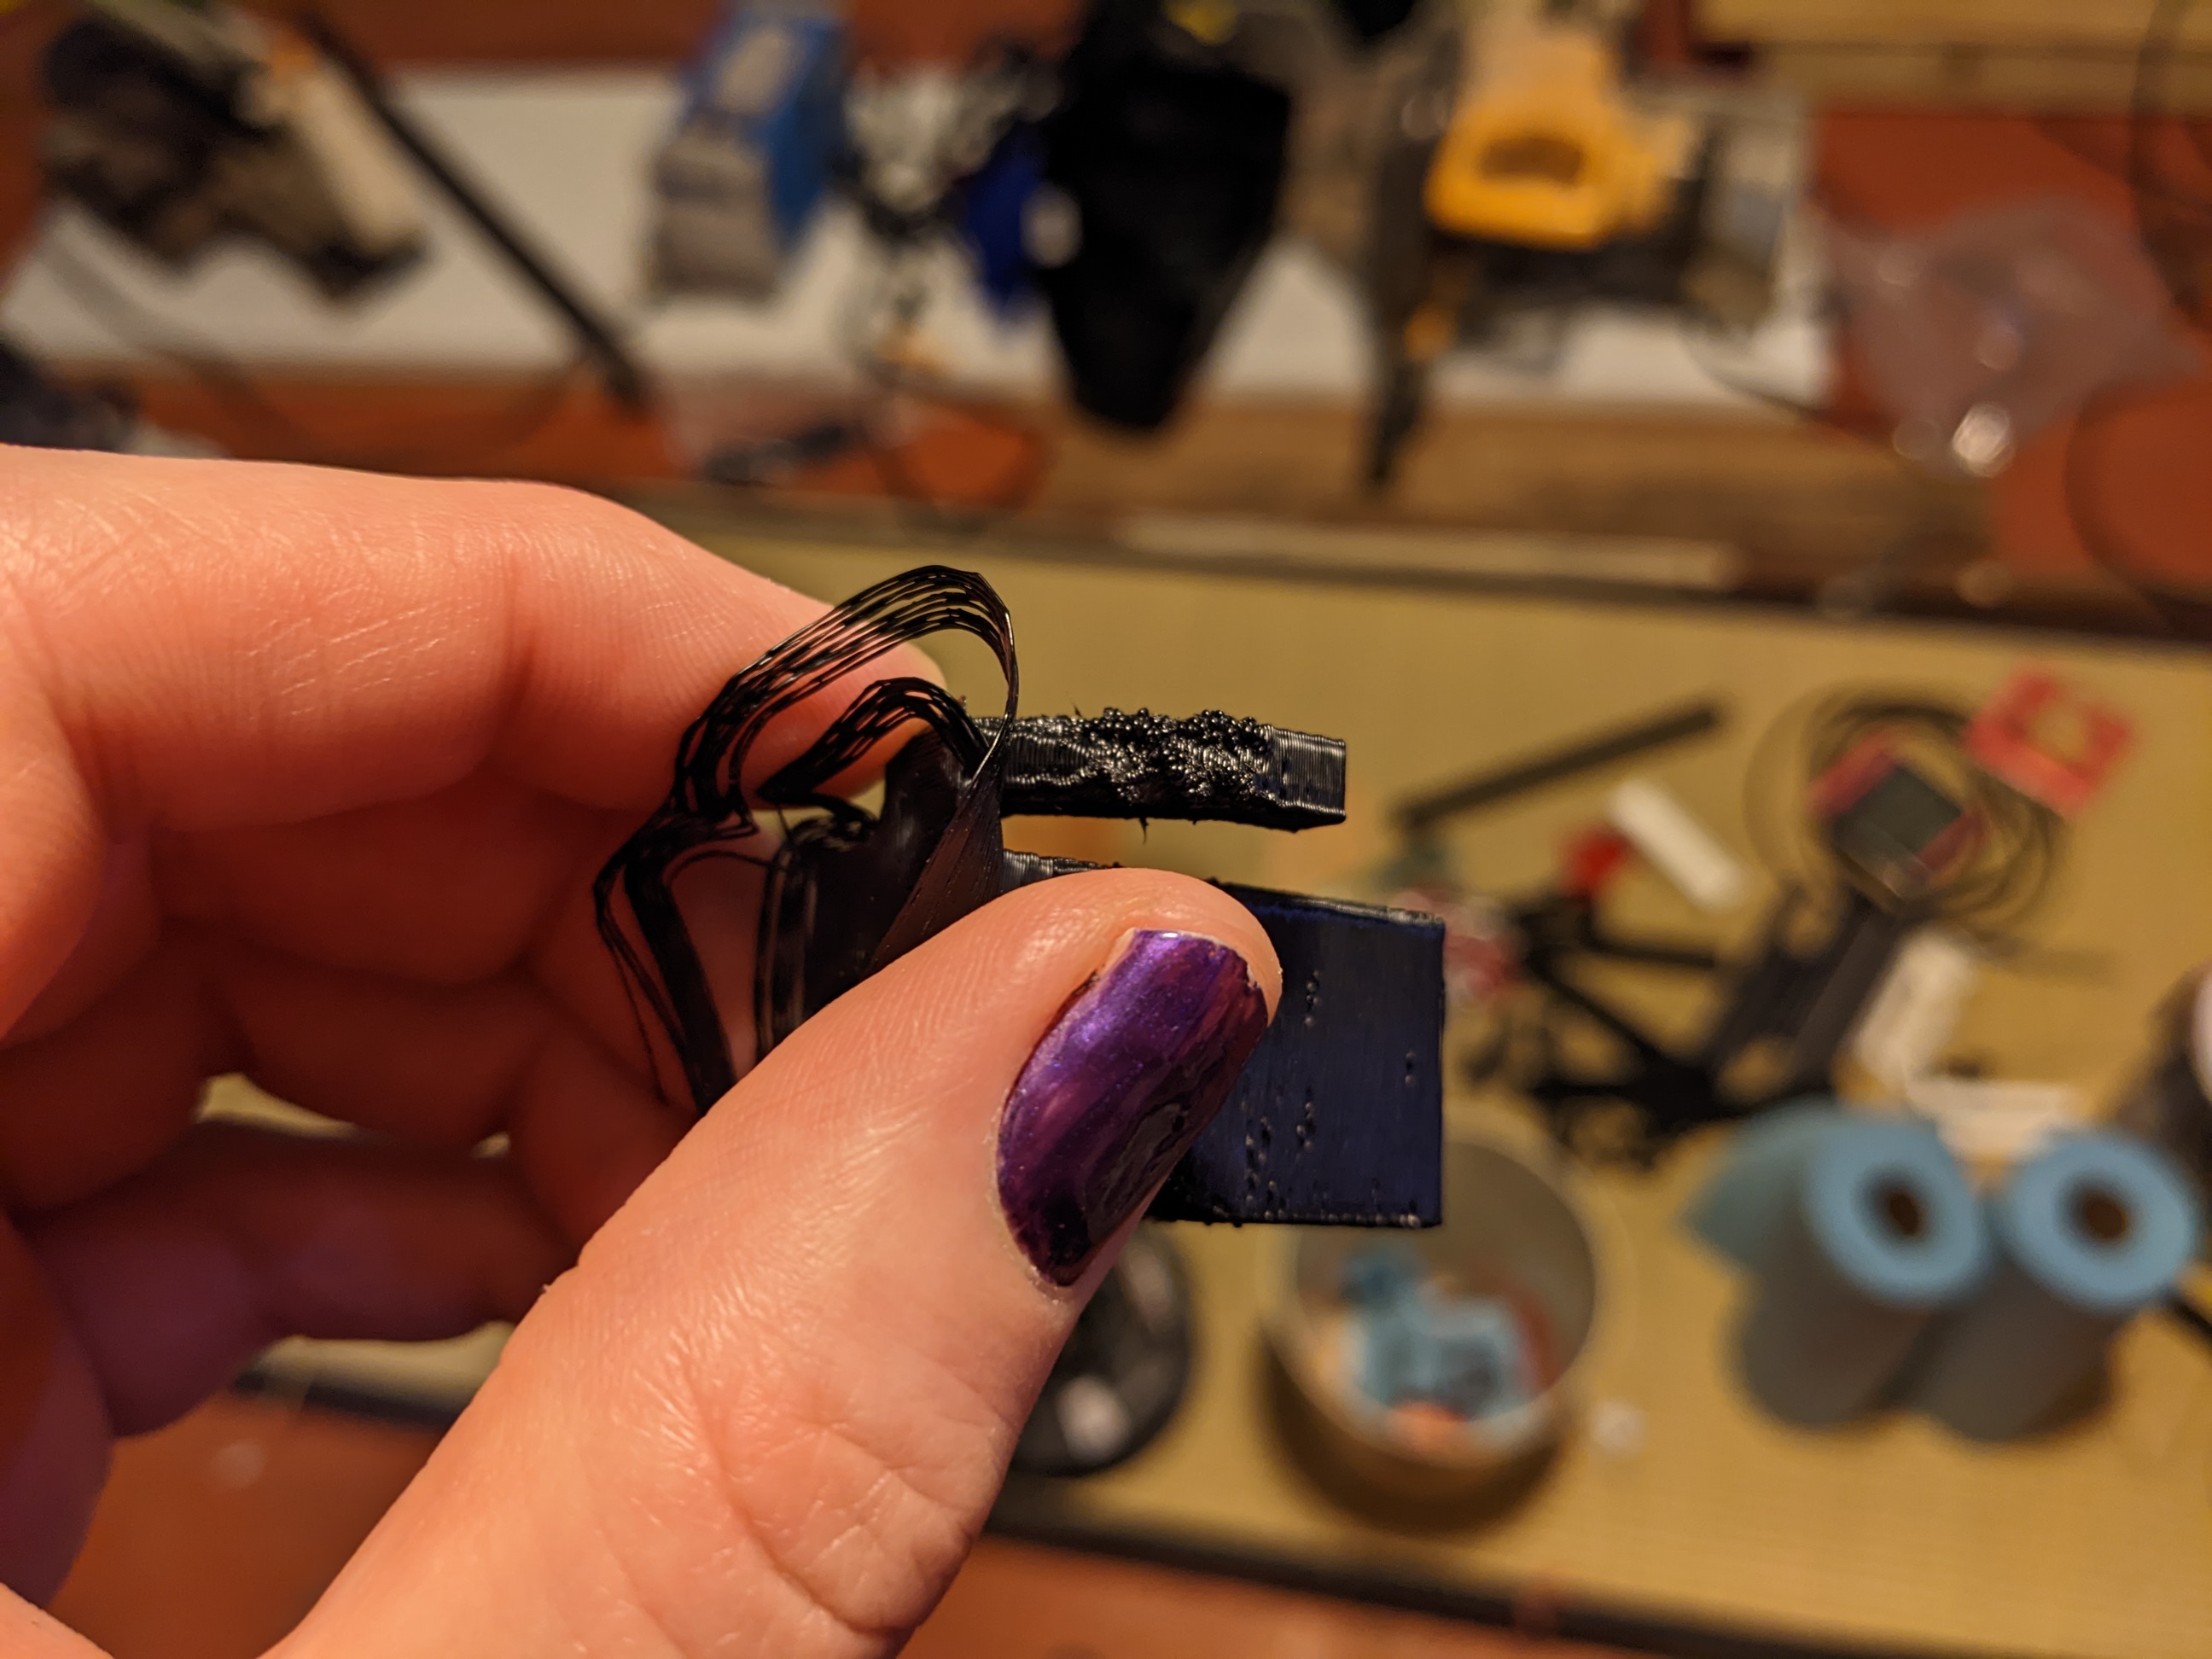
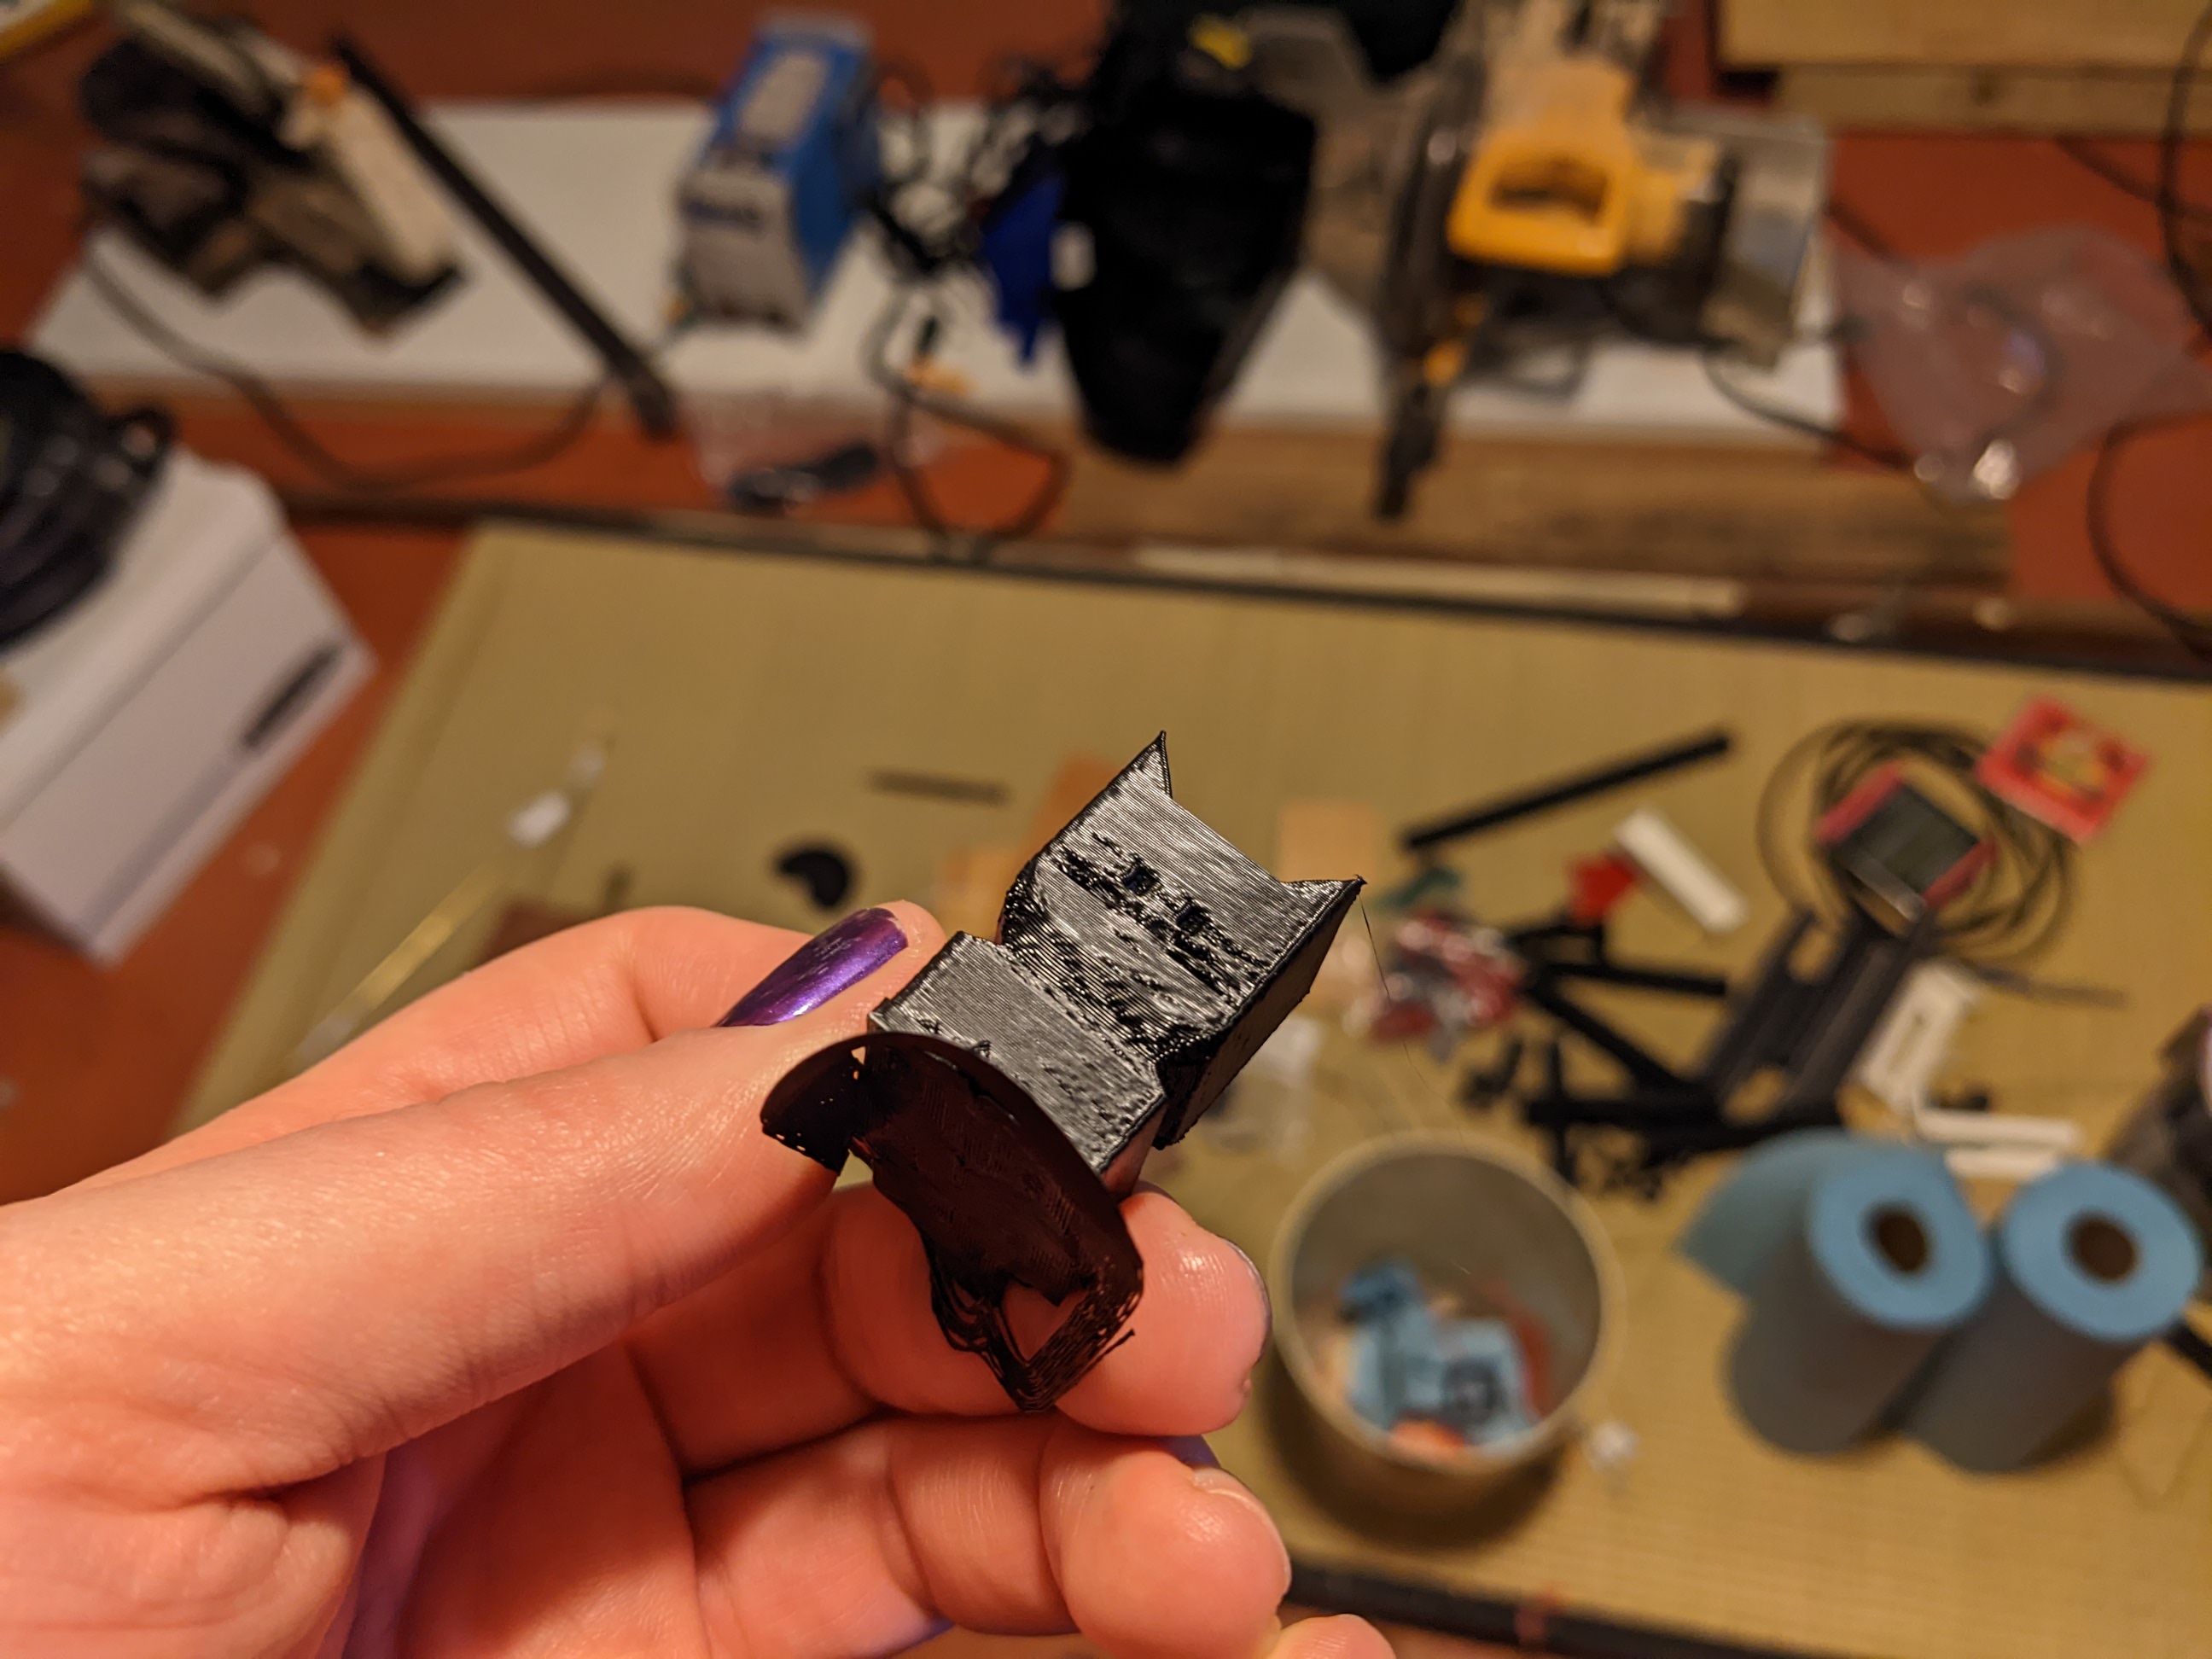
The first "calicat" I printed was a kind of control. 245C end temp, 95C bed temp, 100% flow rate. The result was...bad. The surface finish was incredibly poor with mangled details and imperfections throughout. Overhangs were a loopy mess, and the top layers literally melted through voids in the infill leaving holes on the top.

My theory was that for whatever reason, this particular roll of ABS was being printed way, way too hot. Technically, 245C is within it's printable range, but this spool was printing like it wanted less heat. A lot less.
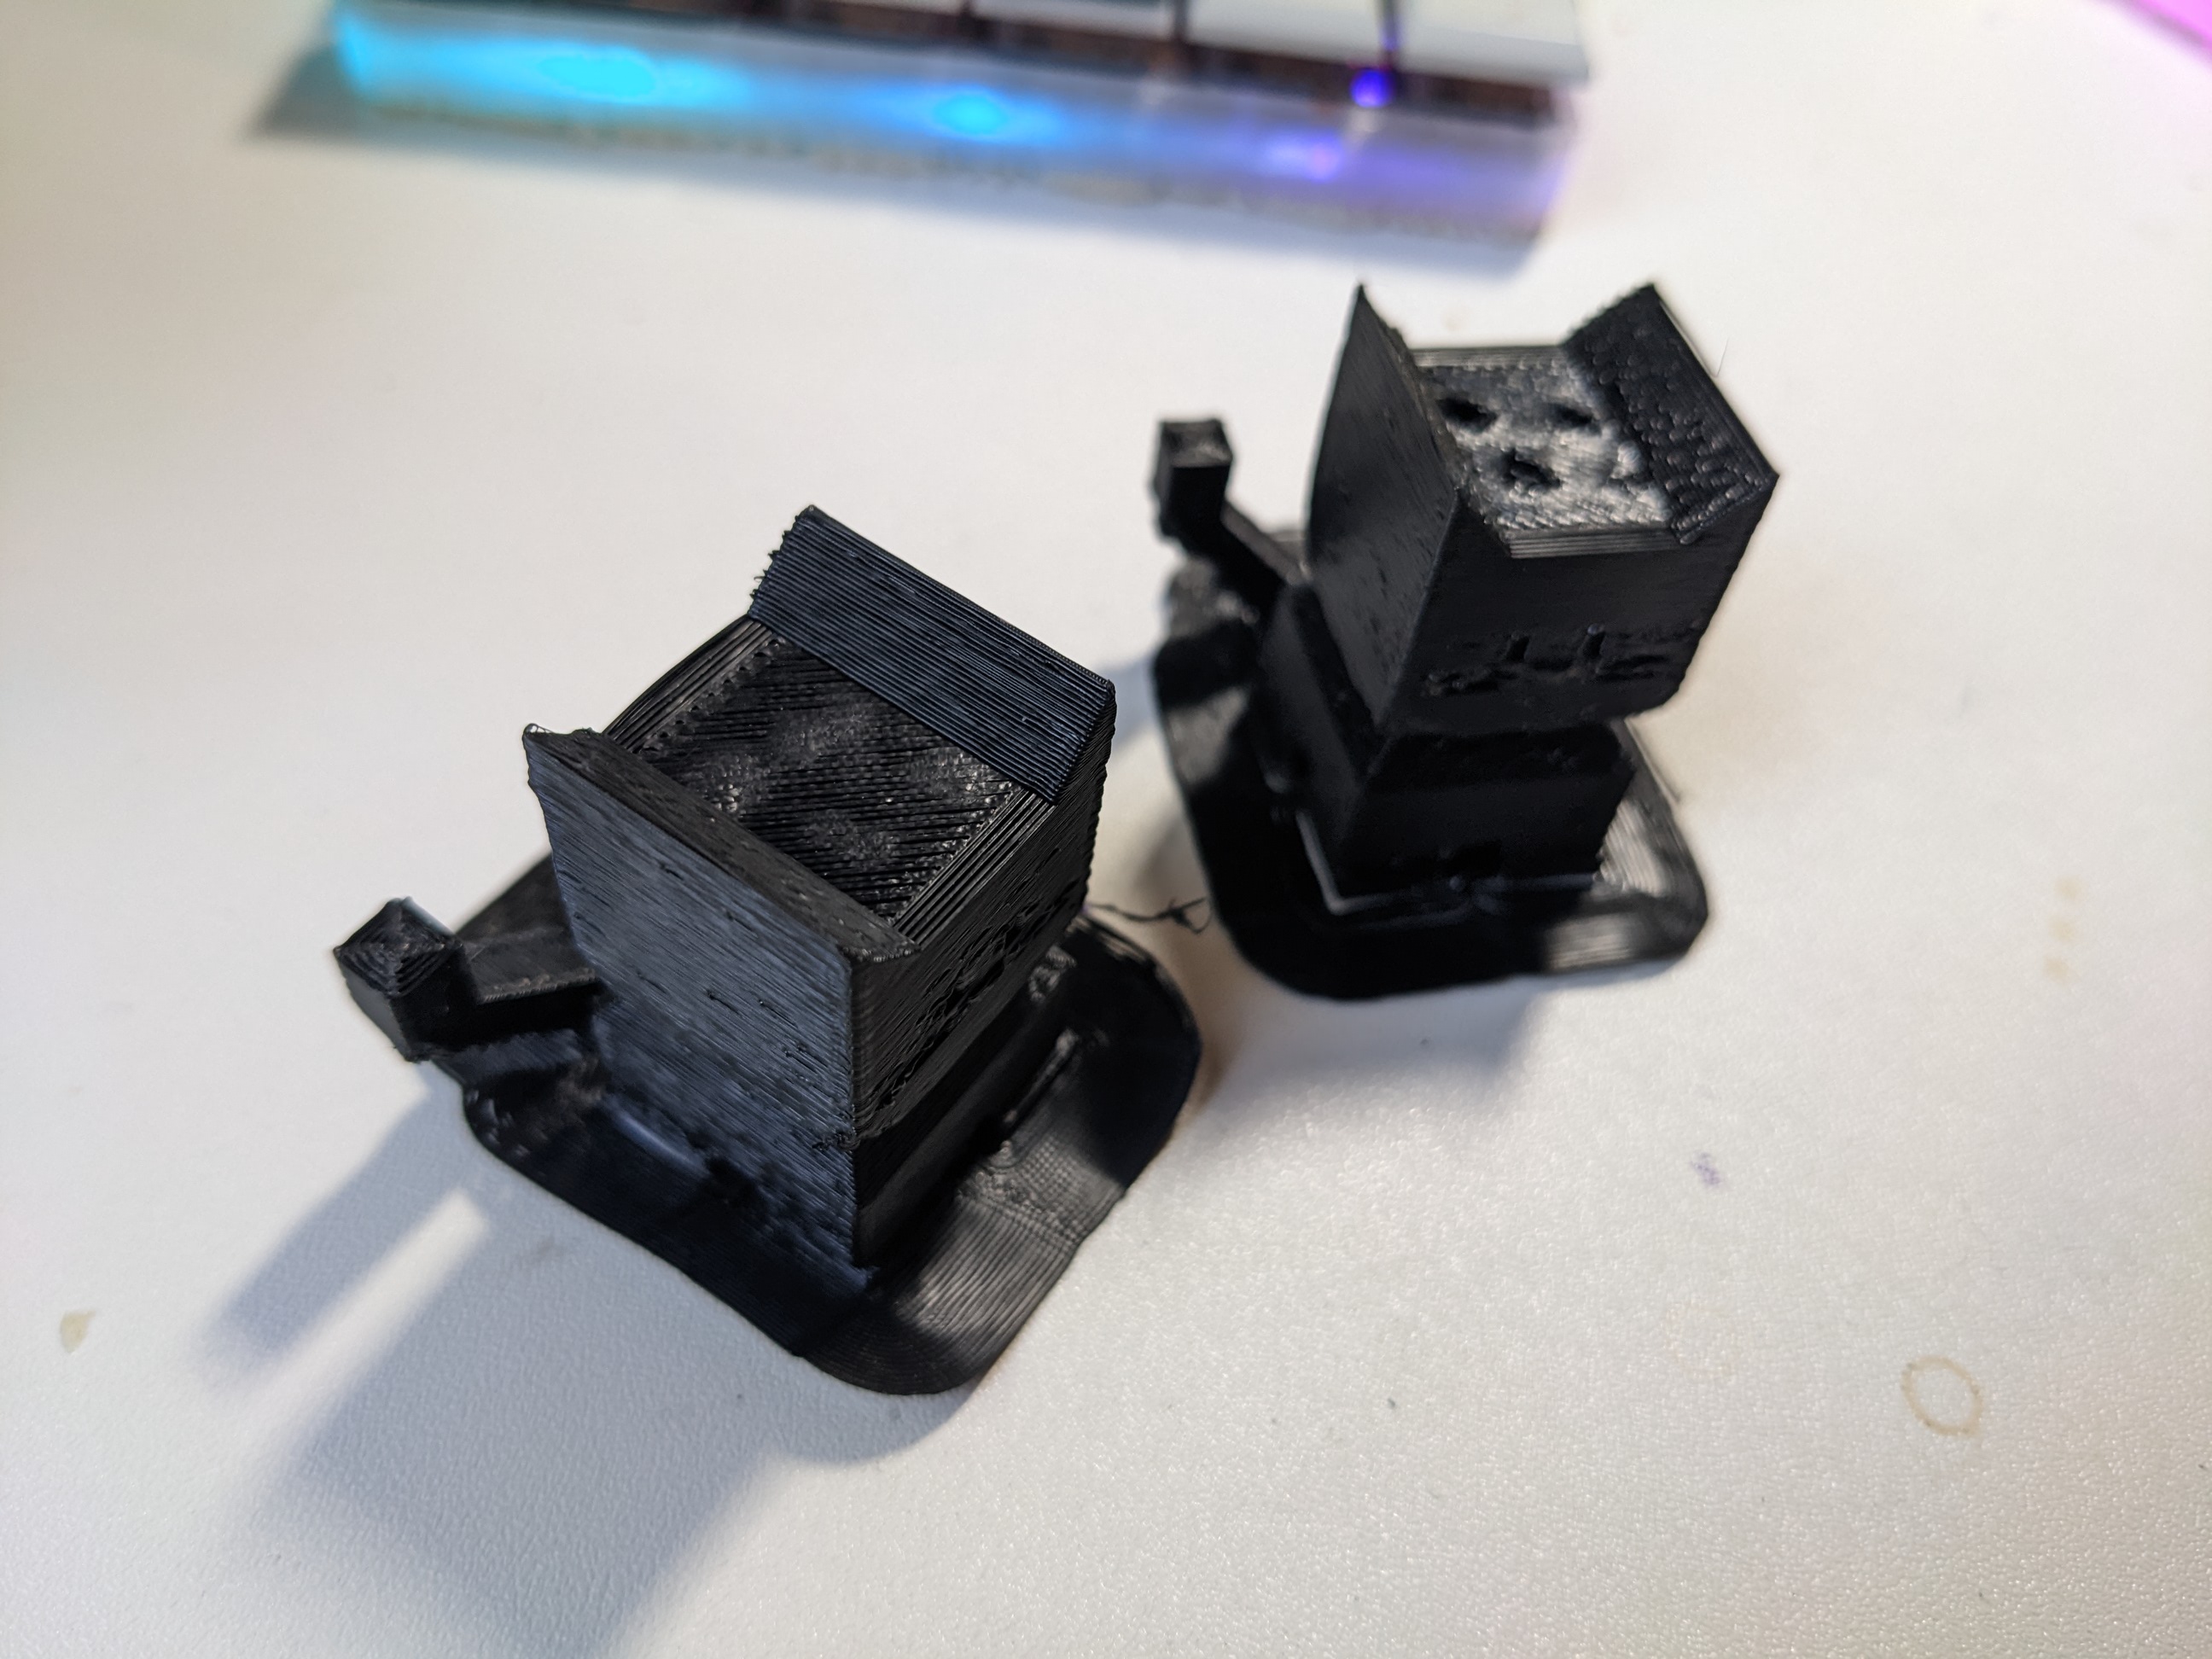
I started with a methodical drop of 5C on the end and bed, but half way through the print I went down to the printer and watched it in operation instead. There wasn't much of an improvement, so I started to decrease the hotend temperature in 5C increments as the model was being printed. I also increased the flow rate in 5% increments.
By the end of this process, I was at 210C for an end temp, 90C for a bed temp, and 120% flow rate. I let the calicat finish, then started another one with no further changes to the settings.

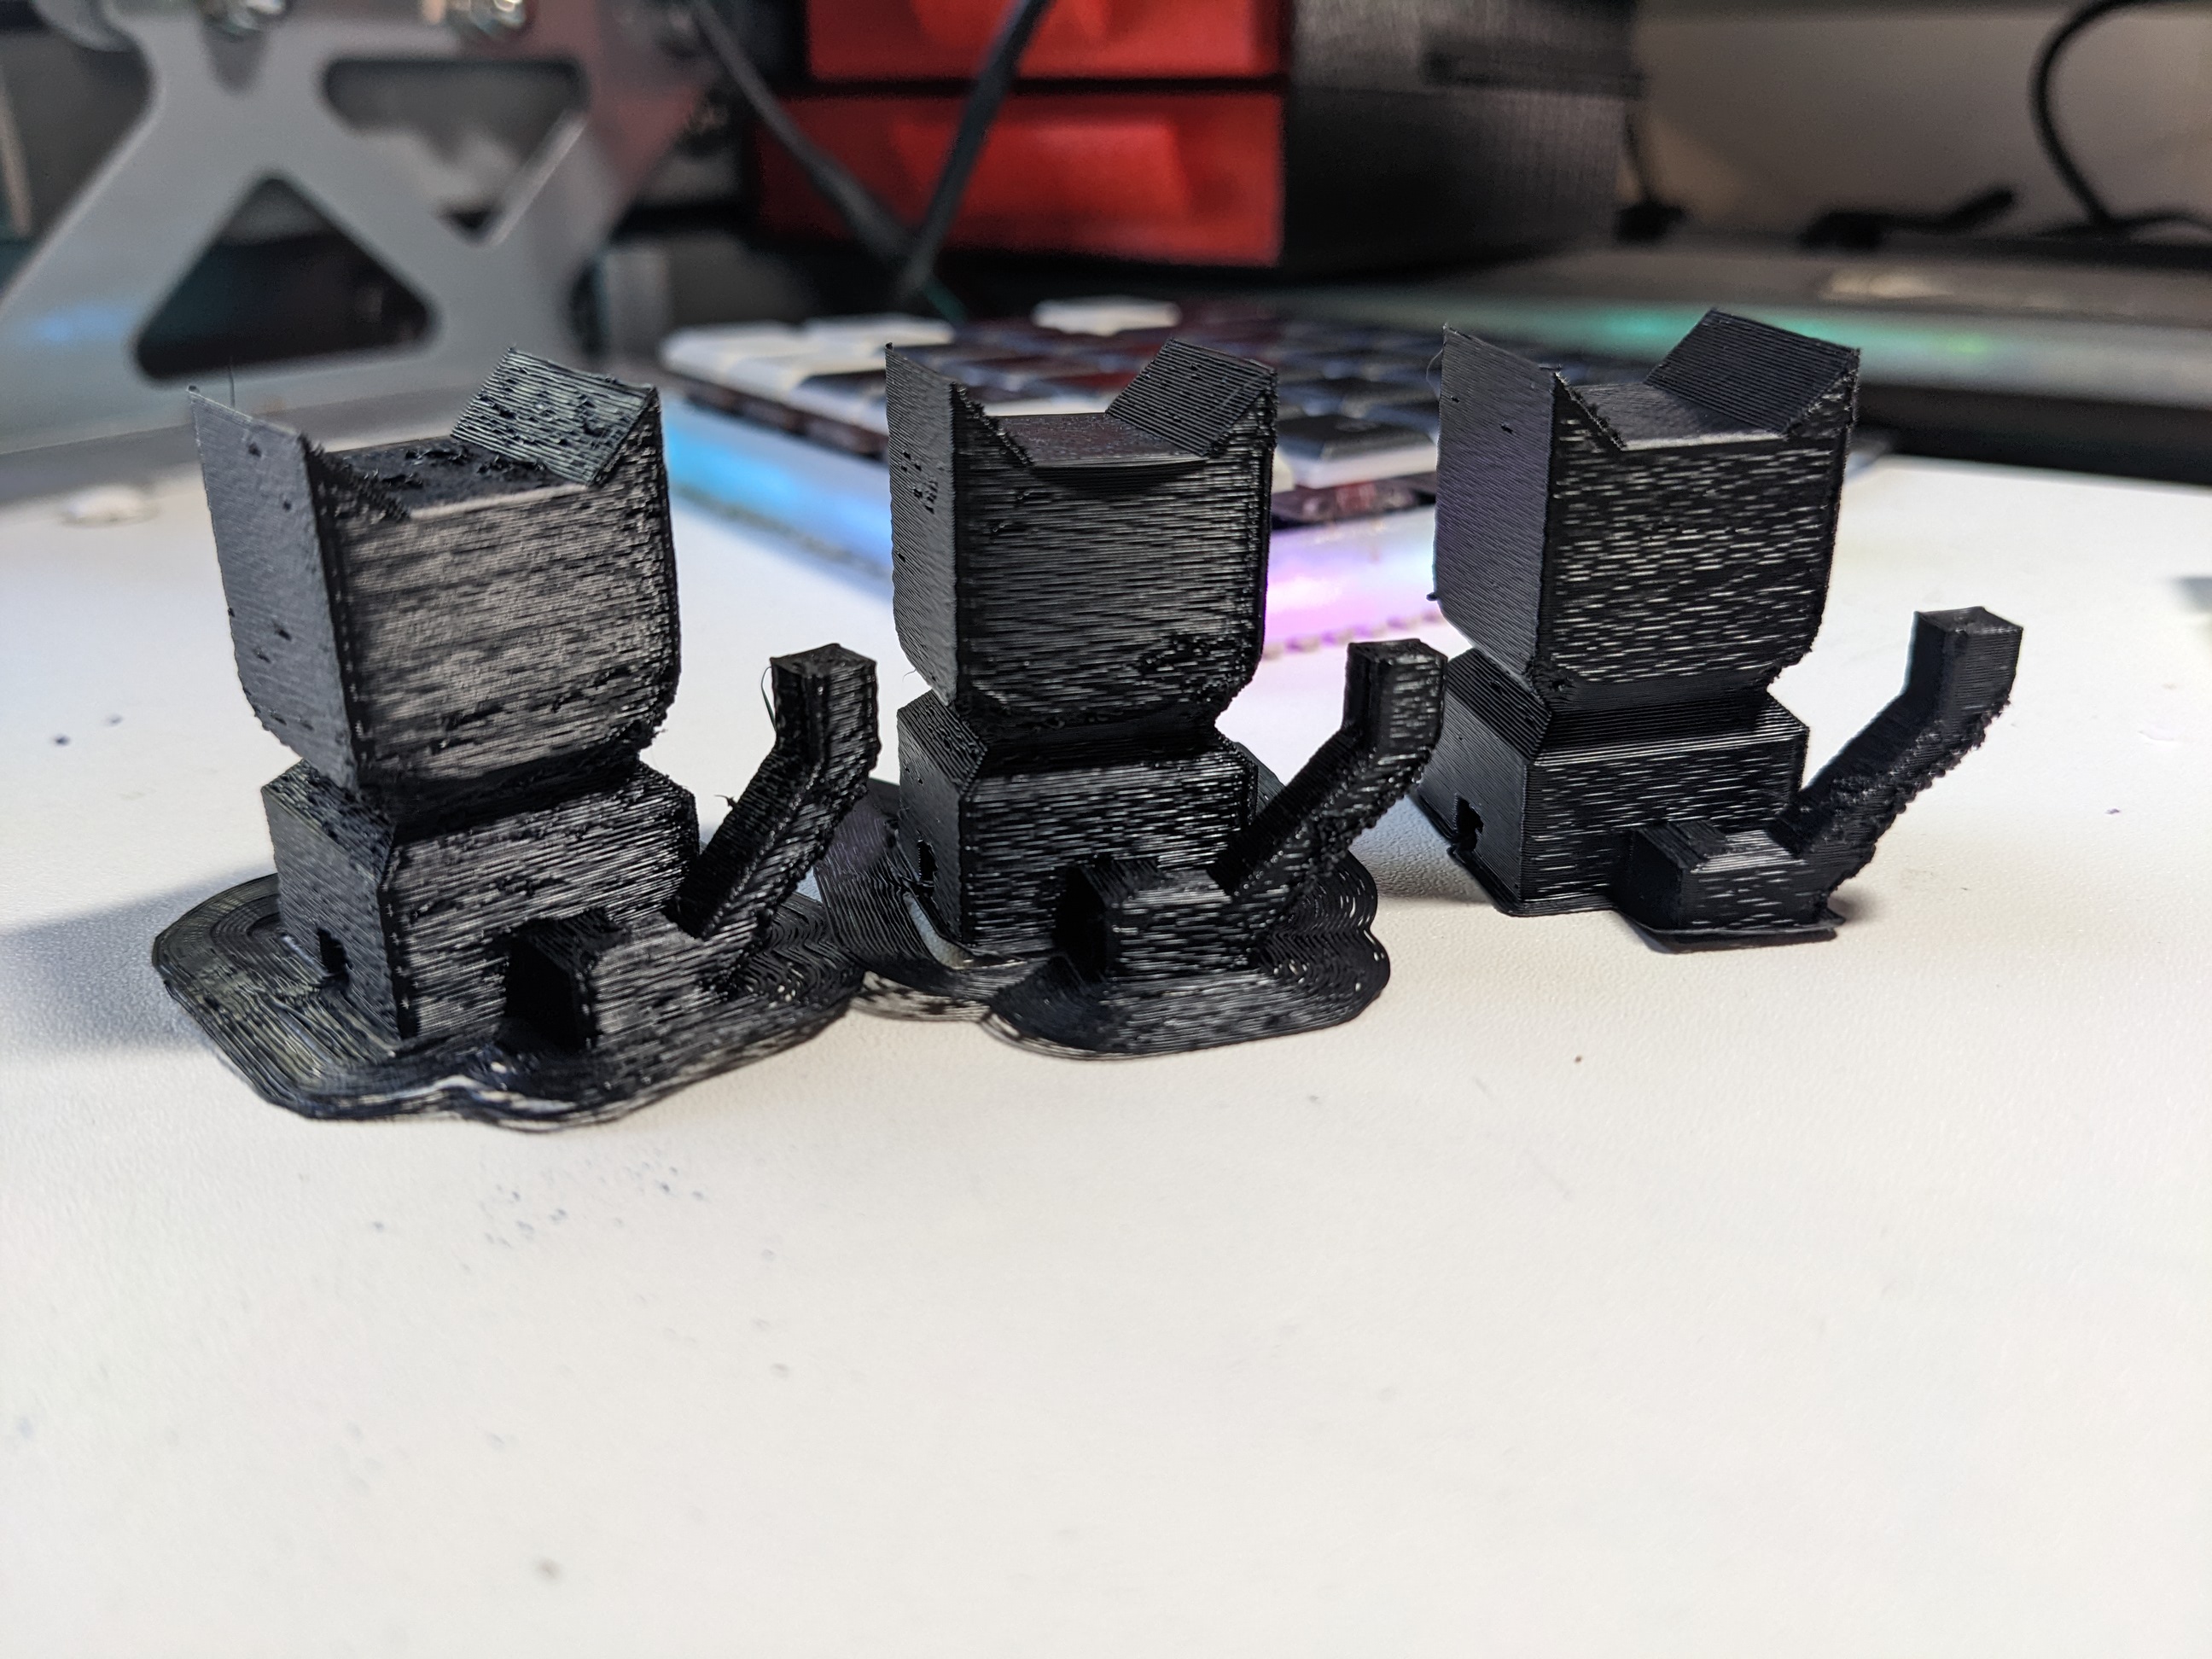
The third print turned out much better, although the filament was still exhibiting signs that it was wet. This continues to perplex me as it was stored in a lot of desiccant, and run through a filament dryer multiple times beforehand. Seemingly nothing was removing the moisture from this spool.
It's also possible that I'm simply in a bad section of the spool as well. I've had similar poor sections in Hatchbox spools before, where one part of it is definitely of a different quality than the rest. Often, if I just let the printer run through all of that, the quality begins to improve.
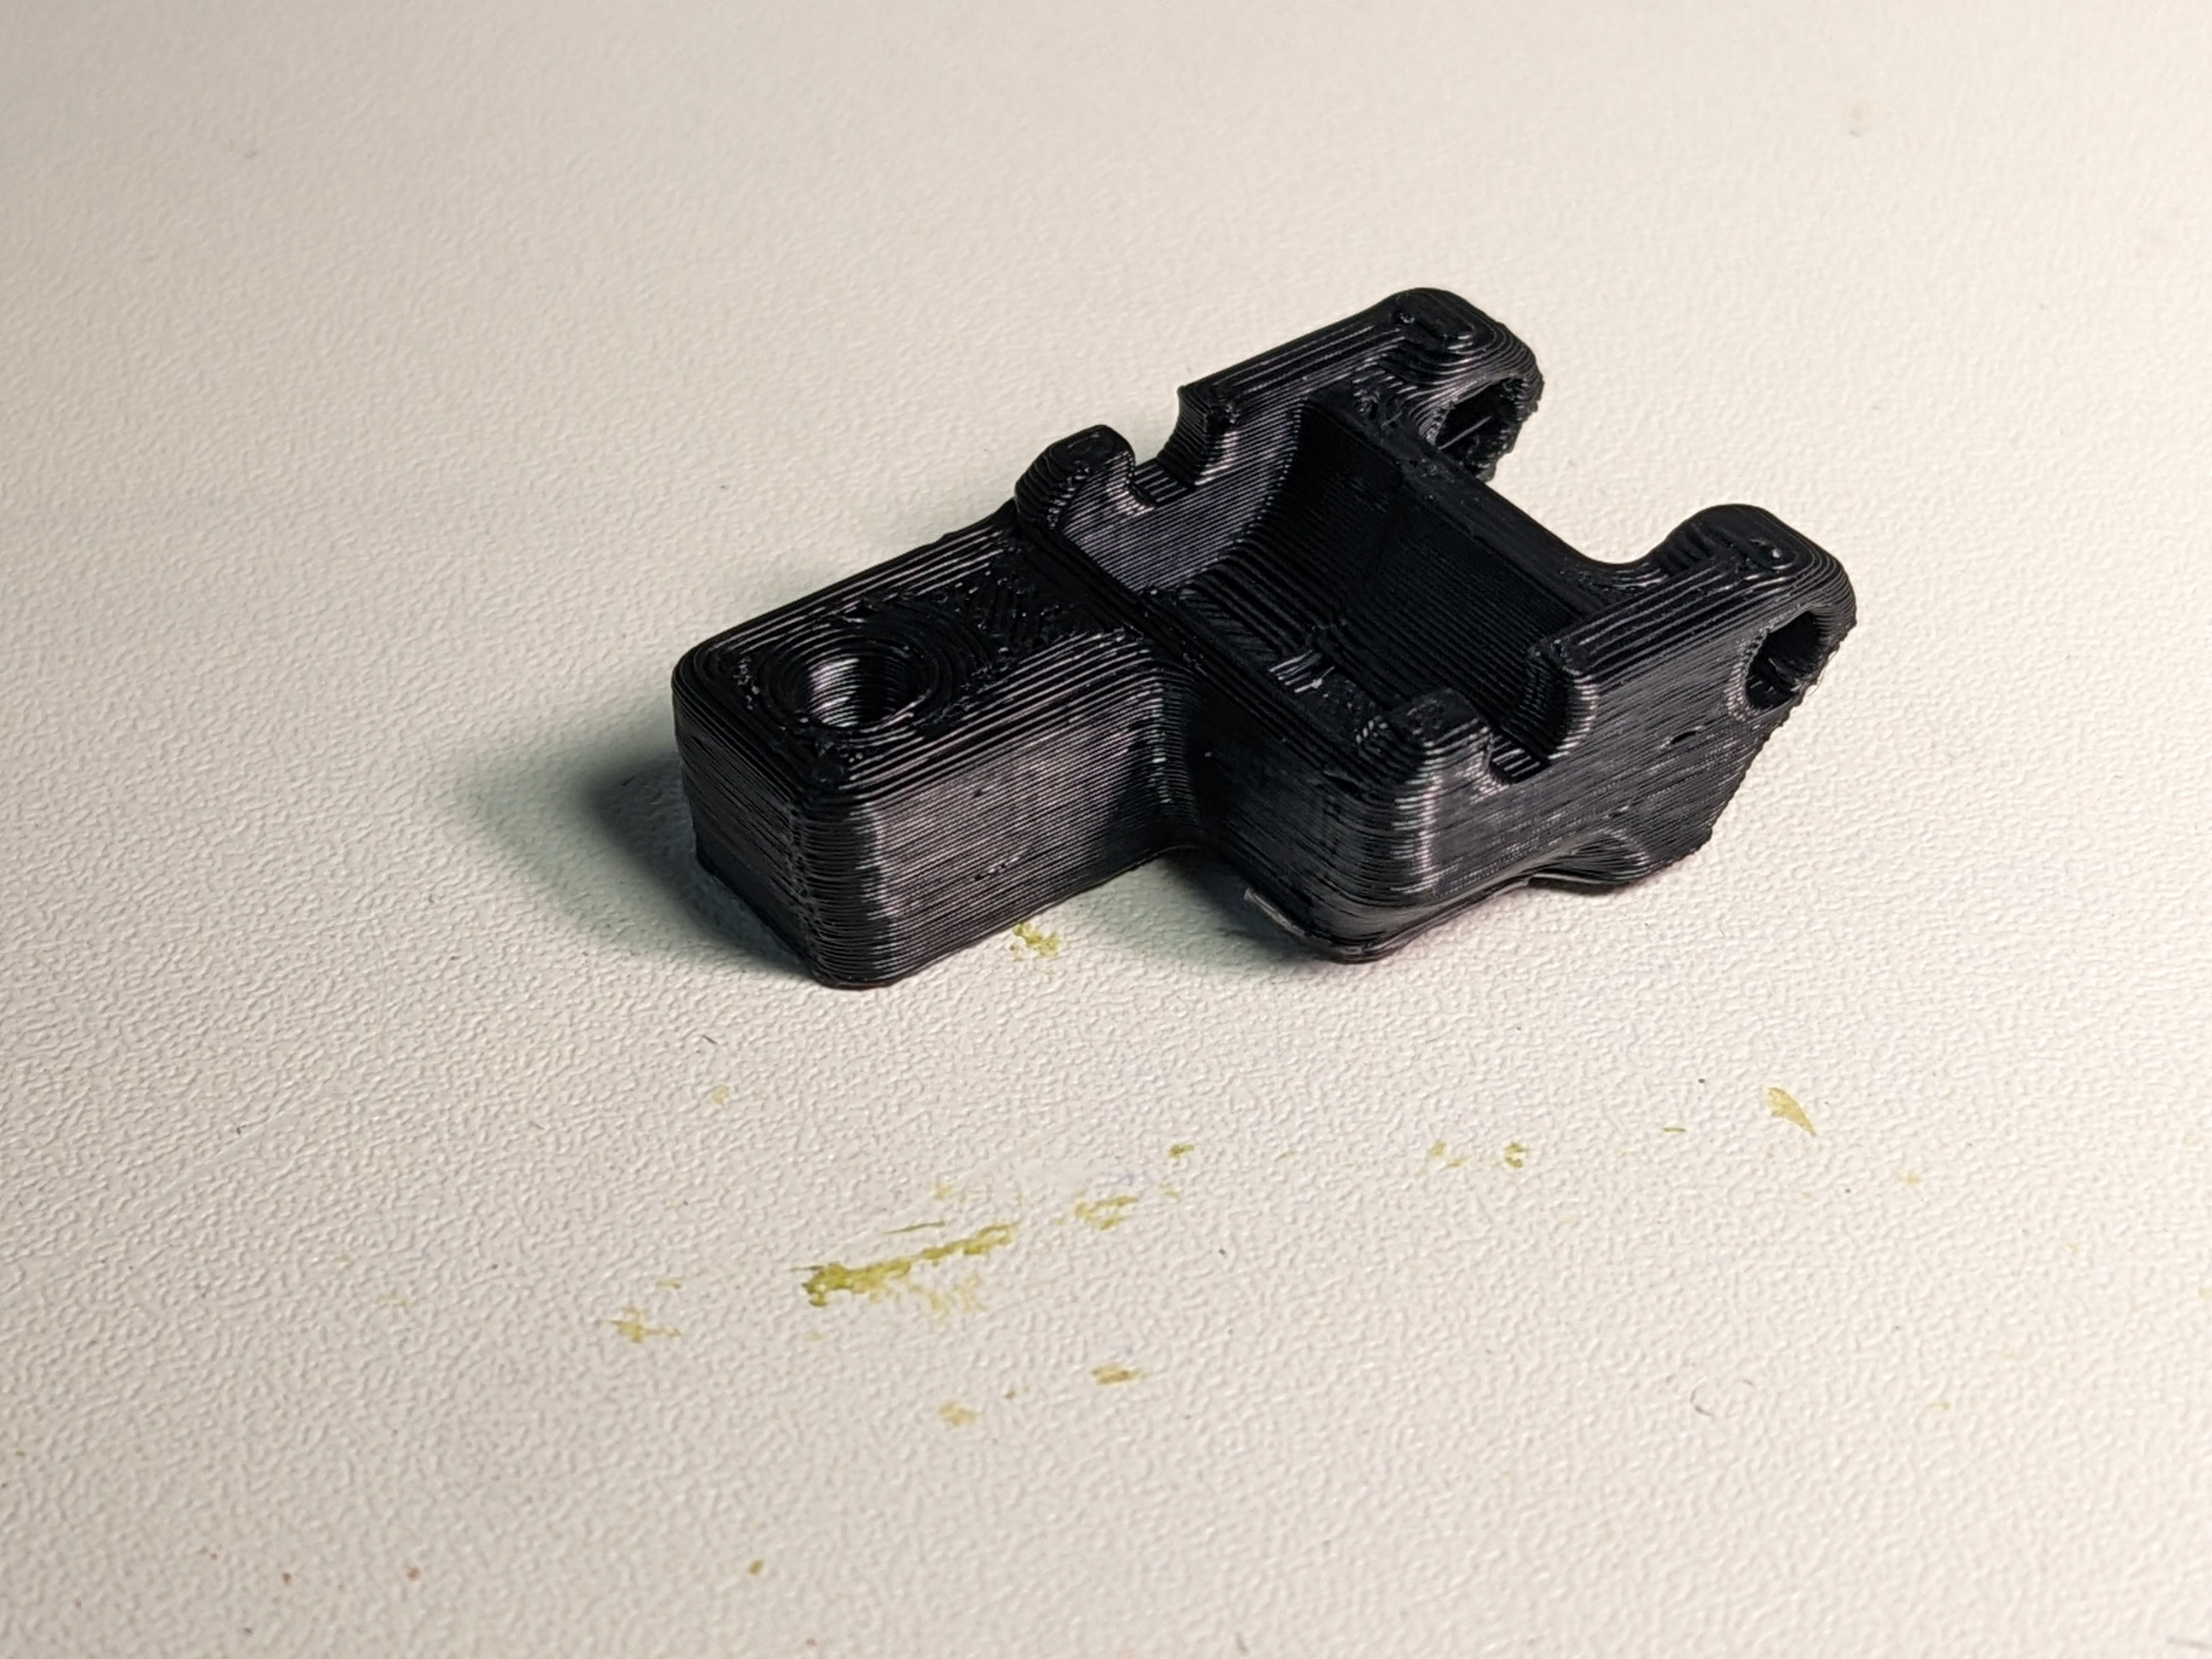
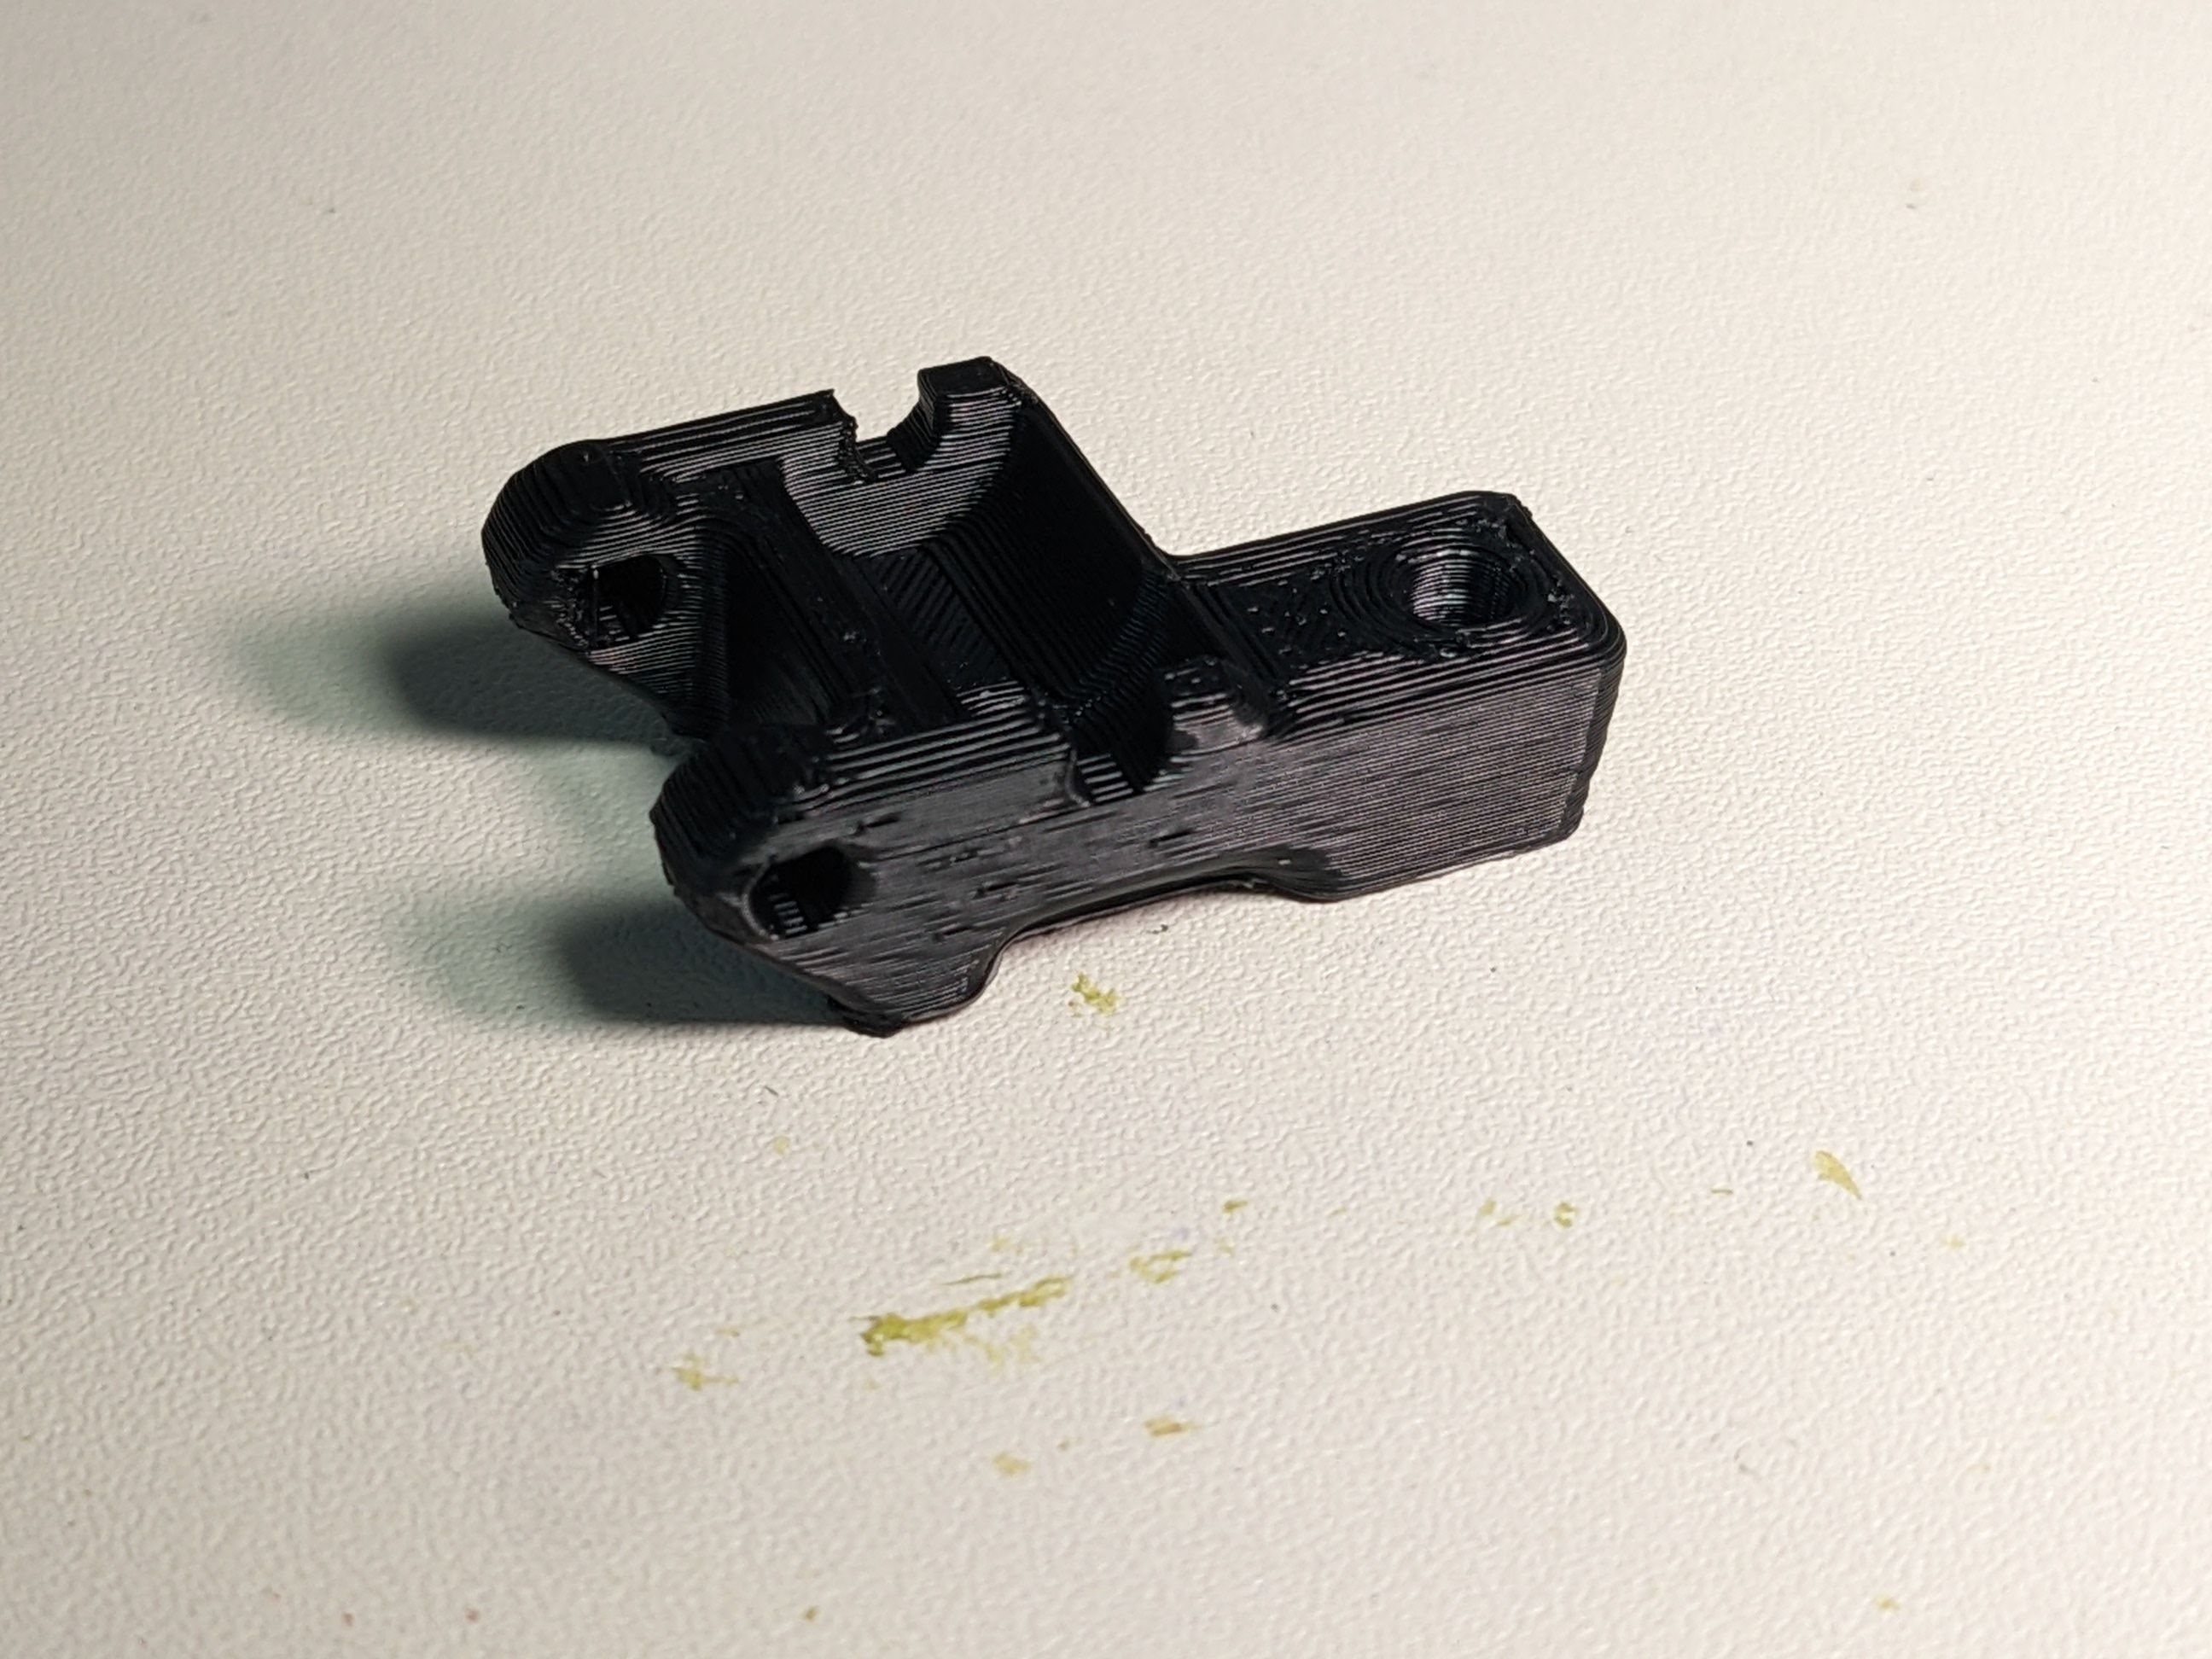

With that in mind, I decided to just reprint the part I had broken yesterday. The resulting quality wasn't as good as less argumentative filament, but it was vastly improved. The print had a few minor surface imperfections, but otherwise turned out clean and more than acceptable for use.
While it wasn't the recommended settings, I also reprinted it at 100% infill for further strength. This wasn't much of a change considering the part is very small and had 4 perimeters anyways. Still, any little bit to prevent this part from breaking again can help.
Given that part turned out acceptably, I decided to begin reprinting other parts on the printer. I've already reprinted the two bed mounts, and may disassemble the printer again today to install them. One of them is already cracked, as they are subjected to significant torsion from the bed springs. They're also the hardest to replace. Other parts I may replace given time, but I think I may simply keep them around in case I need to replace them.


