
Voron 0.1 3D Printer Build #2: Tophat and deckplate
Last time, I built the frame for the Voron 0.1 corexy printer. While that felt like an astonishing amount of progress, this weekend fell flat by comparison. Due to a lot of little missing parts, I wasn't able to make as much progress as I'd like.
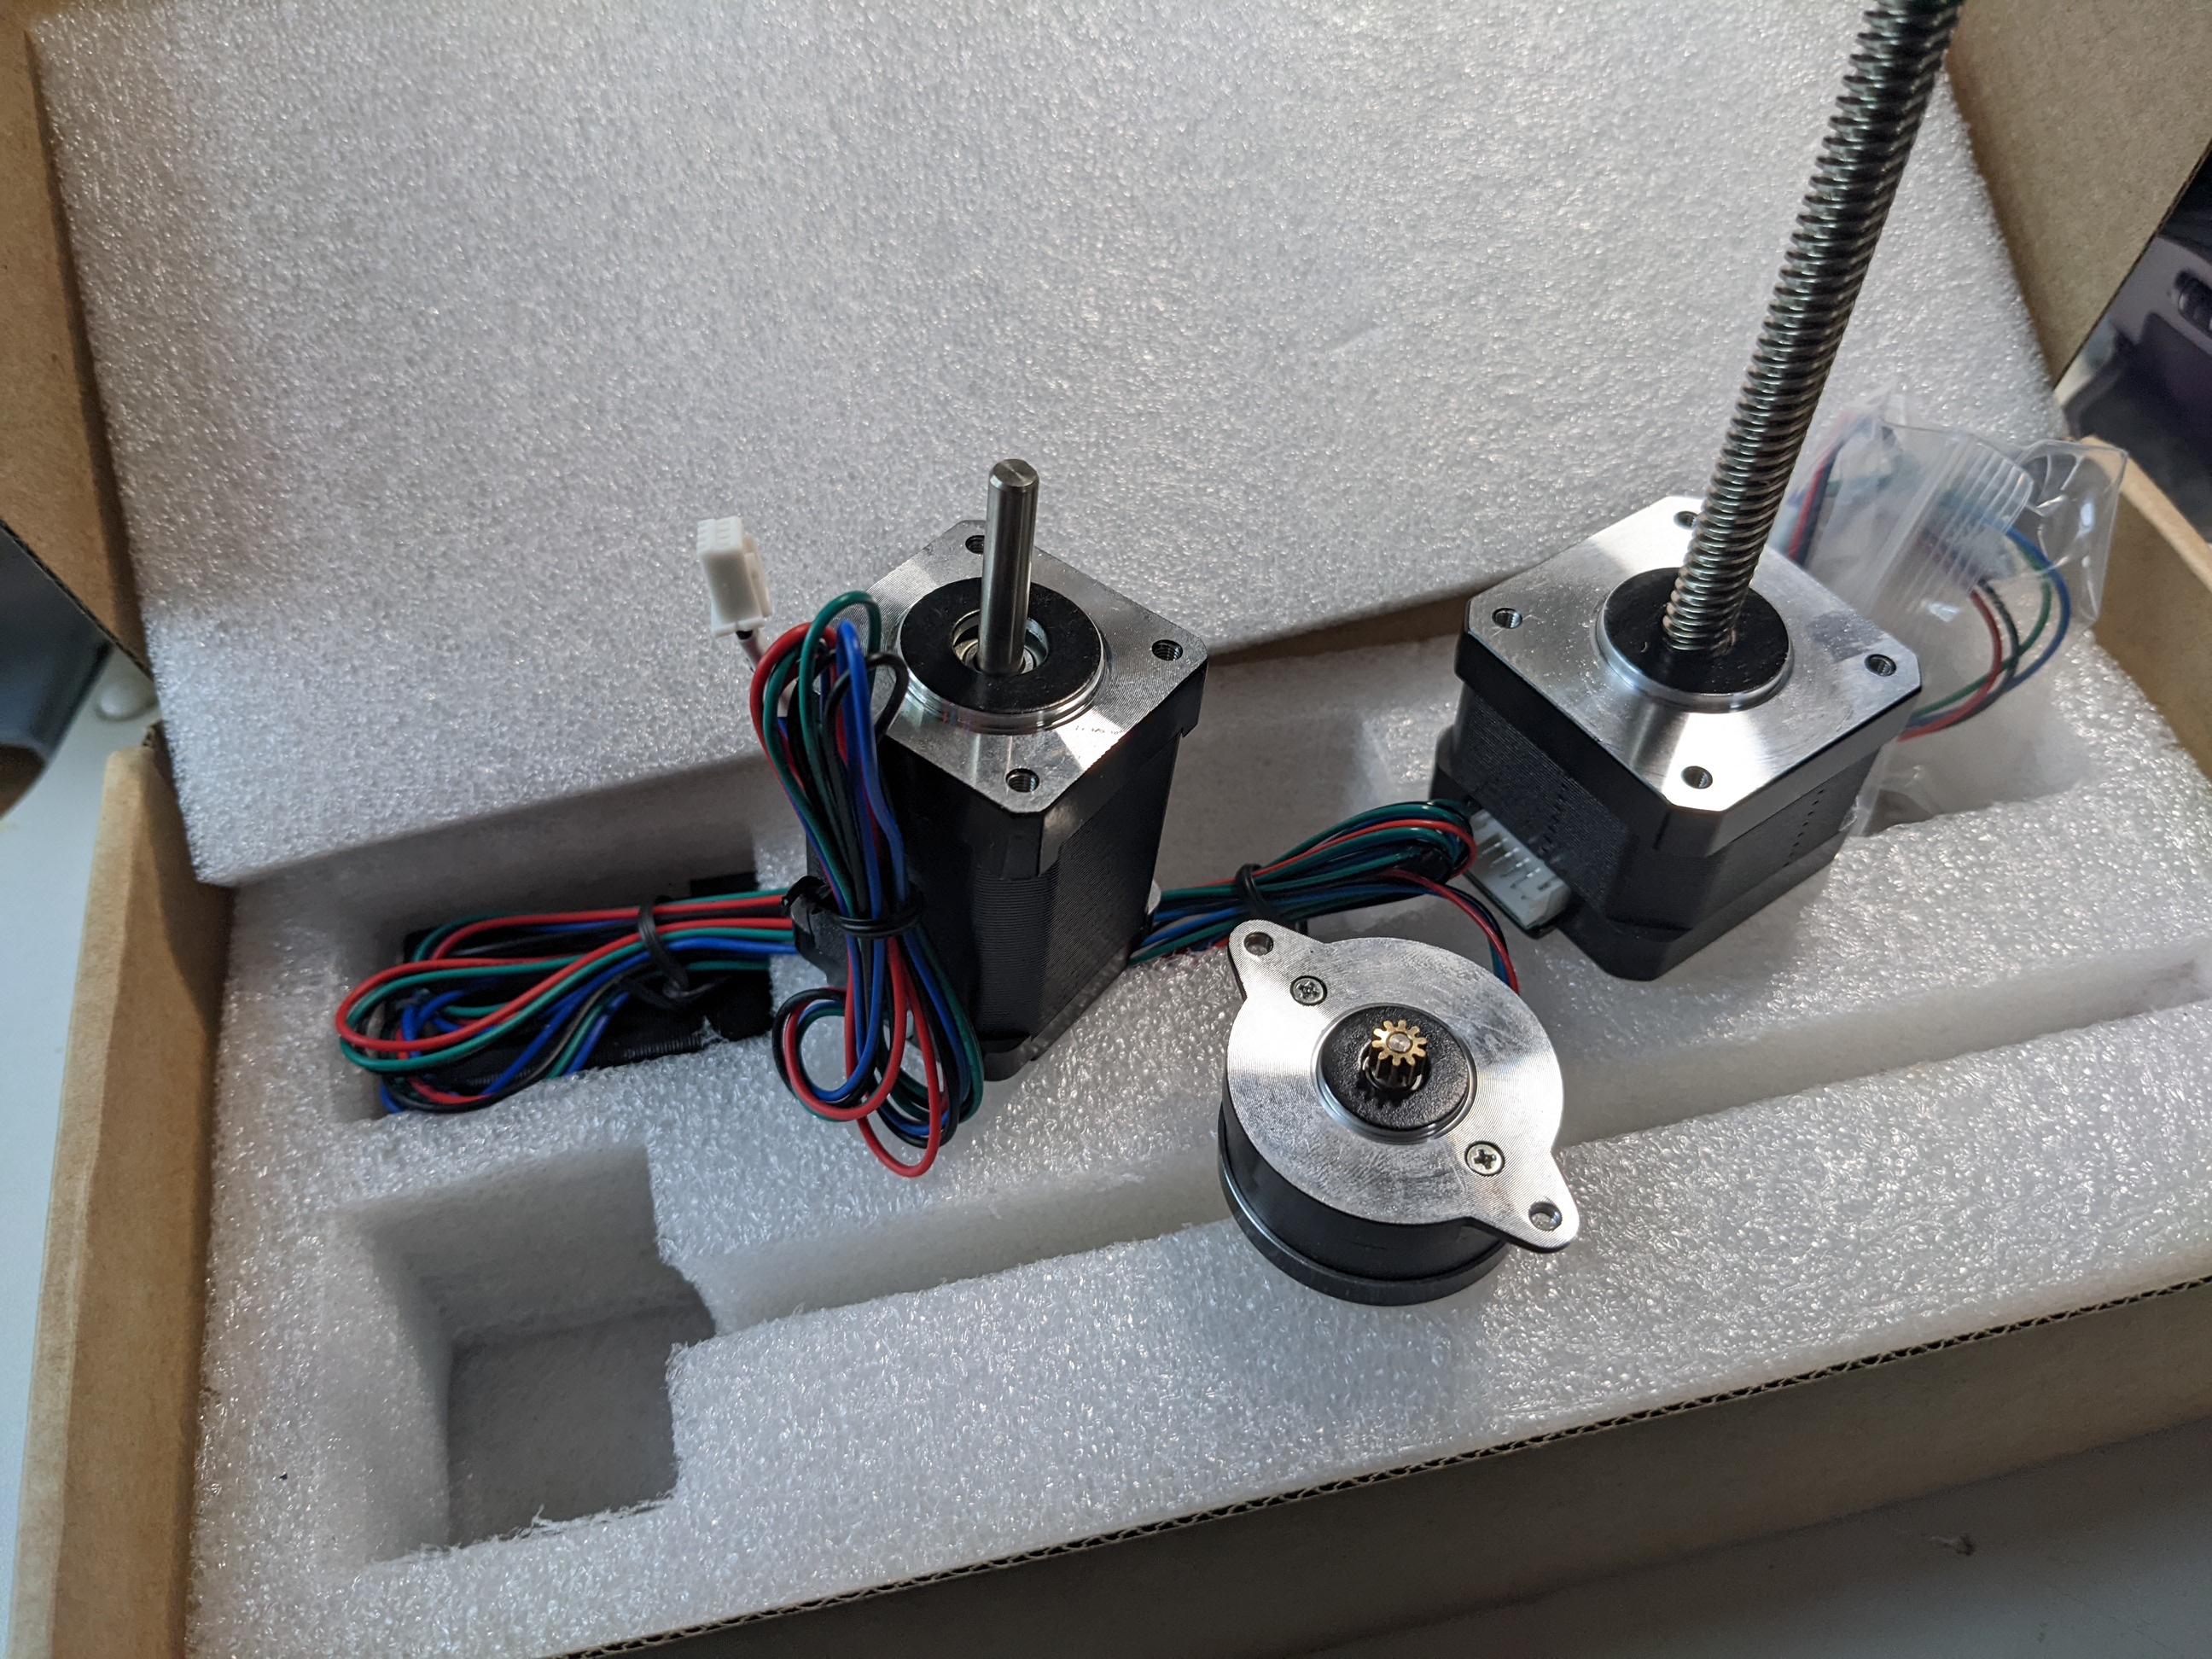


My original plan was to try to make progress on the motion system, based around a set of motors I ordered the previous week. I could have tried to individually source them, but the all-in-one kit I found was too good to resist.
While I waited for those to arrive, I started to print off the supporting pieces. Most of them take the form of an upper and a lower part which is joined together using bolts. This design makes for easier printing of each individual part, as a significant flat spot is then available to adhere the part to the printer bed. A great deal of care and thought went into the Voron 0.1's design here.
I knew buying the motors as a set was a bit of a risk, as it could mean substandard parts, but I felt the risk was worth it. Then they did arrive they all seemed to be decent quality. We'll see when I power them on. With all the parts on hand -- or so I thought -- I sat down with the intention to assemble them all. Then I discovered the bolts I did have....were 5mm too short. I put in an order for a replacement and decided to build something else instead.


One thing I mentioned in the last post is that I skipped over the step of installing the deckplate in the frame. At the time, I thought for sure I didn't have any plexiglass remaining to make the plate out of. Furthermore, I assumed the tight tolerances required by the machine would necessitate some very careful cutting and drilling.
I spent a night or two researching what I would need to do to bring my mostly-complete Dremel CNC machine online to cut the plate, but ran into issues simply finding something to open the CAD files.
Then I found a piece of plexiglass on the floor of my basement. Using the same techniques I used for building the TCHeRI server rack, I cut the plexi down to size using a modeler's saw and a sawing guide. While the fit wasn't perfect, it was more than good enough to act as the printer's deckplate. As expected, I needed to partially disassemble the printer to get it mounted, but that wasn't nearly that difficult.


Since I couldn't make any progress on the motion system, I decided to work on the printer's lid. The designers call this the "tophat" and it's one of the features of the Voron 0.1 I most liked aesthetically.
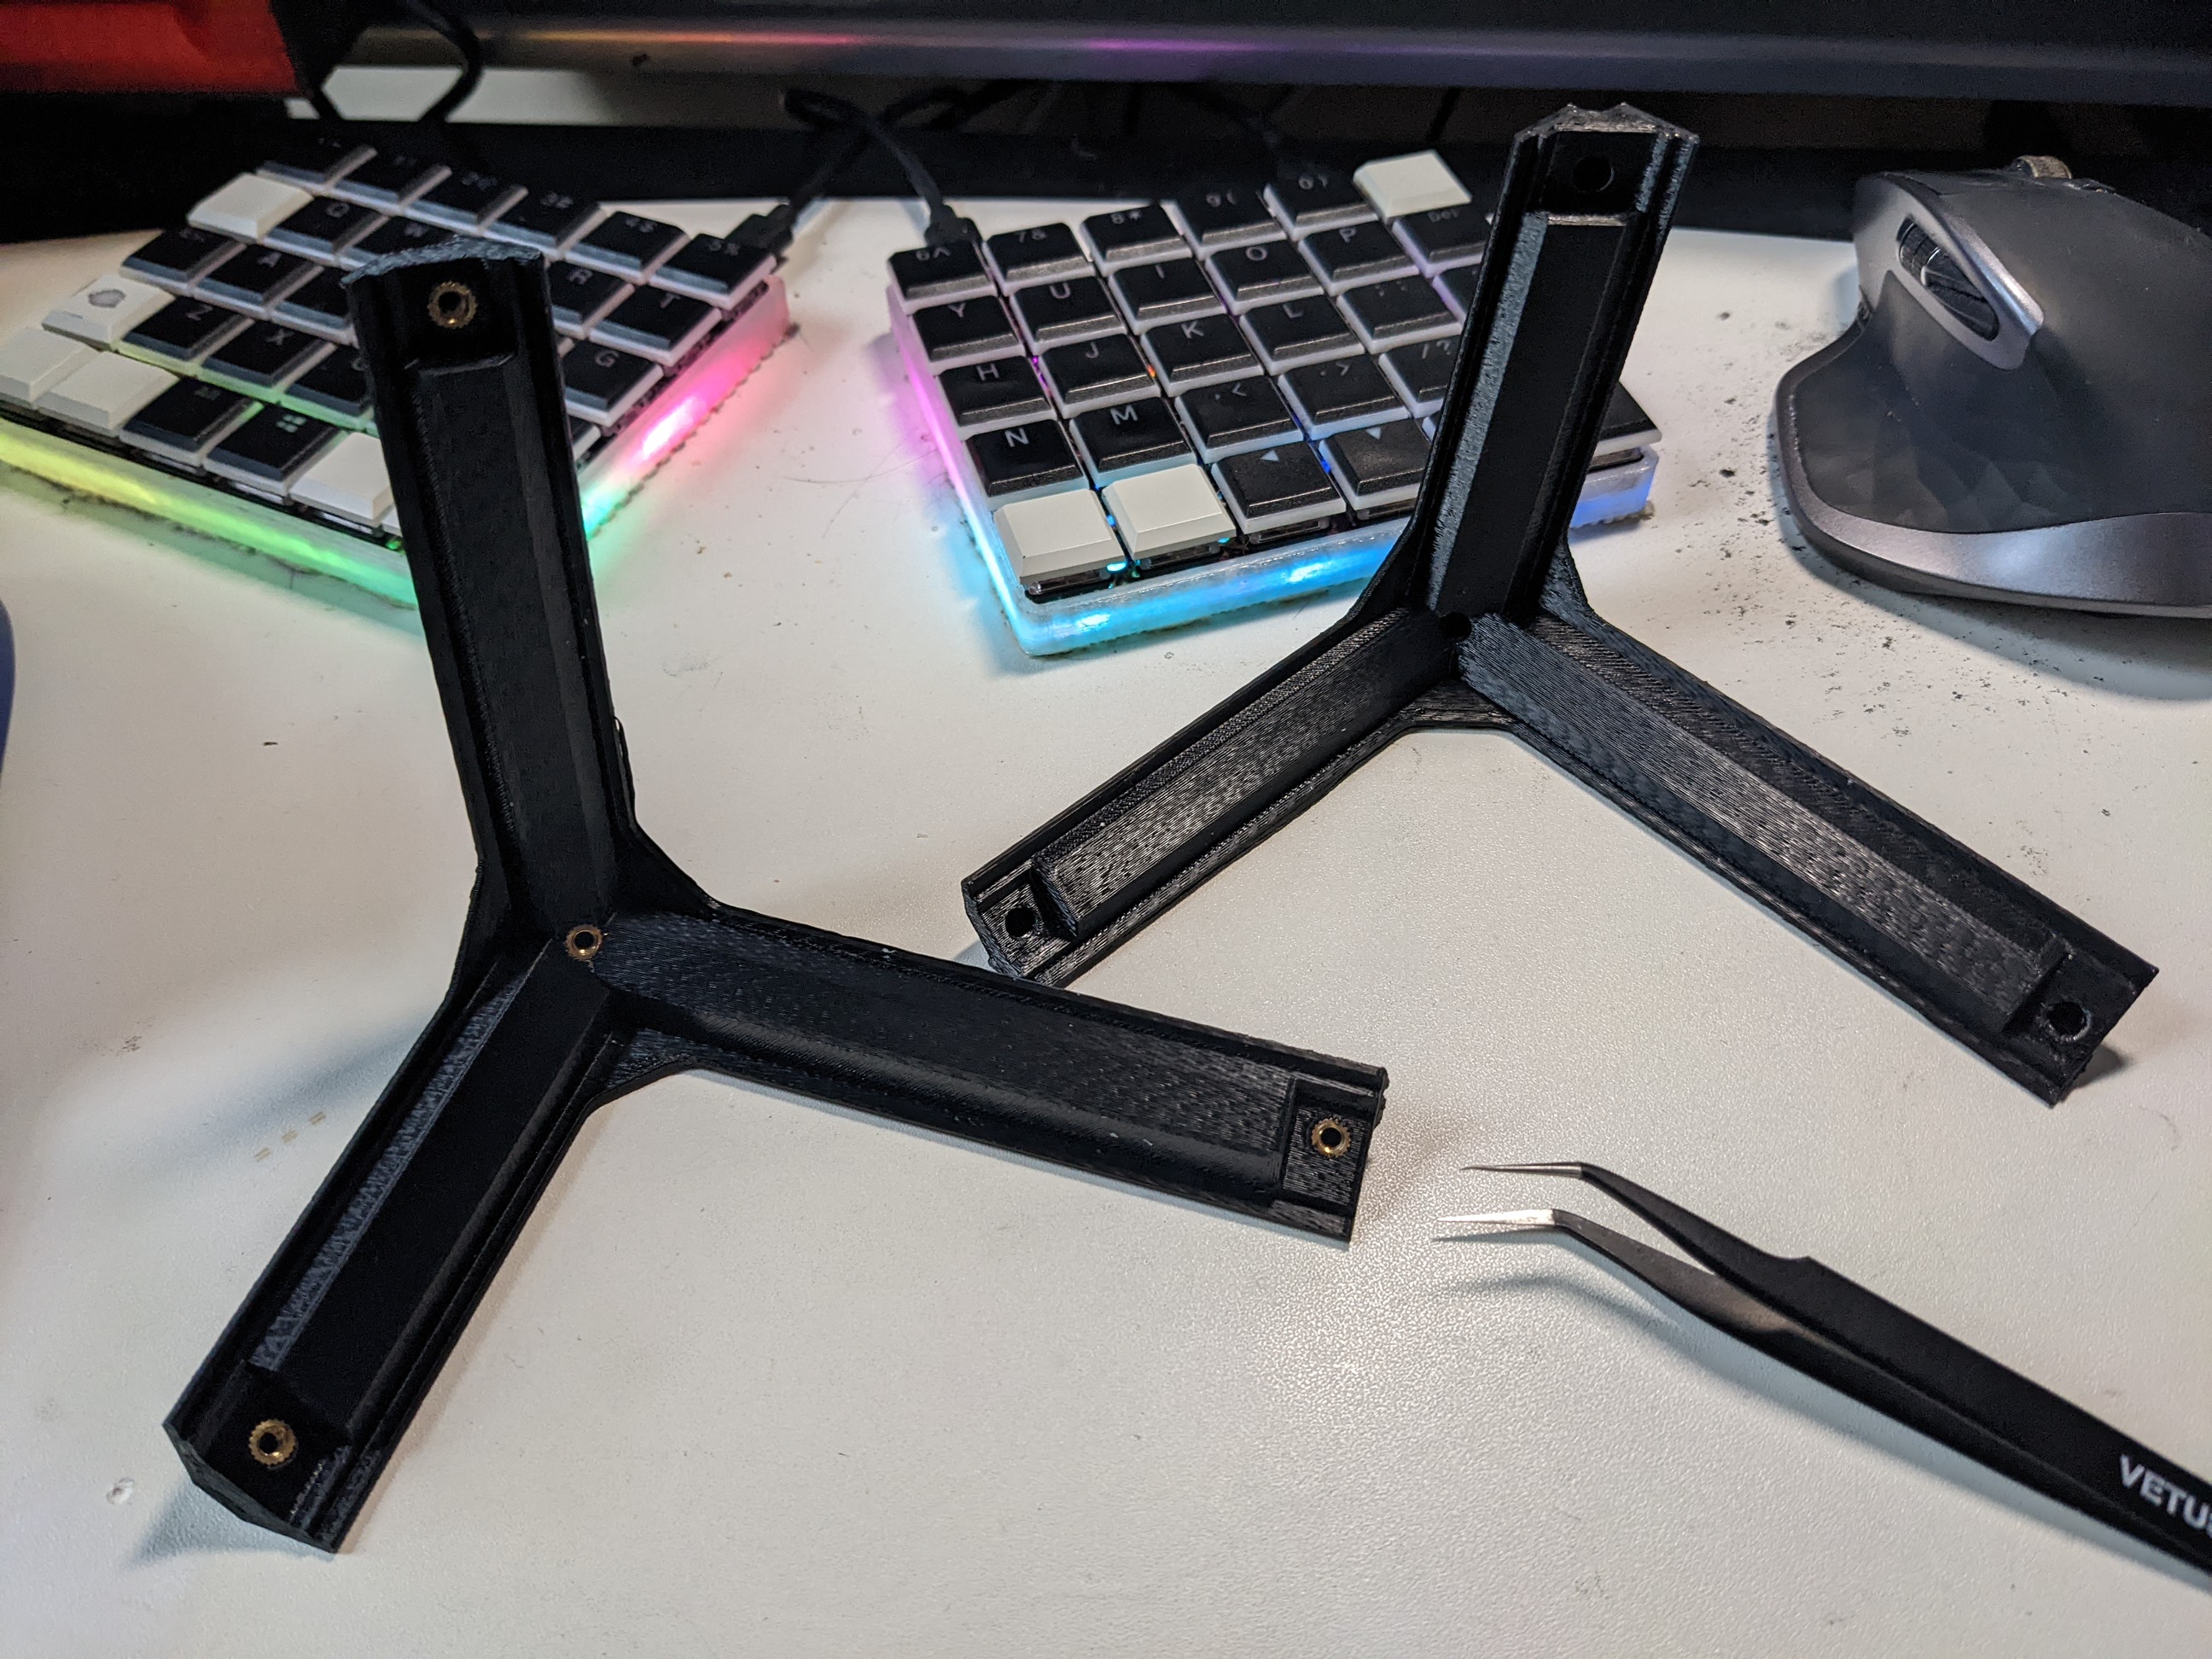
It also had some of the longest, largest prints of the entire build. The lid is made of four tri-wing pieces with a hole at each end in which to point a heat-set threaded insert. I had previously bought some heat-set inserts and soldering iron tips for them for a small project I never quite finished. Still, the practice was essential; the soldering iron was already primed with temperature settings I found worked very well for the inserts.
Once the inserts were installed, M3 bolts and smaller printed brackets held the four tri-wings together to make the tophat. Each corner of the hat also had a small bracket to hold plexiglass panels in place. While I haven't checked for sure, I might have enough plexy on hand to at least finish the sides of the tophat.
While I didn't get much built this weekend, I did have some success with acquiring and printing parts. The missing bolts may have been disheartening, but that's to be expected when self-sourcing everything for a machine such as this. Building the tophat and completing the frame definitely makes the printer feel much more real, although it's still yet an empty frame.
Maybe next weekend I'll have more luck.


