
Handheld Rasberry Pi, part 2: A cardboard case, Xorg fixes
In the last part, we strung together a few parts to assemble a minimal portable computer based around a Raspberry Pi. We built a small keyboard based around a Teensy microcontroller and 6mm tactile switches. We also used a Pimoroni Hyperpixel for the screen, but quickly encountered problems with a mis-calibrated touchscreen and a streaky display.
After trying out both displays on a coworker's Raspberry Pi, I found I still had the same problems. The display was streaky and the touchscreen still couldn't properly target my taps. I put the project down for a while to think, and turned my attention to other projects. I made more progress on the toolbox, and I was getting ready to go to Drupal Govcon, as I was scheduled to give two talks.
Then, I got sick.
I usually come down with something once or twice a year. It's never before resulted in me canceling on a planned speaking appearance. The timing was never that exact for it to happen. Yet, the day before I had to be on a plane, I was congested, exhausted, and...unable to speak at any volume at all. I hadn't completely lost my voice, but it was bad enough that I needed to speak incredibly softly, and never for very long. If I did, the pain would ramp up surprisingly quickly. I wanted to ignore it and go to the event as planned, but...it wasn't a good idea. After most of my coworkers suggested I cancel, I acquiesced and stayed home.
In the end, it was for the best; I was sick for the next week.
Even when you're running a slight fever, you're exhausted, and your throat and sinuses feel as if they were on fire, you can only watch *so* many movies before you get bored. I've never been very good at napping (or sleep in general) so after a while I had to do something that wasn't too taxing.
Somewhere around the 5th episode of The Expanse, I got up and retrieved the parts for the handheld Pi. After reassembling everything I powered it up and...the streaks...were...gone? I wasn't sure what was different this time. It was literally the same Pi and the same screen as they were attached over two weeks ago. I did, however, change out the power supply.
Pimoroni suggested it was the due to the power supply. I did, in fact, change to a USB power bank for this test. That seemed unimaginable as the solution, however, because had used the exact same power bank before and had streaks. While I was too sick and tired at the time to realize it, thinking back to it now there was one more change.
For every test thusfar, I used a Drok in-line USB power meter to check the power draw of the handheld. This time, however, I didn't use it. The power meter must incur enough noise in the power to result in the streaky display on the Hyperpixel.

The next day I was still sick. I tried to work through it as I was feeling a little better, but quickly ran out of energy and went to rest and watch more of The Expanse. Several hours later, a package arrived. It was a PiJuice I had ordered almost a half-year ago for another Raspberry Pi project. Even though I couldn't use it for this project, the box it shipped in gave me ideas.
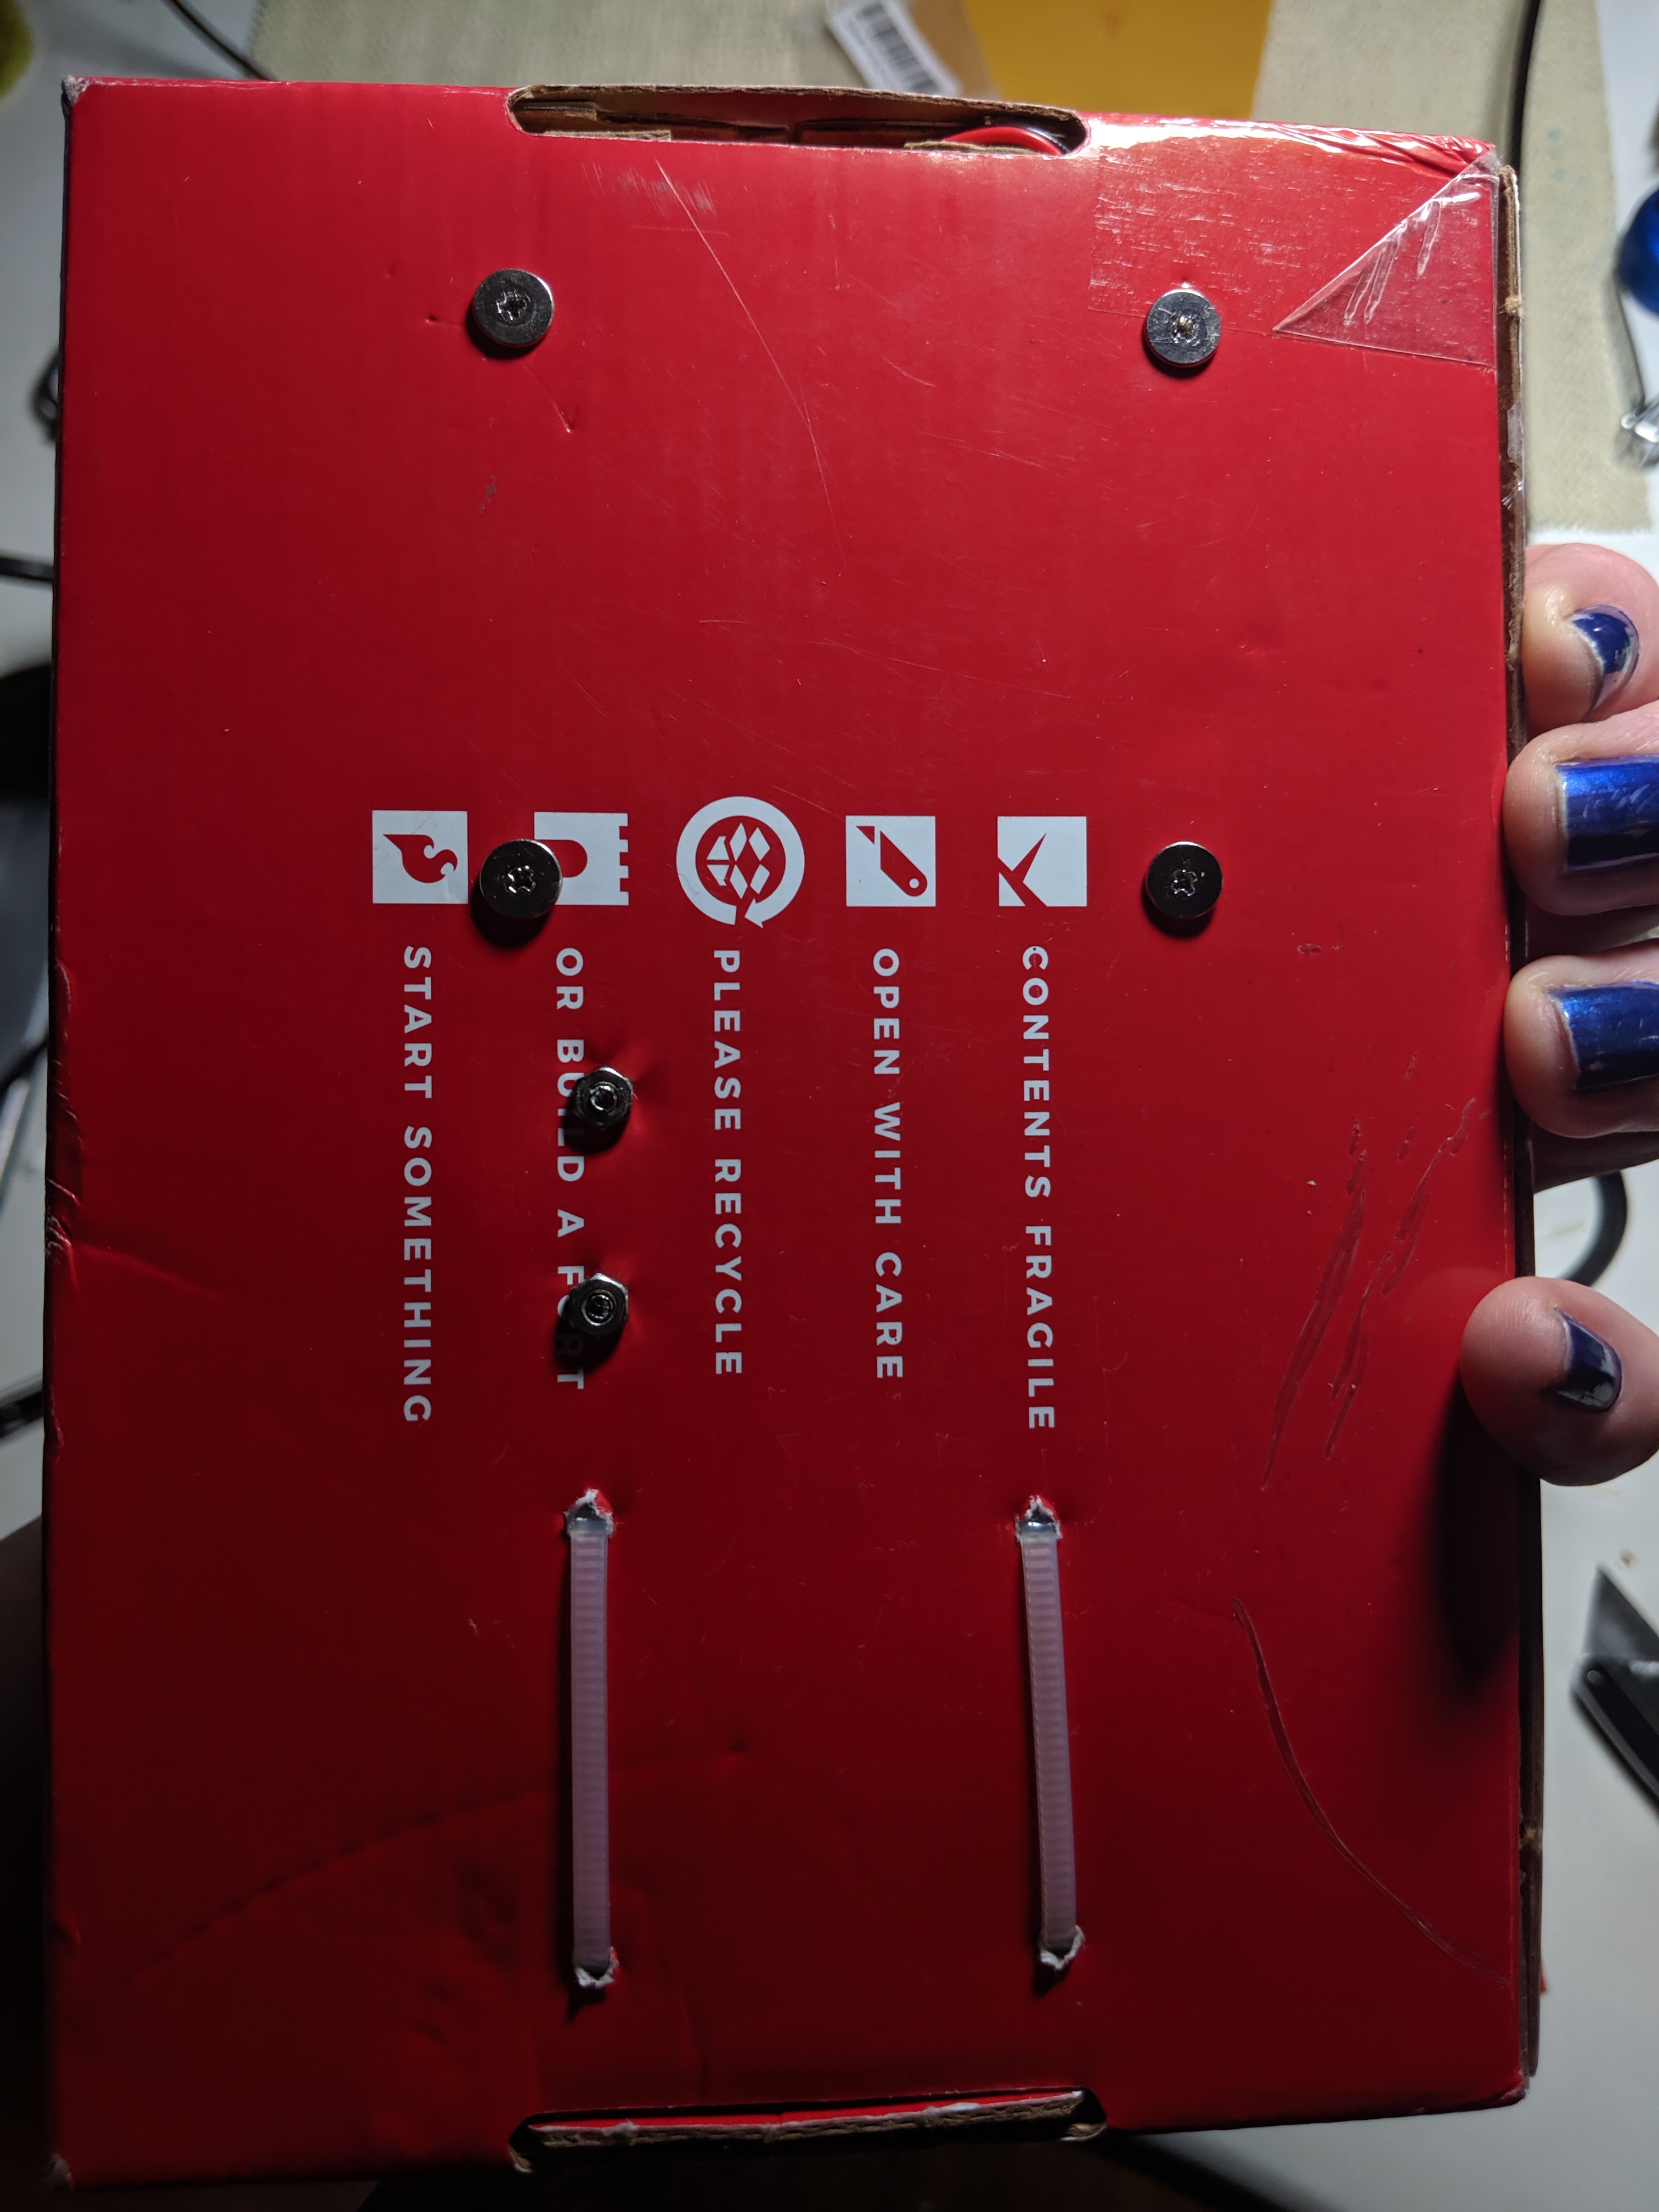
I had ordered the PiJuice from Sparkfun. Like Adafruit, they ship their electronics in distinctive little boxes the elicit a little joy each time I see them in my mailbox. This box, however, was really, really, comfortable to hold. While it was a bit thick, it felt good in my hands, and was just about the right shape for a handheld computer.


But, cardboard? Really? I thought. While I have access to my woodshop, creating a case for the handheld would have been a project in it's own right. I lack a 3D printer, as even the inexpensive ones were cost prohibitive to me, and local printing services wanted more than I was willing to pay. The box, however, was right there. It was about the right size, it would only take a utility knife to make any cutouts I required to fit the pieces.
So, that's what I did. Using some bolts I found in my junk drawer, I mounted the Teensy Thumb Board to the box's lid. I then used some standoffs to mount the Pi/Hyperpixel assembly to the box bottom. After further thought, I found out I could mount the Adafruit PowerBoost board and the battery easily in the box below the keyboard.
By then, my fatigue had caught up with me, but more importantly, I didn't have enough mini USB cables to put everything together. After some searching online, I found some sort cables with (mostly) right angle connectors to minimize the space they'd need to connect. I ordered a set, and went back to resting.


My housemate warned me I would likely feel worse the third day, and she was right. While I managed another half-day, it was obvious I was doing worse again. The infection was making a circuit around my upper body, and I was feeling lousy again. The cables didn't arrive until the next day anyways, so I powered through more episodes of The Expanse, doing what I could to actually rest.
The following day I felt better, but still obviously exhausted. The cables arrived and I started assembling the handheld. The keyboard cutout went perfectly, but when I went to plug the other end into the Pi I rand into several problems. The USB A connector wasn't exactly a right angle cable, it was at a 15 degree angle to that. Worse, the directionality of USB A on the Pi meant the wire side of the cable was pointing at the box's corner, where it didn't quite have enough room to fit. Reluctantly, I cut a relief out of the side of the box to allow for the cable. After all, it was only cardboard.

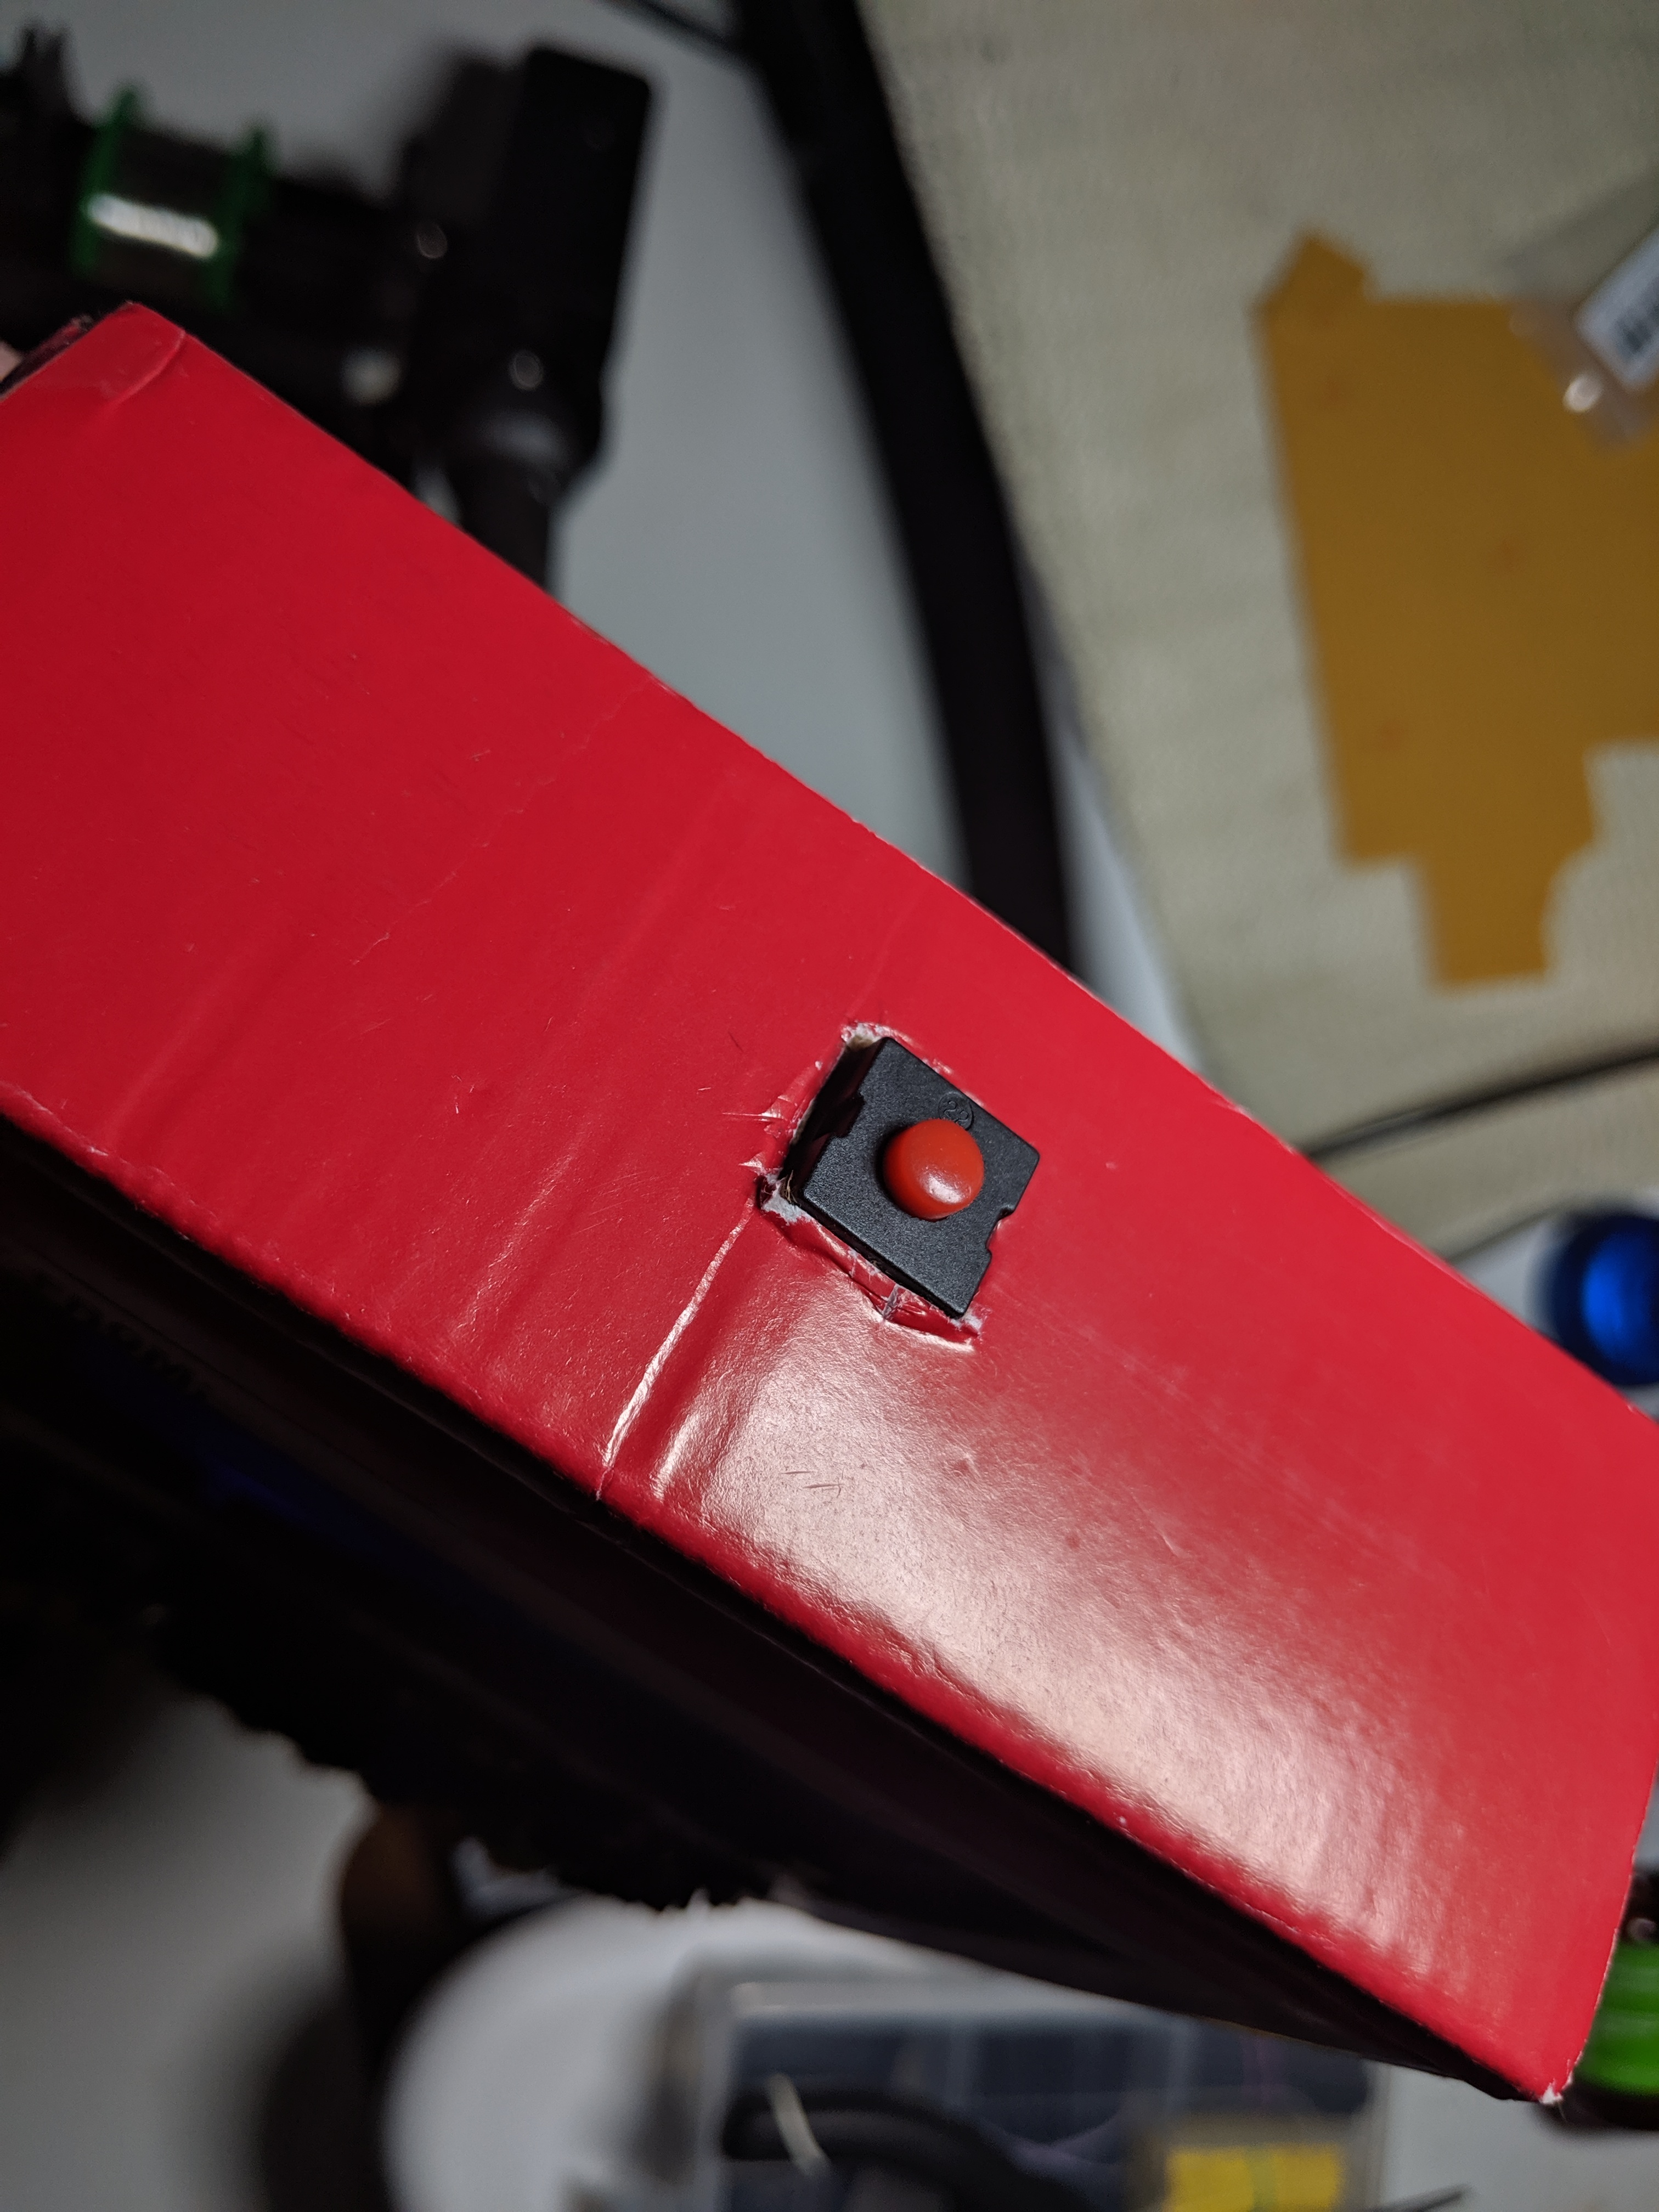
Before I could do the final assembly of the box, I needed an easy way to turn it off and on. The PowerBoost has no such switch on it, but I did have a small on-off button and a LiPo battery extension cable.
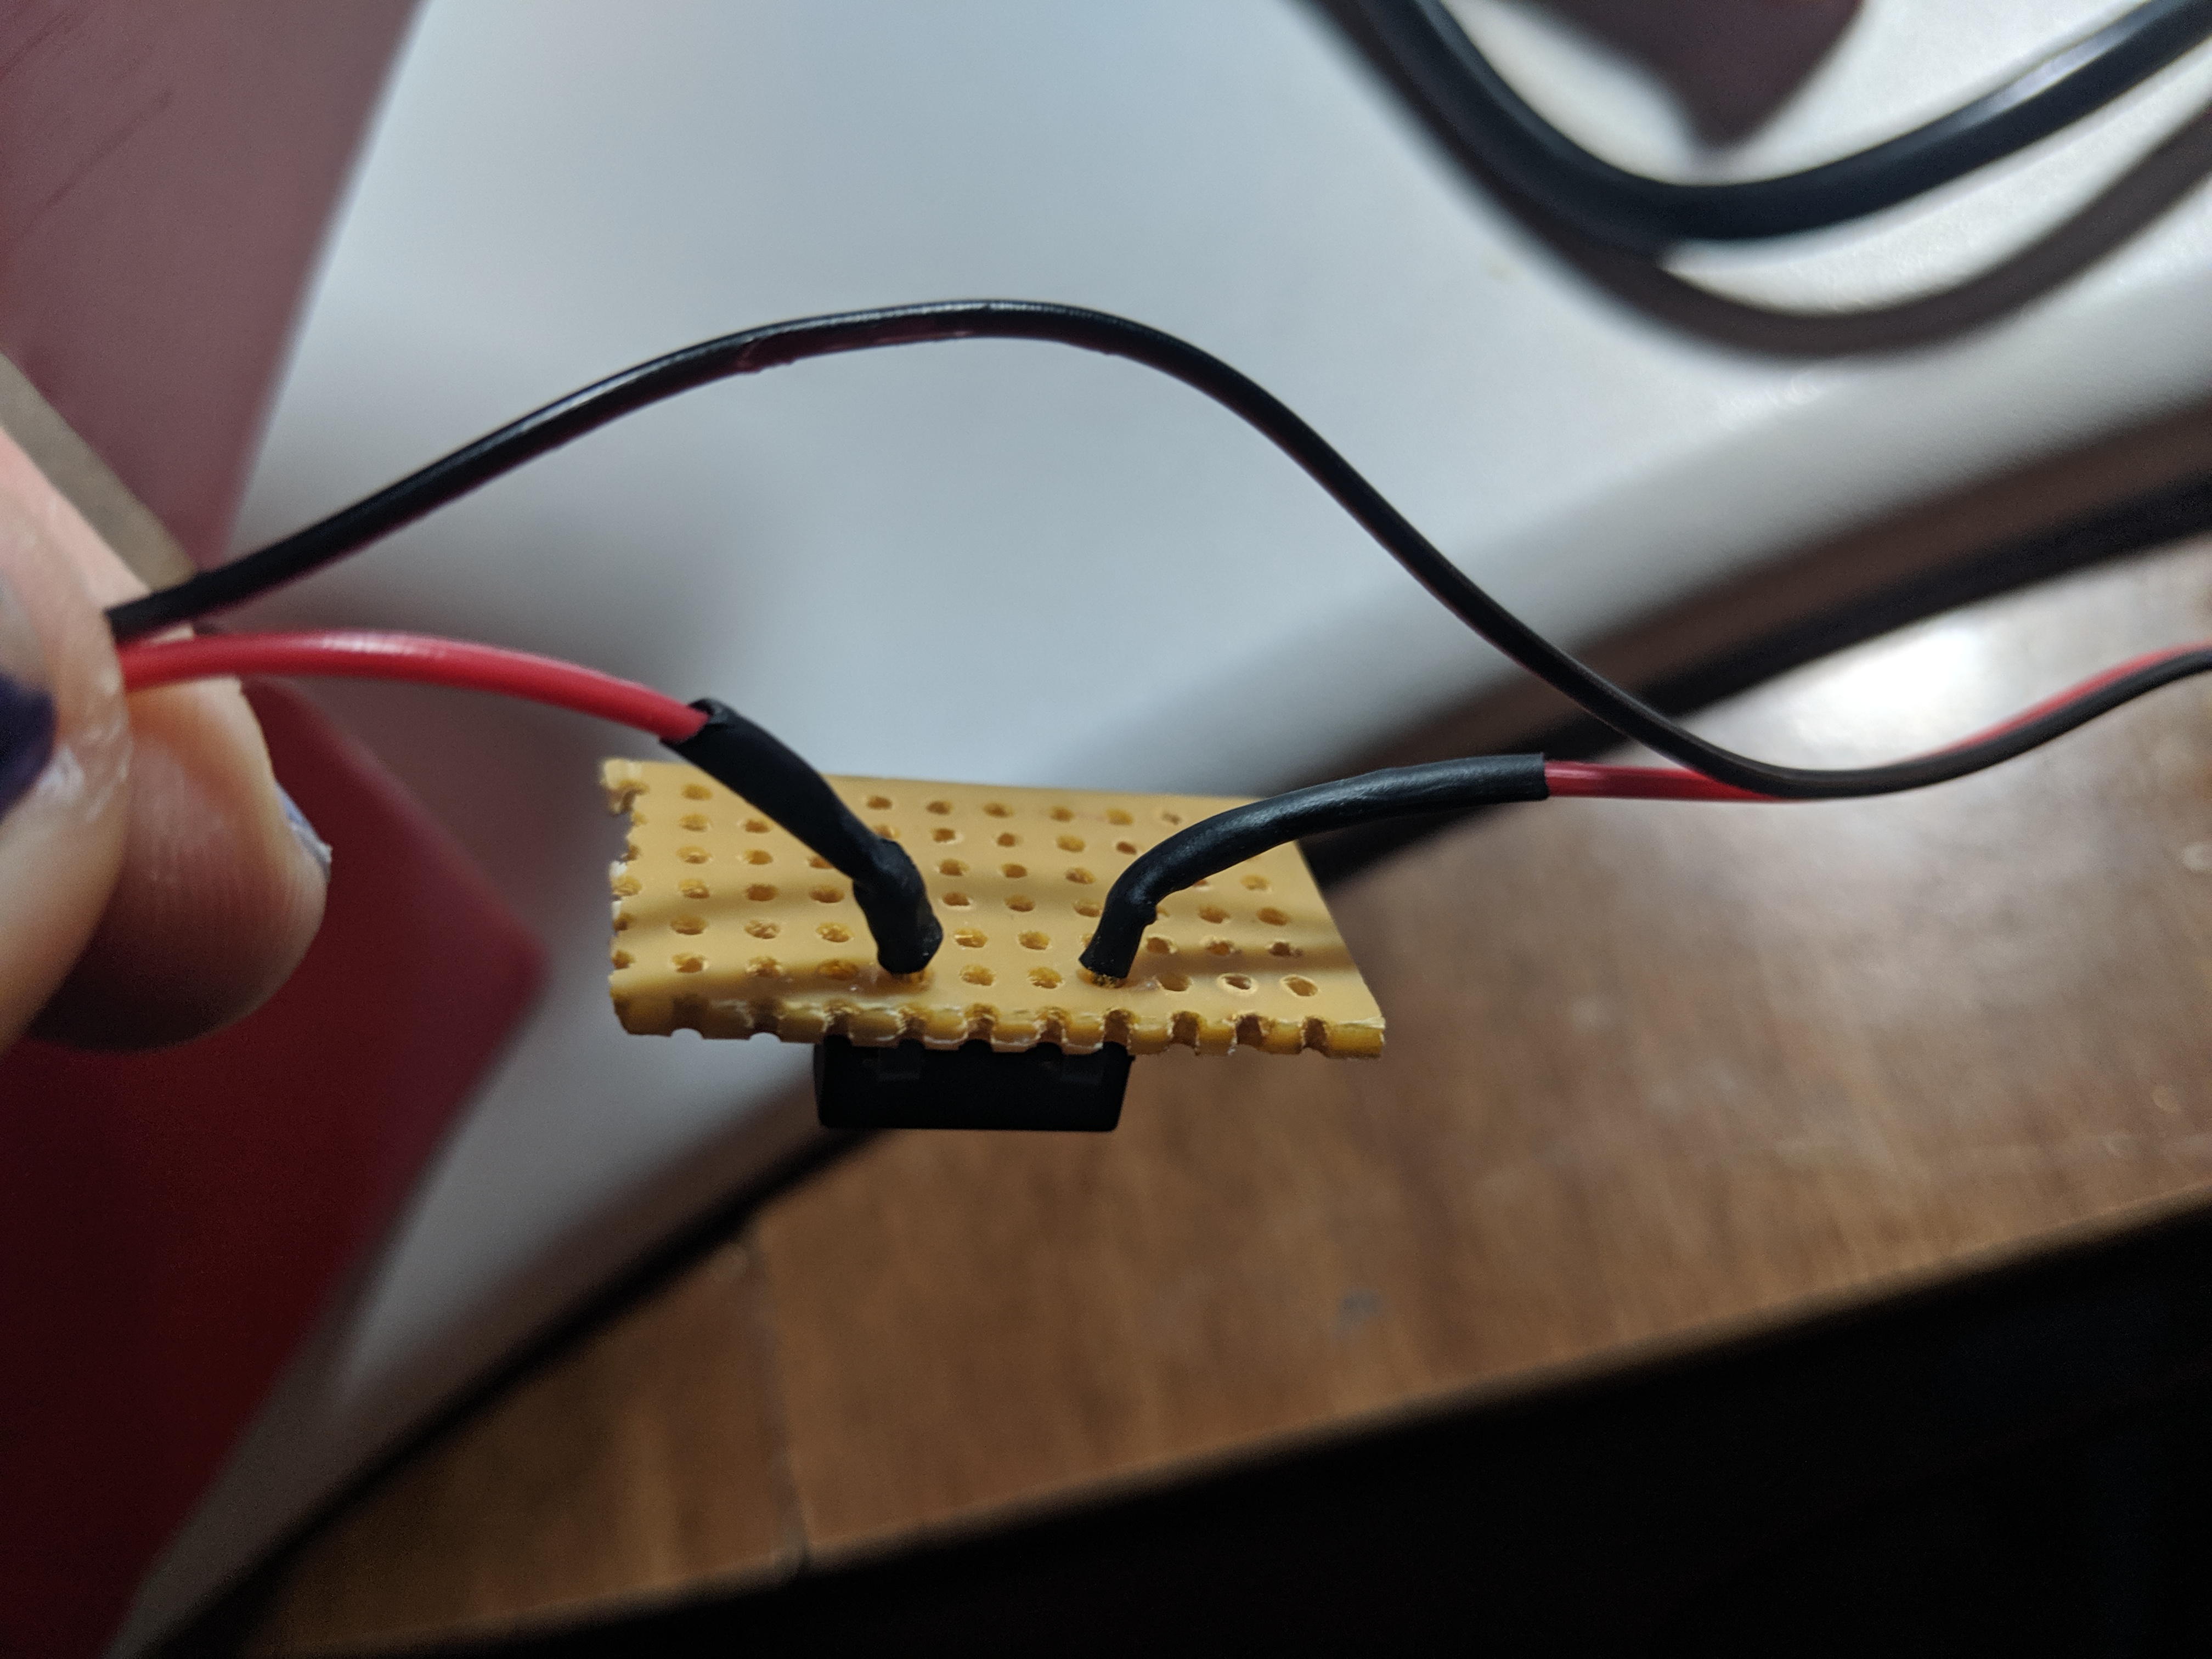
The idea was simple: Cut one of the leads of the extension cable, wire in the switch, and connect the battery to the PowerBoost via the now switched cable. I pulled out my lead-free solder kit, but had difficulty getting the wires to attach to the button. It took a higher temperature than I liked, and with all the jostling to get it installed in the box, I broke the joints at least once.
Mounting the switch required a little thought. I decided to use a small section of perfboard as a kind of flange. The Sparkfun box has sides which are double-walled, with a flap that comes down from the lid. My thought was to insert the perfboard between the double-wall, and cut part of the lid flap to route the cables. This worked pretty well, and didn't require any additional hardware to mount it.

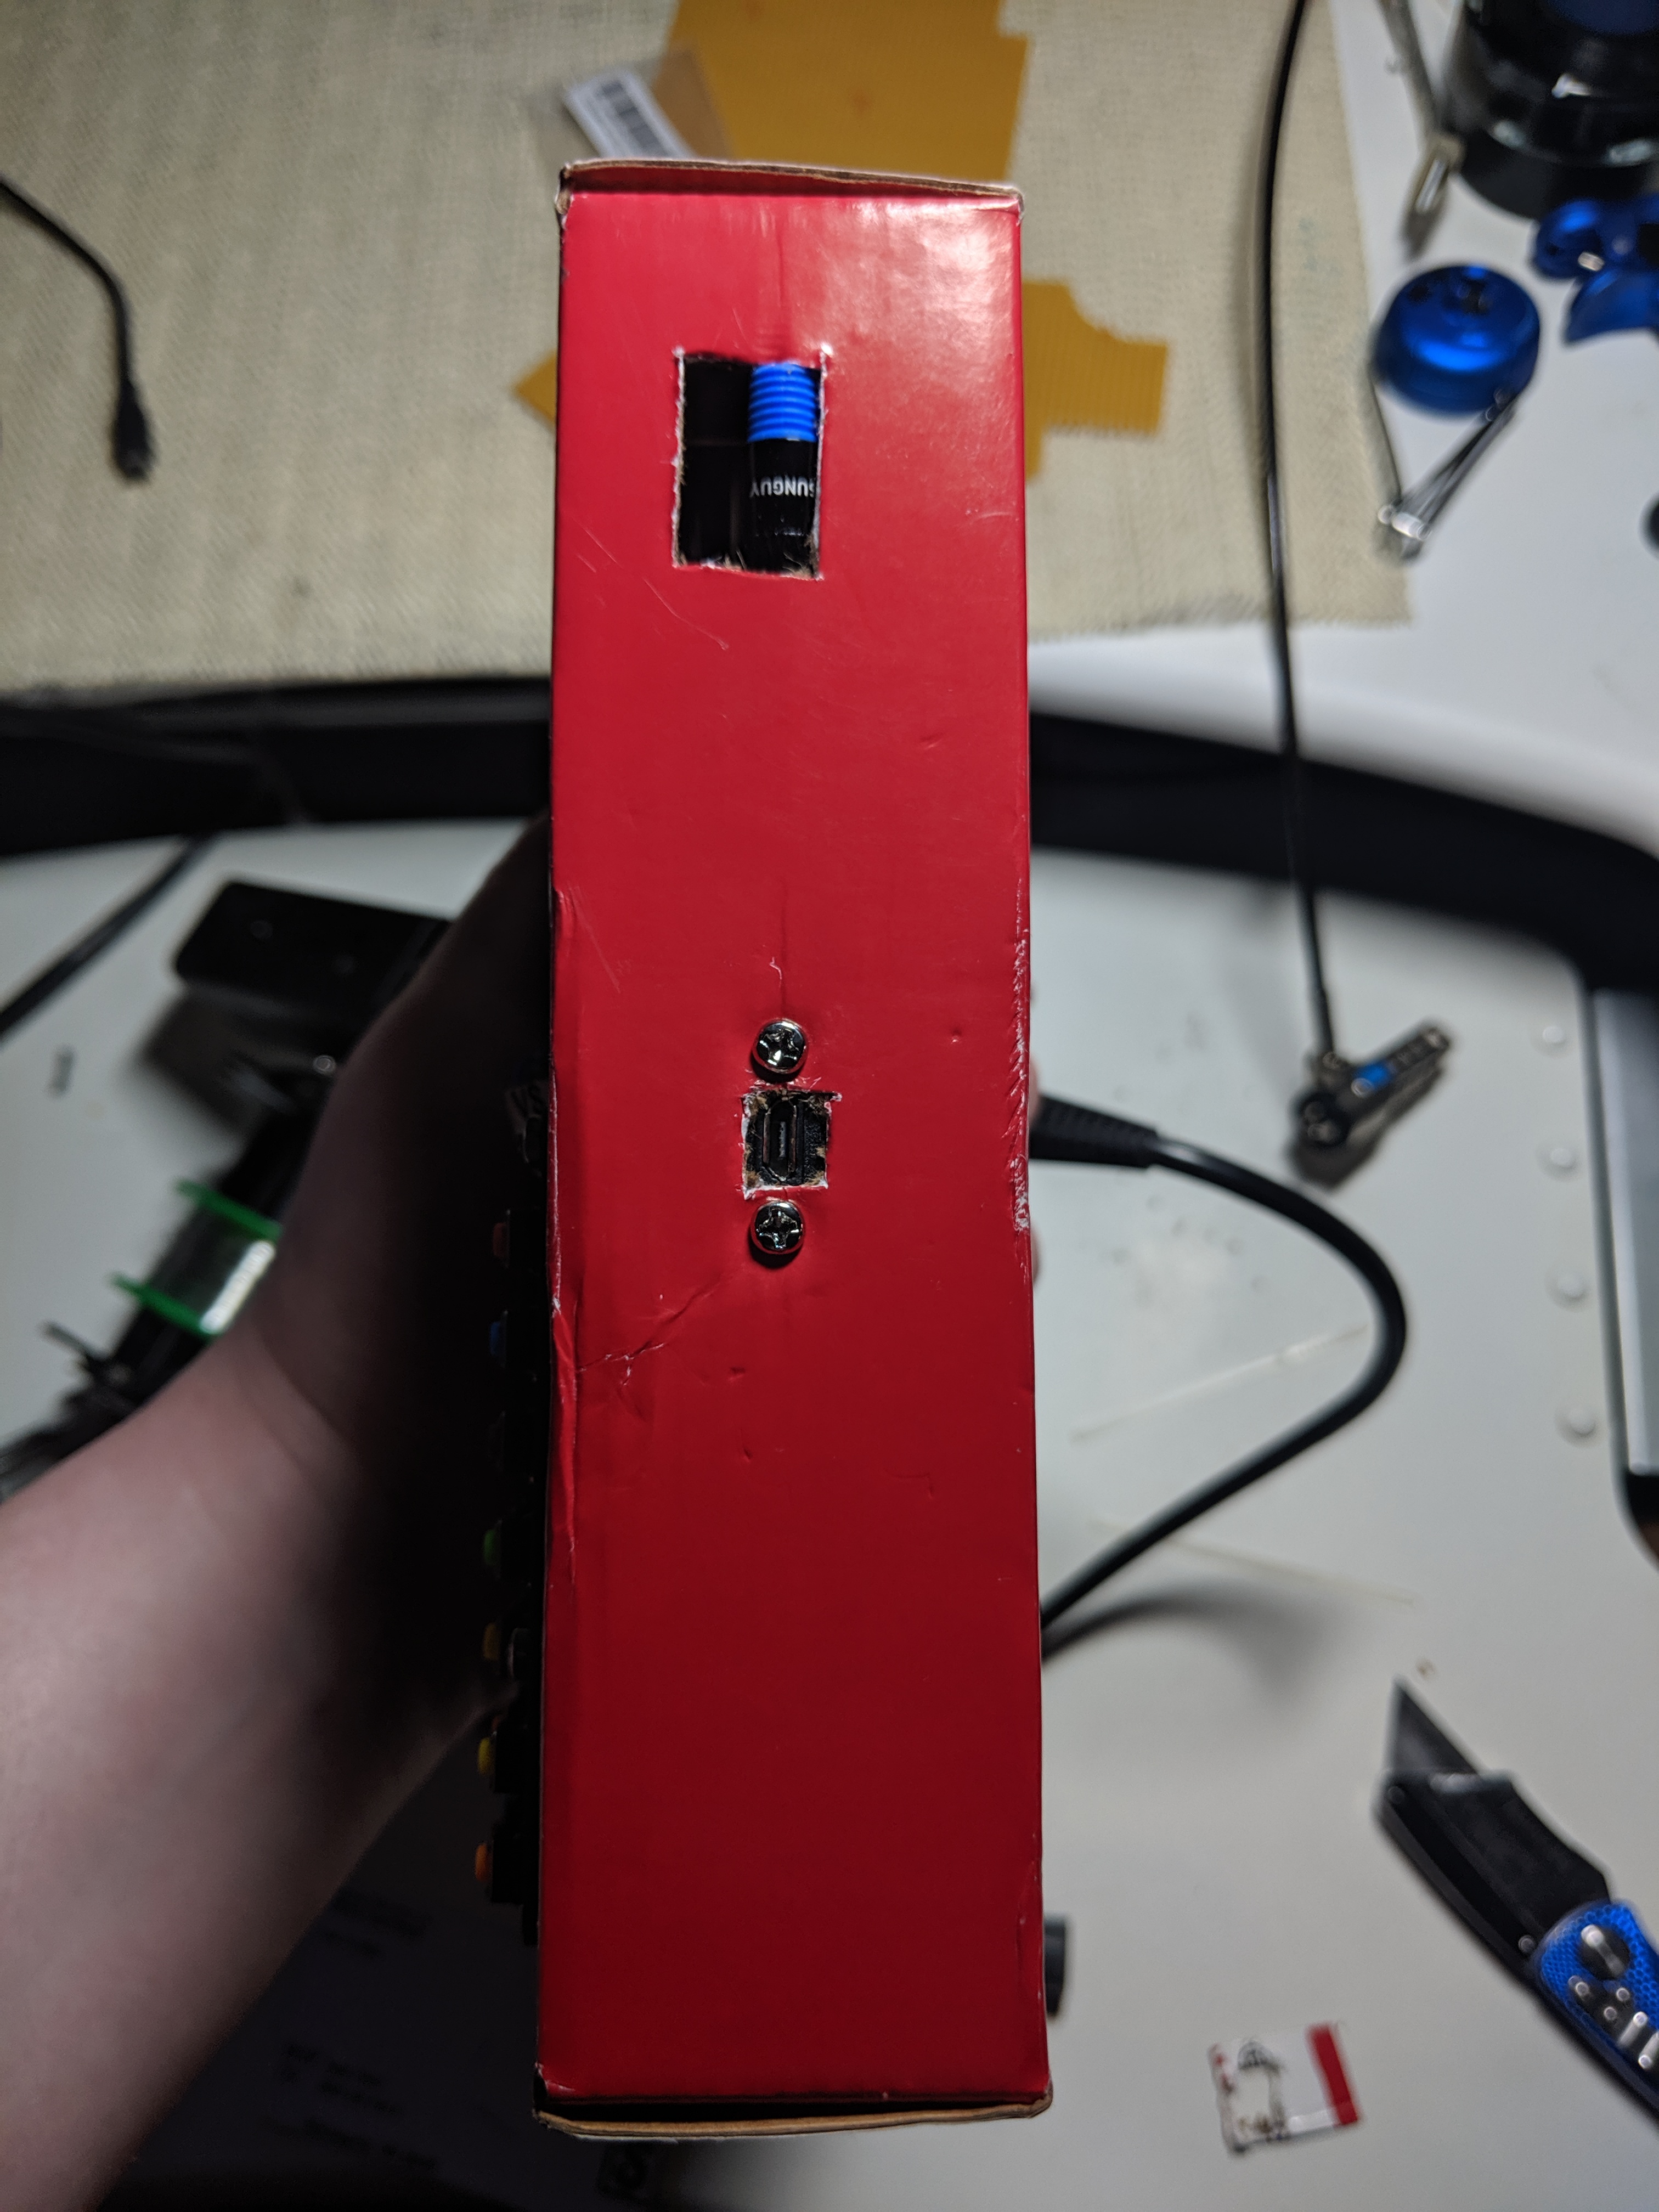
With the power button installed, it was time to put the rest of the components together. I found panel mount micro USB cable and bolted it to the side of the box. This cable was then connected to the power input of the PowerBoost so that it could charge the battery without needing to be opened.
The PowerBoost was mounted to the bottom of the box with tiny bolts and nuts. The power in was connected to the panel mount cable, and the output to the Pi. I then used wire ties to mount the battery to the lowest part of the box. This counterbalanced the Pi/Hyperpixel assembly and gave the box a comfortable feel. I connected the battery to the PowerBoost via the switched extension cable.
Astonishingly, it all worked. At that point, I had a tiny handheld computer I built myself. Even though it was just a bunch of off the shelf parts bolted to a cardboard box, I was surprised how it transformed the device in my eyes. It wasn't just parts anymore. It was a functioning unit that could be handed to someone else as easily as a smartphone.
There was just one problem left...
Until this point, the touchscreen was easily ignored. Since the device wasn't in a usable form, the mis-calibrated touchscreen wasn't a huge deal. Once that changed, it became a big painpoint. While the Teensy Thumboard does have a mouse emulation ability, it was slow and cumbersome to use.
I needed to get that screen fixed.
After doing a lot of research, I eventually came across this issue on the Hyperpixel Github page. Some users were reporting mis-calibration issues such as I, and decided to dig into the driver code to see if there was a way to fix it. The solution turned out to be simpler than that.
Some Hyperpixels were assembled with a different LCD screen that had different touch characteristics than the majority of the product. It just happened to be that I got two in a row with the same manufacturing quirk. A touchscreen is actually multiple layers that can separated into three broad categories:
- The transparent capacitive touch layer
- The light filtering LCD layer
- The backlight layer
The touch layer on my Hyperpixels had a different number of "pixels" than the driver had assumed out of the box. As a result, the screen over-or-undershot placement when translating the touch coordinates to the display. This resulted in the "mis-calibration". The solution was to modify how that translation process occurred to correct for the difference.
Fortunately, Rasbian -- the Linux distribution for the Raspberry Pi -- ran Xorg to provide a windowing environment. Xorg allows for this exact situation by applying a transformation matrix as an input device configuration. I added the following to /etc/X11/xorg.conf.d/99-calibration.conf as specified in this comment on the issue.
Section "InputClass"
        Identifier      "calibration"
        MatchProduct    "Goodix Capacitive TouchScreen"
        Option  "TransformationMatrix"  "1.69 0 -0.68 0 0.63 0.38 0 0 1"
EndSection
One reboot layer, the touchscreen worked! For the first time, the entire device was working as expected. Typing on the keyboard isn't the fastest experience, but it was enough to type short messages, enter URLs, and generally make the device useful.
To my surprise, the screen was good enough to play video. For some reason, I expected the opposite to be the case, but the handheld no problem showing off something from YouTube. There's no sound, unfortunately. So far, there's no speakers on the handheld, nor did I wire in an external headphone jack. I would like to add one, but it would require buying an amplifier board, or successfully prototyping my own amplifier with whatever ICs I find in my junk drawer. No doubt there's at least one LM386 or some other Op Amp I could convince to be an audio amplifier.
There's also the idea of buying a 3G board to route data to the handheld. Adafruit does sell one, but the cost is rather significant for me. Maybe in the future I'll try it.

This post was created with the support of my wonderful supporters on Patreon.
If you like this post, consider becoming a supporter at:
Thank you!!!
